
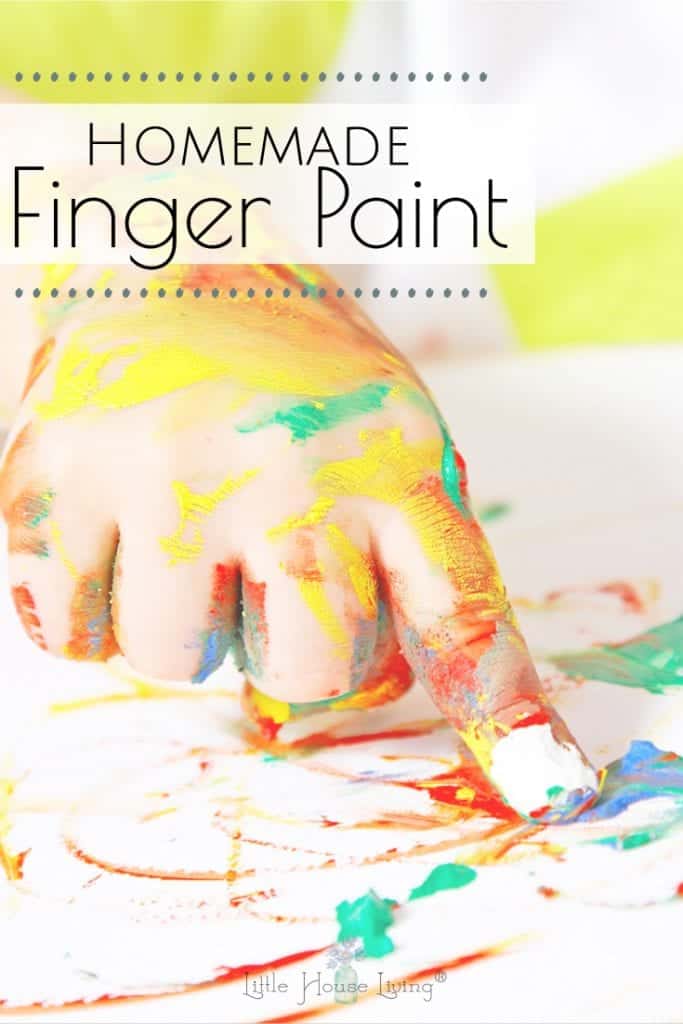
Homemade Finger Paint
This post may contain affiliate links. Read our disclosure policy here.

Looking for a fun activity to enjoy with the kids? Learn how to make this simple and frugal Homemade Finger paint with all-natural ingredients.
Homemade Finger Paint
Homemade finger paint is one of those activities that nearly any age will enjoy. Even older teens and tweens can get into it! If you are looking for a fun activity, but don’t have any finger paint on hand, you can easily make some at home with this simple recipe. The best part is, you’ll save money! Homemade fingerpaint can be made very inexpensively, costing just pennies compared to expensive store-bought brands.
Half the fun of homemade finger paint is making it! For safety, have an adult do the part of the recipe that involves boiling water on the stovetop. Then let your kids join in with the most fun part- adding the coloring!
–Find more DIY projects to make with the kids on our DIY page.
Finger Paint Recipe
What You Need:
- 2 cups flour
- 2 teaspoons salt
- 2 1/2 cups cold water
- 2 cups boiling water
- 2 Tablespoons food coloring – I recommend using a natural food coloring like India Tree. Or, you can make your own. Use turmeric for yellow, or beet puree for red (see this post for more information about making beet puree)
How to make Homemade Finger Paint:
1. In a large bowl, mix the flour and salt together. Add the cold water and stir until completely combined.
2. Add the above mixture to a large saucepan filled with 2 cups of boiling water, and boil until the whole mixture is completely smooth. If it doesn’t thicken up as it should, you can add cornstarch a tablespoonful at a time to get it to thicken faster.
3. Add the food coloring gradually until you get the color you like.
4. Let cool thoroughly before playtime.
While this homemade paint recipe is edible, it doesn’t taste good and I don’t recommend ingesting it. If the baby licks it off his finger, though, no worries.
–If you’re looking for something edible your kids will love, check out these frugal recipes:
Oatmeal Goodies (Easy Cookie Recipes For Kids)
No Nut Oatmeal Bites Recipe for Kids (Plus Free Printable!)
Easy and Healthy Frugal Lunch Ideas
Simple, Frugal, Kid Friendly January Meal Plans
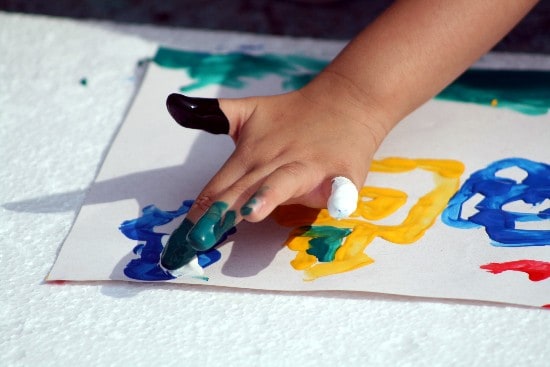
For messy fun, spread some newspaper on the ground or take your fingerpaint outside. For easy cleanup, kids can use their finger paints in the bathtub. I always like to make these fun activities somewhat educational, so I’ve done the finger paints on a sheet pan and practiced painting numbers, letters and shapes with my children. You can also let kids explore the color wheel by creating colors out of red, blue and yellow.
–Check out 30 Days of Colors, a Preschool Lesson Plan for more color activities!
You can store any unused homemade finger paint in an airtight container, but for best results use immediately.
Want to print this Homemade Finger Paint Recipe? Grab it below:

Homemade Finger Paint Recipe
Ingredients
- 2 cups flour
- 2 teaspoons salt
- 2 1/2 cups cold water
- 2 cups boiling water
- 2 Tablespoons food coloring
Instructions
-
In a large bowl, mix the flour and salt together. Add the cold water and stir until completely combined.
-
Add the above mixture to a large saucepan filled with 2 cups of boiling water, and boil until the whole mixture is completely smooth. If it doesn't thicken up as it should, you can add cornstarch a tablespoonful at a time to get it to thicken faster.
-
Add the food coloring gradually until you get the color you like.
-
Let cool thoroughly before playtime.
Recipe Notes
While this homemade paint recipe is edible, it doesn't taste good and I don't recommend ingesting it. If the baby licks it off his finger, though, no worries.
Store any leftover finger paint in an airtight container, however, for best results, use immediately.
Looking for more frugal ideas for kids? Check out these posts:
Homemade Gifts for Kids
How to Minimalize Children’s Clothing
Easy Frugal Busy Bags for Preschoolers
How to Create Unit Studies For Less Than $5
Saving Money on Back to School Supplies
$1 and Under Toddler Busy Bags Ideas

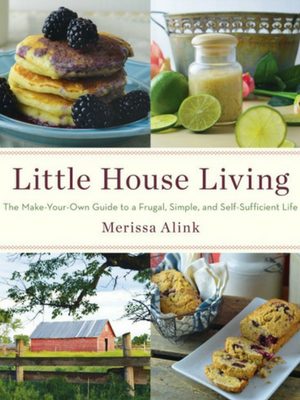 If you liked this recipe for Homemade Finger Paint you will absolutely love my book, Little House Living: The Make Your Own Guide to a Frugal, Simple, and Self-Sufficient Life. It features 130 recipes just like this one that are perfect for your household!
Have you ever tried making homemade finger paint? What was the best natural coloring you came up with?

This post on Homemade Finger Paint was originally published on Little House Living in September 2013. It has been updated as of September 2019.

I feel a bit silly asking this, but…I’ve been wanting to make some finger paints and maybe some play-dough using natural dyes like beet puree, but I’m curious about shelf life. Have you found that using plant based dyes leads to a moldy or rotting veggieness to the paint after a while? Do you store the paint any differently when you use veggies to dye it? Thanks for the great post.
The plant based dyes won’t do much to contribute to mold but homemade goods with no preservatives or toxins do tend to last a shorter amount of time, I would say a few months max. I don’t store the things any differently though.
Thanks for the info on the plant based dyes. I’ve been shocked at how long my homemade preservative-free play dough (with no coloring) has lasted. I must have made it over 6 months ago and was sure it would mold pretty quickly in the tuperware in the toy closet, but it’s still in great condition. Maybe because my son has only played with it a couple times?
I recently dyed some clothes I was repurposing using turmeric and had great results, so I’m looking forward to trying the natural dyes with finger paint. Thanks, again.
Thanks for sharing that! It’s good to know how long your homemade pla ydough lasted.
I think it just might have been because it was in the tupperware. We visited THE TUPPERWARE place in FL when my kids were little and they had bowls of candy and nuts out for anyone to try. I asked about these other bowls that were up where no on could reach and she said that that candy and nuts were in these bowls for 2 years. We did get to try them later when most of the people were gone and they were just as fresh as if they had been put in there yesterday and that is why I think keeping that playdough all the time that she did might have been due to the tupperware.
I’m going to try this with my granddaughter!! I would love for you to stop by and share your stuff on My 2 Favorite Things on Thursday Link Party!! .
I love, love, love this! Thanks for linking this up this week at Merry Monday’s!
This is such a great idea! Pinning to try with my kids. Thanks for sharing at What’d You Do This Weekend? I hope you will join us again this Monday morning 🙂
Hi! I’d love to know if the result of this paint can be kept as a keepsake? Say if I spray a clear acrylic coating on top of it, perhaps?
I’d like to do this on my baby’s first birthday and possibly frame it.
thanks a lot!
I would say yes with some kind of clear coating on top.
Hi! Im teaching and was wondering if the pictures that are here are what the paint looks like? I want to try it, but all the other sites the paint looks chunky…. The kids are learning the colors and I want them to paint a rainbow for a banner with hand prints, do you think this would work?
THANK YOU!!!
As long as it’s well blended it shouldn’t be chunky.