
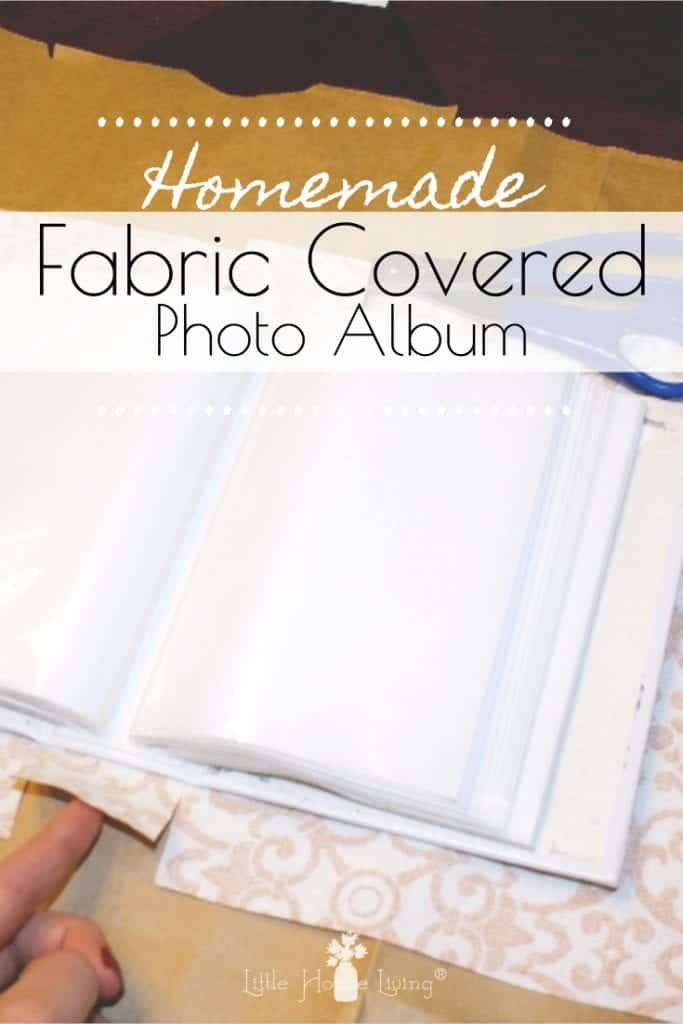
How to Make a Fabric Covered Photo Album
This post may contain affiliate links. Read our disclosure policy here.
Looking for easy, homemade gift ideas? This easy picture tutorial on How to Cover a Photo Album with Fabric makes a very personal and sweet gift that your friends and family will enjoy for years to come!
Simple Homemade Gifts: Fabric Covered Photo Album
Thanks to Claire, a LHL Reader, for this great tutorial!
About 15 years ago, my aunt, a creative elementary school teacher, taught me how to make these fabric covered photo albums. I don’t know if she thought of the idea herself or if someone else showed her how, but once she showed me how to make them, I’ve been making them ever since!
An easy, quick, and inexpensive craft that anyone can do, I’ve made these DIY photo album covers for everyone from my high school group of girlfriends to, more recently, a good friend having her second baby. With a few simple embellishments and some creativity, the design ideas are endless. Try adding ribbons, buttons, 3D stickers, and other scrapbooking supplies to come up with your perfect design!
–Want to have a simple, homemade Christmas? Talk to your Friends and Family About Gifts
How to Cover a Photo Album with Fabric
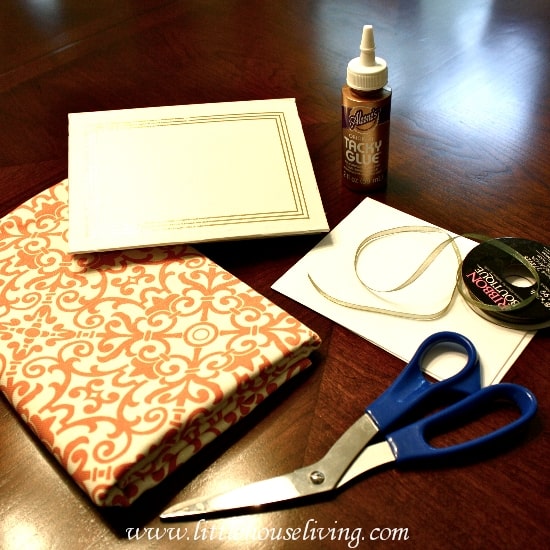
What You Need:
- plain photo album- any size will work, but the one I use here fits 4×6 photos
- fabric- enough to cover your album with about an inch excess on all sides (I get mine from Fabric.com)
- scissors
- iron/ironing board
- Tacky Glue- or other fabric-friendly glue
- small paintbrush
- card stock paper or something similar like 4×6 index cards, optional
- embellishments, optional
Time required: About 30 minutes.
Cost: $5-$10 depending on the fabric and embellishments that you choose.
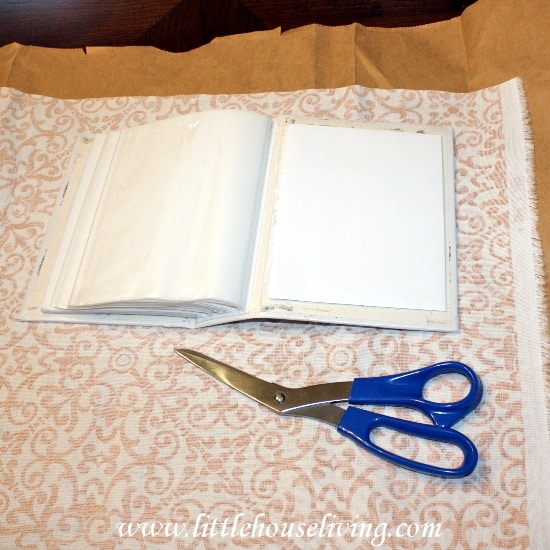
Step one: Lay your photo album flat on top of the fabric to measure out how much you’ll need. The small fabric swatches that places like Hobby Lobby sell in bundles are the perfect size for this project or you can use some scraps leftover from another sewing project. Cut your fabric so that it has about an inch of extra material all the way around the album. Iron your fabric smooth to get out any wrinkles.
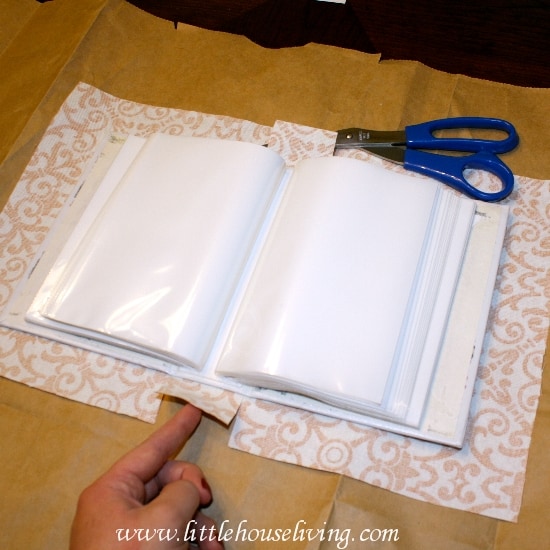
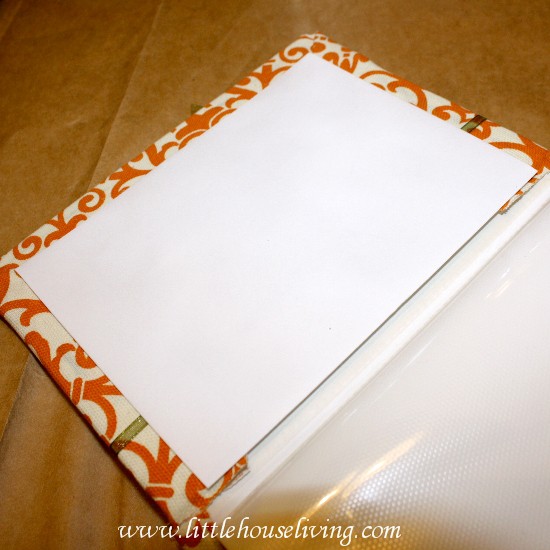
Step two: Return the album to the face-down fabric and make sure that it is neatly squared up, especially if your fabric has a pattern that needs to be straight. Use your scissors to make four small snips at the spine of the album, as shown in this photo.
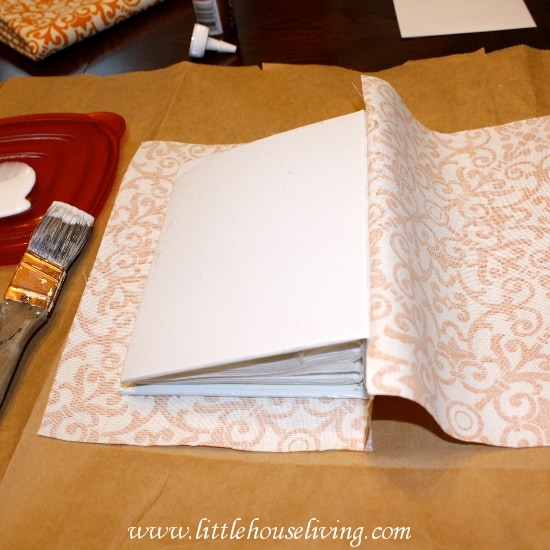
Step three: Starting at the spine, then moving to the front and back covers, you can now begin to glue your fabric to the album. You may want to do this step on a paper bag or something similar if you are working with kids because the glue can soak through the fabric and get on your countertop or table. *Note: Make sure you don’t glue it on so tightly that the album won’t close. I find it’s best to glue the spine and one side on a flat surface then close the album to glue the final side down.
Step four: Now you’re going to “wrap” the front and back of the album with the rest of the fabric, just like you would the ends of a box you were wrapping with paper. I like to glue the end first, then the top and bottom, being careful to make sure that the corners look nice. You may want to iron each fold before gluing to have cleaner lines and less bulky material.
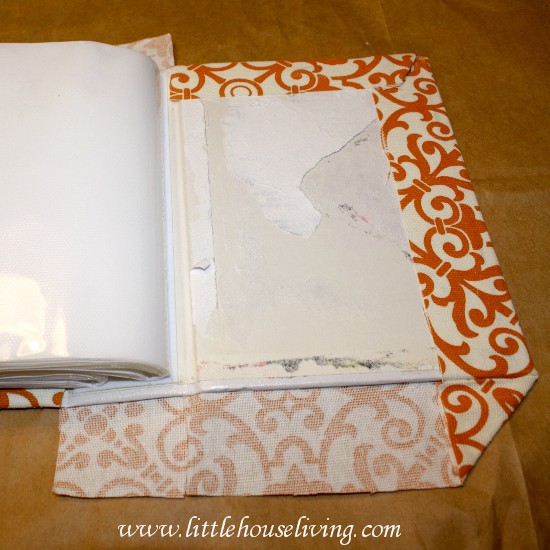
Step five: This step can be a little tricky, so you may need to help your kids with it if they are young. To finish the spine, you’re going to fold the fabric on itself and then glue it to the album, just like in step four, but this can be more difficult because the surface you’re gluing it to is much smaller. You may have to clip off some of the fabric before you start folding if you find there is too much.
Hold this part in place for a minute to help the glue stick and prevent it from coming loose. I have found that the fabric on the front and back can be pulled fairly tight without problems but the fabric here works better if it is a little looser.
Step six: You can stop at step five if you want a plain album, or you can add some embellishments now. I like to tie a simple ribbon around the front of my albums. Another thing that I like to do to help give it a more “finished” feel is to glue a rectangle of card stock or an index card inside the front and back to cover up where I glued down the fabric. This is completely optional, but I like the way that it looks.
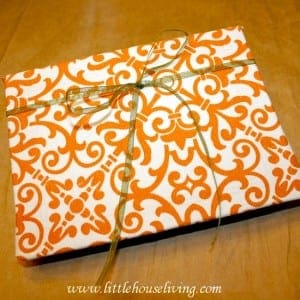
And you’re done! In a few easy steps, you’ve made a beautiful homemade photo album to keep for yourself or to give away.
Looking for more Handmade Gift Ideas? Here are a few to get you started:
Christmas Gift Baskets; Sweet, Simple Unique Homemade Gifts
100 Frugal or Free Christmas Gifts for Toddlers
Homemade Gifts for Kids
Non-Food Gifts in a Jar
Child’ Felt Fishing Lake
Snowman Pot Holder Sewing Pattern
Soothing Lavender Eye Pillow Pattern
Find even more Simple Homemade Gifts!


If you are looking to simplify your life even further, you may want to check my eWorkbook, 31 Days to Simpler Living! In it, you will find 79 pages of daily challenges, info and advice, and printable worksheets and checklists to keep you on track along your journey.
Who would you like to make one of these for?
This Homemade Fabric Covered Photo Album was submitted by
Little House Living reader, Claire.
Do you have a recipe or article to share?
Send Merissa Your Best Tips and you could be published!
This post on How to Cover a Photo Album with Fabric was originally published in November 2013. It has been updated as of November 2019.

This tutorial was very helpful. The father of my children passed away a few years ago and I wanted to make something they could remember him by. I used the levi jeans he wore and made this covered photo album for each of them. Now they have a little piece of him that holds all the memories that he shared with them as they grew.
Thank you for the great tutorial.
Ramona
I make these as gifts, myself, since I was in 7th grade. The only thing I do differently is where she uses the card stock on the inside covers, I have always used something a bit stronger and cover them with the fabric as well. And I normally use a ribbon on the edges between the cover and the ‘card stock’ to tie the album closed. Another great idea is to get a picture frame matt, smaller than the album, cover it with fabric and glue 3 sides onto the album to place a photo on the front of it. Lace around the edges always give it an elegant beauty too! 🙂
How much fabric??? How many yards??? I have made this in the past but forgot how much to buy?
Could you e-mail Fabric Covered Photo Album to me?
Great short article! Very educational and perfectly prepared. You protected the topic in excellent detail and delivered fantastic illustrations to back again up your points. This information will be an awesome useful resource for anyone hunting To find out more about the subject. Many thanks for the great operate!
Great report! Pretty enlightening and perfectly created. You coated The subject in wonderful detail and presented outstanding illustrations to again up your details. This information will be a terrific resource for all those seeking to learn more with regard to the topic. Many thanks for the great work!
Terrific write-up! Incredibly insightful and perfectly composed. You covered The subject in great element and offered great examples to again up your points. This article will be a great source for anyone hunting To find out more about the topic. Many thanks for The nice do the job!
Terrific posting! Extremely enlightening and perfectly written. You included the topic in great element and delivered great illustrations to back up your factors. This information will be a great useful resource for all those hunting to learn more about the subject. Many thanks for The good get the job done!