
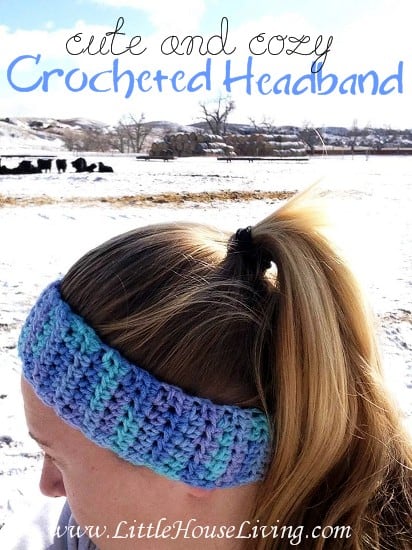
Cute and Cozy Crochet Headband Pattern
This post may contain affiliate links. Read our disclosure policy.
Crochet Headband Pattern
 Homemade headbands are not only great for keeping your ear warm in the winter and early spring, but they also can make great gifts for friends and family! Before sitting down to make your headband you should decide what function you want to use it for. I like a warm headband that is narrow enough to wear under another hat or hood! The design/pattern that I use can be adjusted to a thicker fashion band if desired. (Chain 14 in base stitch instead of 8)
I, like my sister am not good at following patterns on crafts. So the following stitches may be familiar to you or completely new! I just use whatever is easy for my finger and looks in the finished product.
Cute and Cozy Crochet Headband Pattern
What You Need:
- Size H Crochet Hook (Did you know you can get 12 Crochet Hooks for really cheap on Amazon? I love my set!)
- 1 Skein Yarn
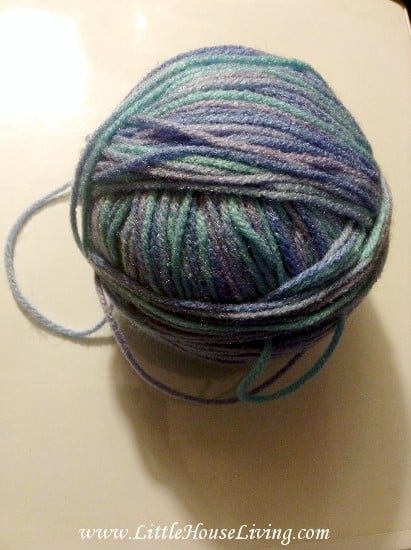
For the headband I like to find a thick yarn that will keep your ears warm, yet still be soft to the touch. Usually you should be able to find yarn like this pretty reasonable at Walmart. I chose a variegated for this project because I love the look of the finished product.
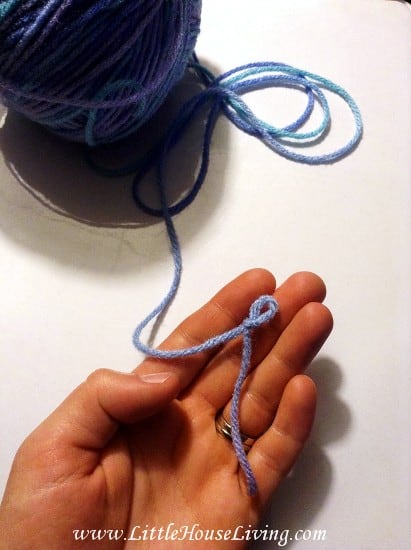
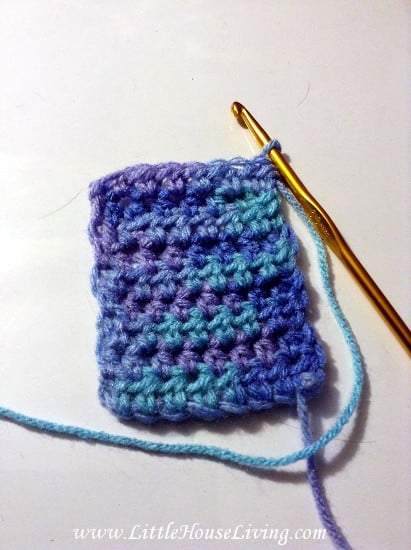
Start by making a little loop in your yarn. Don’t worry about the tail you can tuck it in or cut it off later.
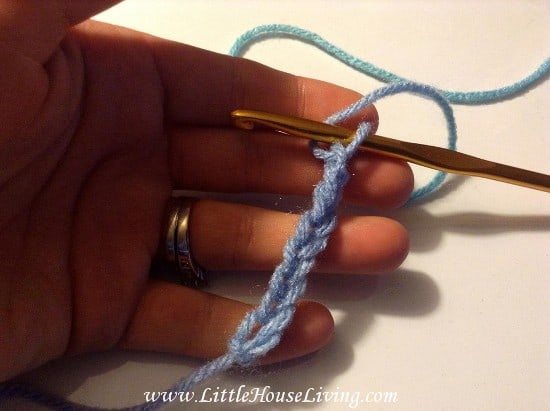
Next we are going to start chaining. This is done by putting your needle through your first loop, then winding another string around the crochet hook and pulling back through. You should have two little loops now! Keep on chaining till you have 8 loops that look like a small braid.
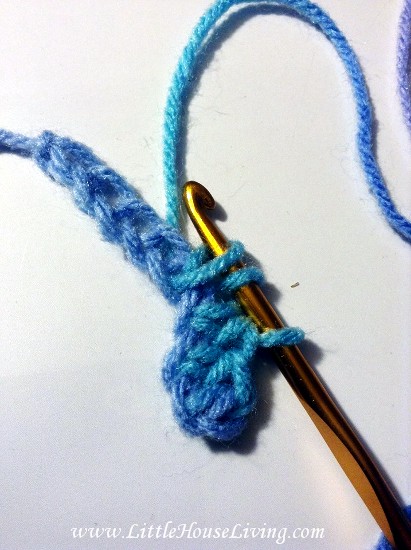
Next we are going to turn the corner and start the stitch we will be using. Add an extra loop. Now that you have an extra loop pick up a string and go back down and through the second base chain bottom loop.
Grab another string so you should have four strings on your hook now. Pull the string you just grab through the first loop. Then grab another string and pull through the three loops left. If you are pretty lost by now here are step by step pictures of how to do it. (This is the second of this chain of stitches so you can see the progression after the first.
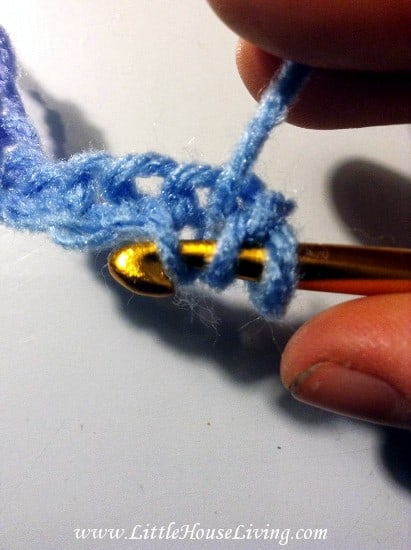
Grabbing String
Going down through bottom base loop
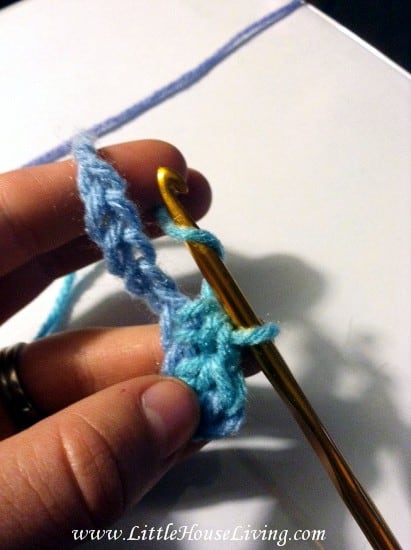
Grabbing 4th string
Pull 4th sting over 3rd string to come back to the 3 strings
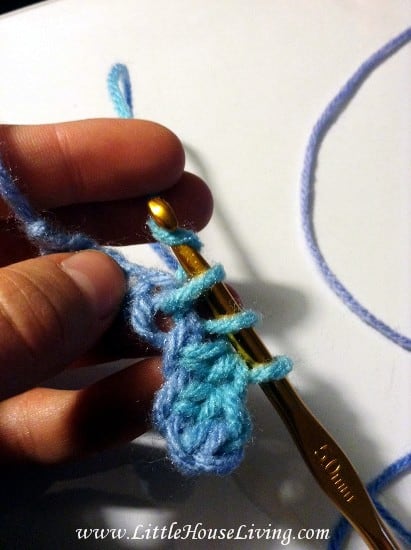
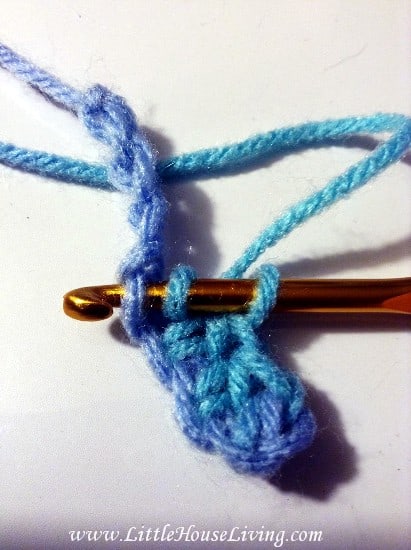
Grab one more sting
Pull through all three strings left on hook, and finish the line.
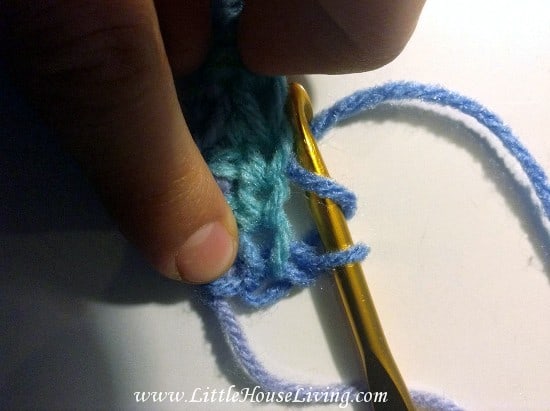
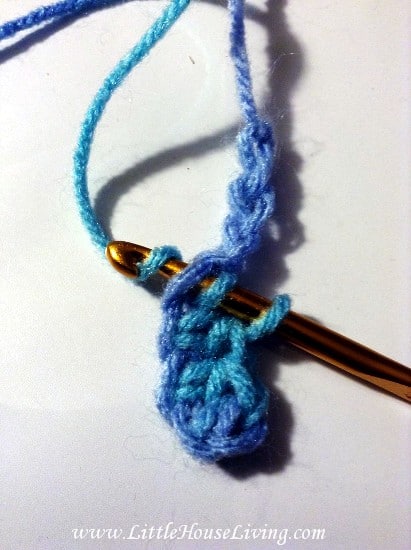
Now that you have the basic stitch down the rest will be a breeze! Turn the corner and chain on one loop. Grab a string and began again! The only thing different is your going to be going through and grabbing the top of the stitch instead of the bottom. Don’t forget to always start a new line by going into the second and not the first stitch. The loop to go into is right above my finger in the picture above.
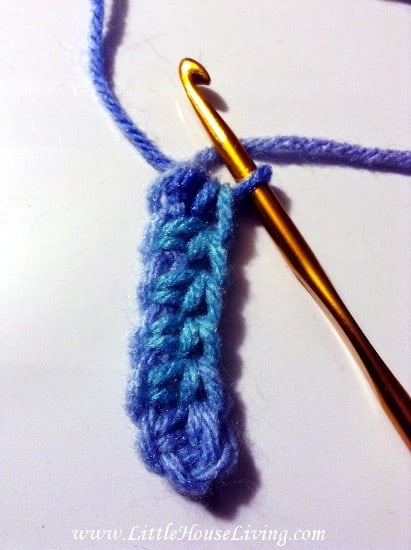
Should look something like this after 10 rows of the basic stitch.
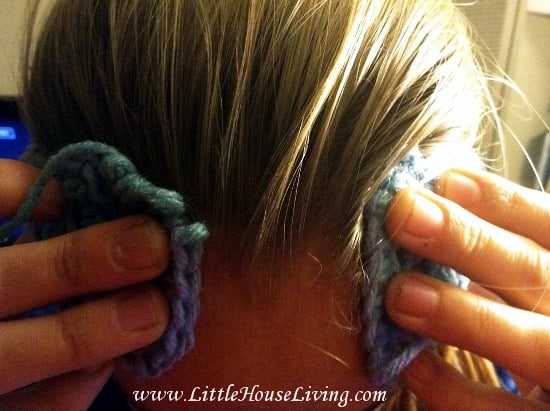
Keep on with the basic stitch till you have about 30 rows. Now this is the part where it gets a little tricky. You can measure your head before starting this project, but it won’t help. I just usually measure it around my head till I think I am close to having it long enough, but heres the thing. You need to not make it long enough to circle your head when you are just stitching. Measure it around the base of your head where your hair starts to the base of where your hair starts on our forehead. You want to leave about 1 1/2 inches of space like this.
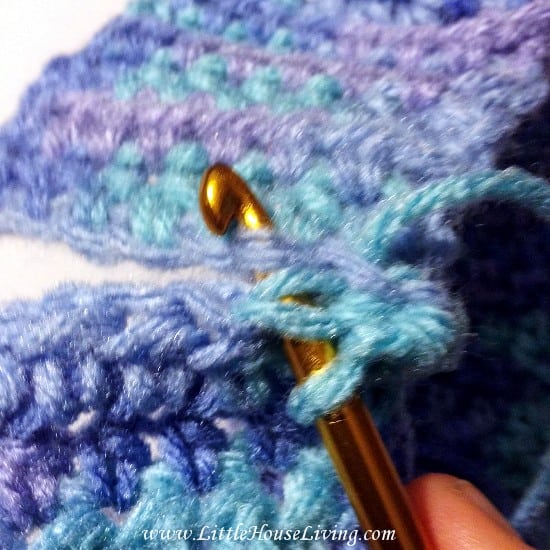
Now to the finishing stitch! Place your needle through the last loop of the base beginning stitch.
Grab string and pull through both loops on hook. You should have one loop again. Go through the two top strings of you last chain and second loop of the base beginning chain.

Grab string and pull through all four loops leaving you with one loop again. Repeat Process till the end.
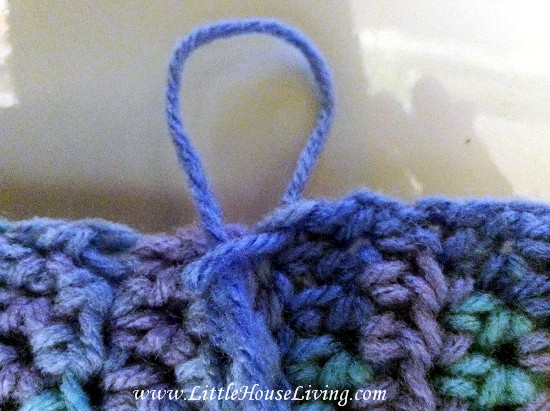
Pulling the last stitch through usually creates an end by itself, but if you feel better adding an extra knot at the end like this you can.
It seems like a difficult process at first, but after you make your first one you will fly through making them in less than 2 hours. Another great part about these headbands is that they do not take a whole skein of yarn. You could probably make 4 or 5 from one skein!

what a cute project! I love the step by step pics, too…especially since I am not normally a crafty person 😉
Thank you for the headband pattern, I started one, it’s been a long time since I crocheted and my question is at end of row, I ch 2 and turn, is that counted at part of my 14 stitches?
I believe that should be in addition to the 14 stitches.
This is a great tutorial! You’ve inspired me to go dig through my yarn pile. 🙂 I tend to like headbands rather than actual hats to keep my ears warm.
I have a question for you. I make my own whole wheat bread, but I want to get even healthier with my ingredients. Have you bought bulk wheat berries and ground them into a flour? I Could use your help on buying berries and a good grinder/mill to buy. Also instructions on how to do it.
I am a faithful follower and am changing my life over to everything homemade. Many thanks
Hi Donna, you might want to check out this post for Homemade Wheat Thins where I used my flour mill to grind fresh flour to make the crackers. I recommend the Wondermill Flour Mill. That’s what I have and have been using for years 🙂 You should be able to get wheat berries at most health food or bulk food stores. Using freshly ground flour is very similar to using regular flour, you just have to use a little bit more of the fresh flour in the recipe than you would regular flour. I hope that helps!
This is so simple and something I could finish before getting bored of the project. I bet you could do this with almost any stitch.
I’m new to your site, and I’m so glad I found you via Pinterest. I clicked over for frugal money saving tips, but I’m so happy to find recipes for homemade foods 🙂
Welcome! I’m glad you found your way here 🙂
My almost teenage daughter just learned how to crochet. I think she would really try make one of these.
Hi Marissa,
I was gonna let you know I got the email newsletter today and the link for this project went to an Amazon page for a pressure cooker 🙂 But I still looked this up cause I think my daughter would love this.
Ah whoops! I was sharing that with a friend 🙂 I’m glad you found the post!
Am I correct in saying that this is a half double crochet??
Wondering the same thing? What stitch are we making and is it done through the usual top two stitches or is it done in the bottom chain loop on the back side?
I plan to make one of these tonight. I tend to keep the heat down in my house, but sometimes my ears feel a little chilled. Thanks for the link for the crochet hooks too. I know I don’t have a full set, so I ordered some….2 sets, in fact!
You will like this, so nice having a big set for all kinds of fun things! 🙂
Is the basic stitch you describe, a half double crochet or something else?