
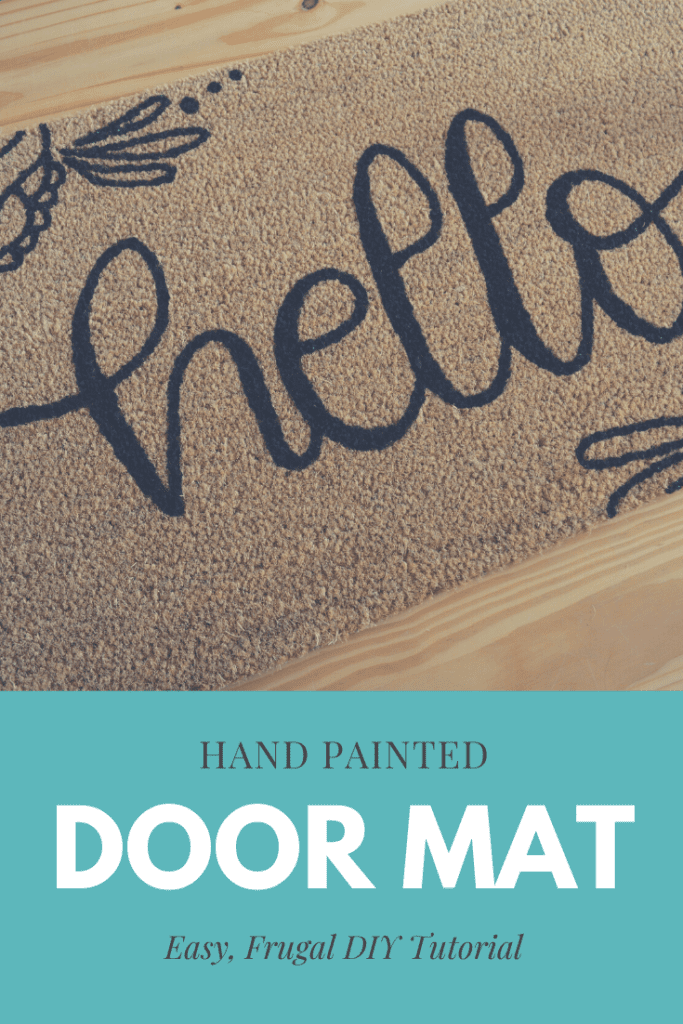
DIY Hand Painted Door Mat Tutorial
This post may contain affiliate links. Read our disclosure policy.

Looking for a custom door mat to grace your front door? Here’s how to make your own DIY Door Mat!
DIY Hand Painted Door Mat Tutorial
Spring is around the corner, and it’s one of my favorite times of year to spruce up around the house. I love having a fresh, new door mat to welcome guests every year, but the price of retail decor mats can really add up. I have a tutorial to help you decorate your very own weatherproof door mat using common, affordable items. Hand painting your own mat not only may save you money but can also be customized to your family and your preferences. The possibilities are endless, and no stencils or pricey machines are required!
The first step to creating your own hand painted door mat is making sure you have all the materials you need. It’s quite simple, really – just a mat, permanent marker, craft paint, stencil brushes, and a weather-friendly spray clear coat. For this tutorial, I will be using an 18 x 30″ coir door mat and black acrylic craft paint. I’ve found these mats to average about $10, and have come across some as little as $6 from general retail stores. I chose black as my paint color because it simple and timeless. Feel free to experiment a little and choose your own favorite colors!
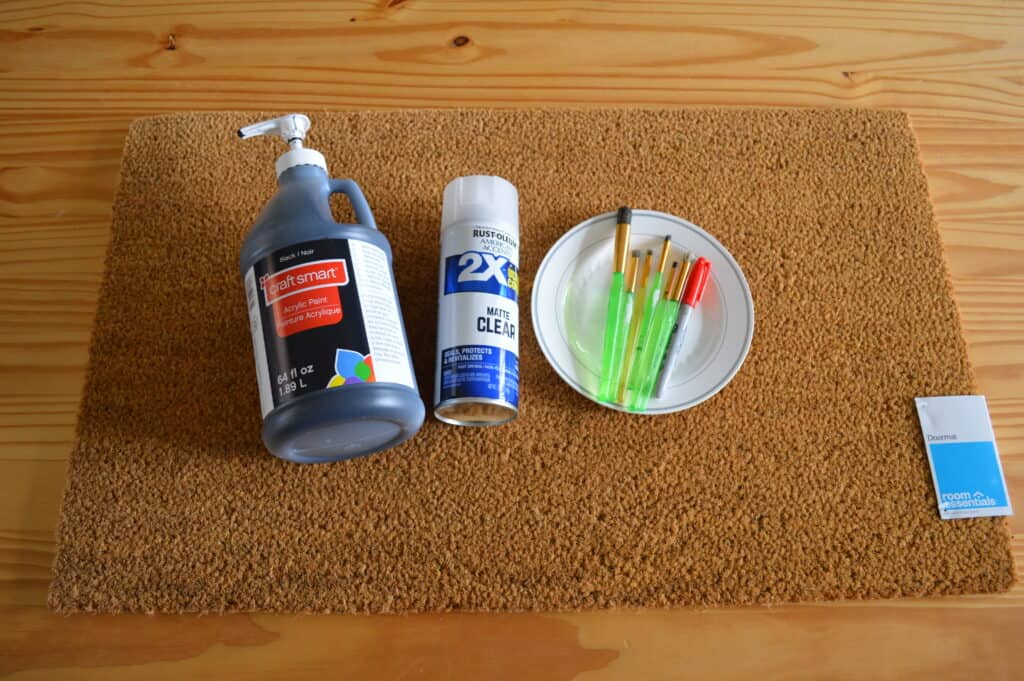
Materials needed for your DIY door mat…
- a coir door mat in your choice of size
- a permanent marker (I like to use red because it’s a little less obvious if I make an “oops”)
- craft paint (I recommend purchasing at least one 2 oz. bottle – two to be safe!)
- small stencil brushes (I recommend purchasing a variety pack)
- a can of weather-friendly clear coat
- OPTIONAL: painters tape
- OPTIONAL: ruler and/or yardstick
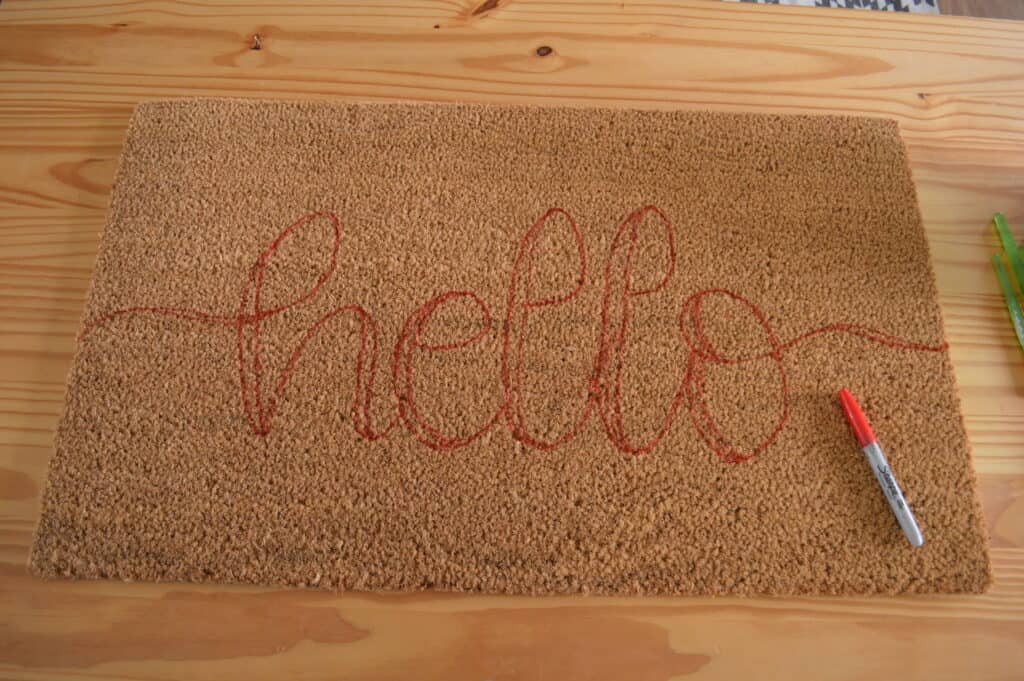
Start out by organizing your workspace and materials. I like to find a comfortable table and cover with newspapers or an old sheet. A foam plate works great for holding your paint. Clip any tags or stickers from your door mat, and begin tracing out your design in strokes. This is where the painters tape and ruler come in handy, if you choose to use them. They can help act as a guide for leveling out your design.
Tip: If you decide to add words or a name (I almost always do), it’s best to go with a look that mimics handwriting. The reason for this is that it is much more forgiving. Make your downstrokes thicker for a neater look!
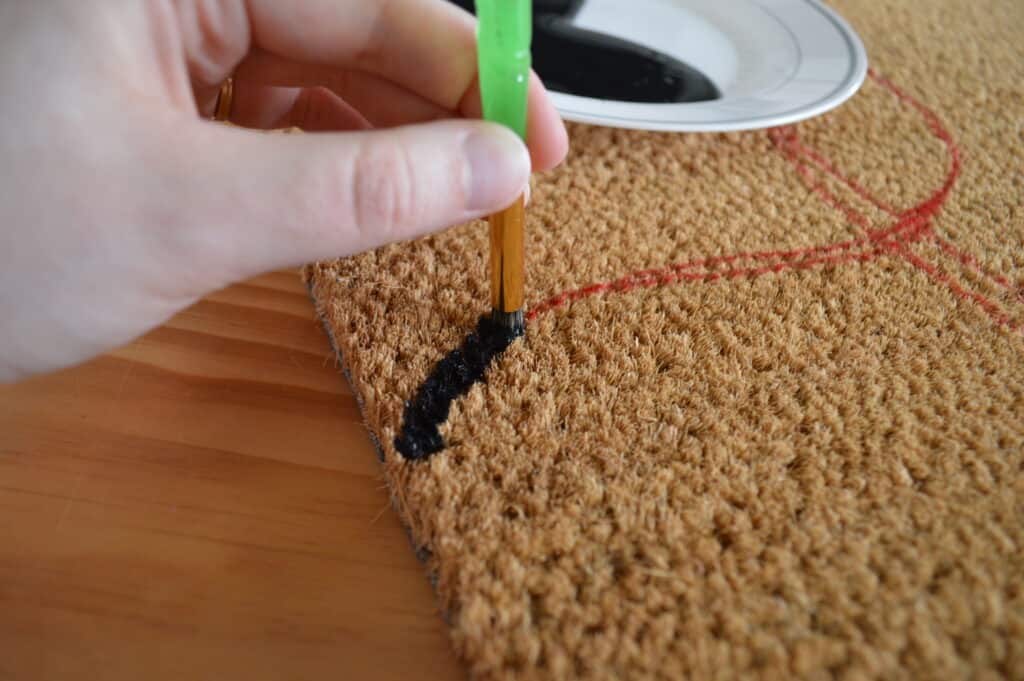
Next, grab one of your stencil brushes and liberally apply paint over your tracings. I usually start out with a smaller brush, and adapt from there. Hold your brush straight up and down and dab into the material with slight pressure. Continue until you have covered all of your permanent marker strokes.
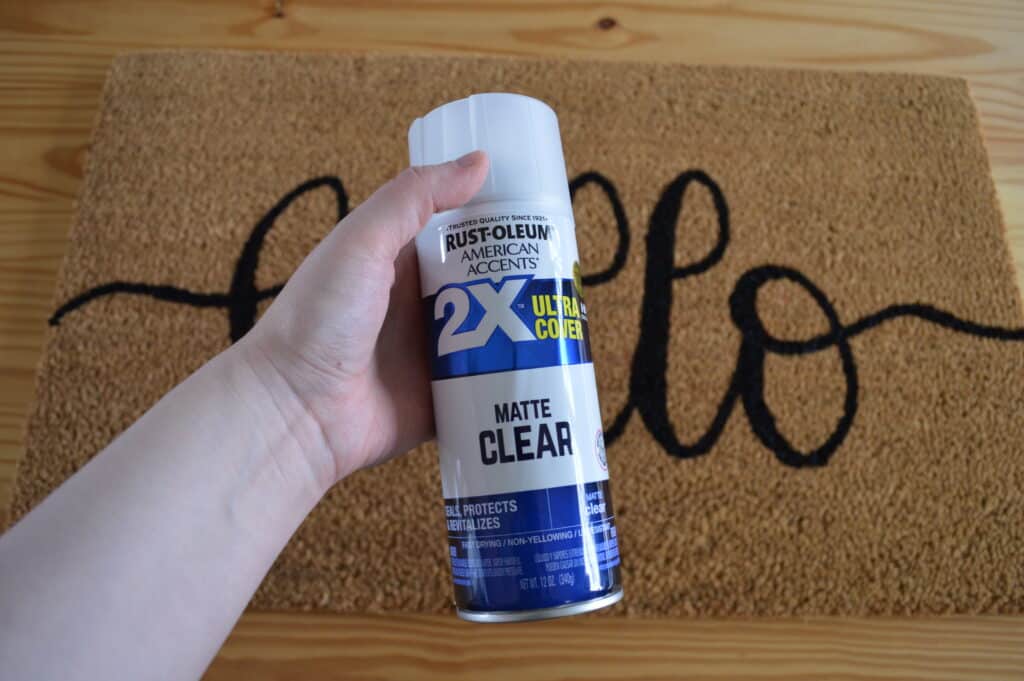
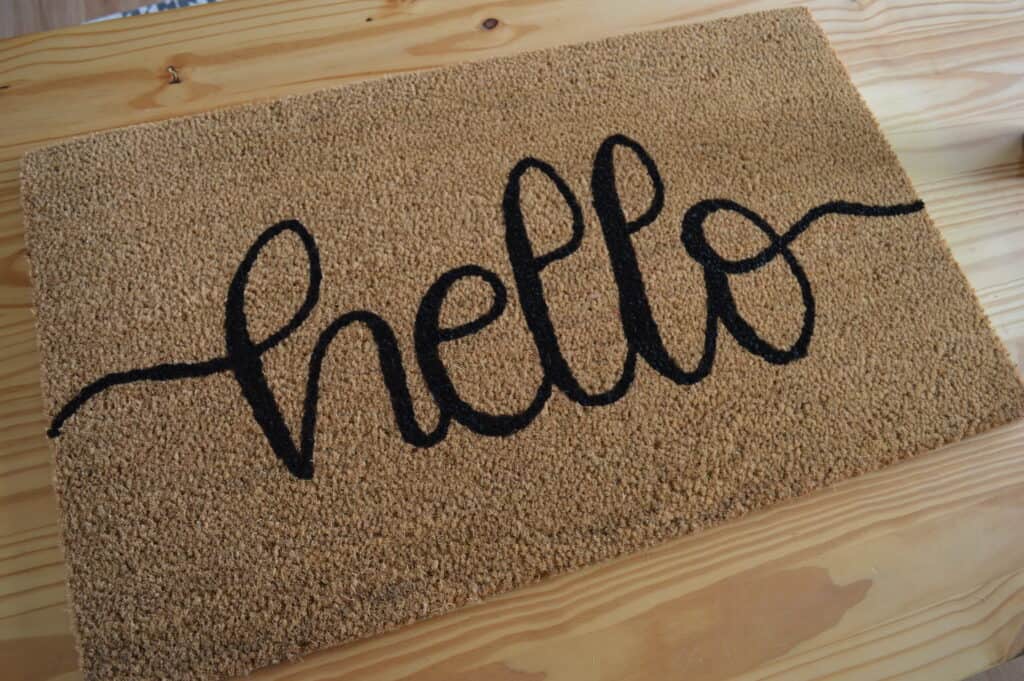
In the end, allow your mat to dry for at least an hour, then you can apply the clear coat over your design. I suggest doing this in a well-ventilated area and letting it air out there. Once it’s dry, that’s it! You’re done!
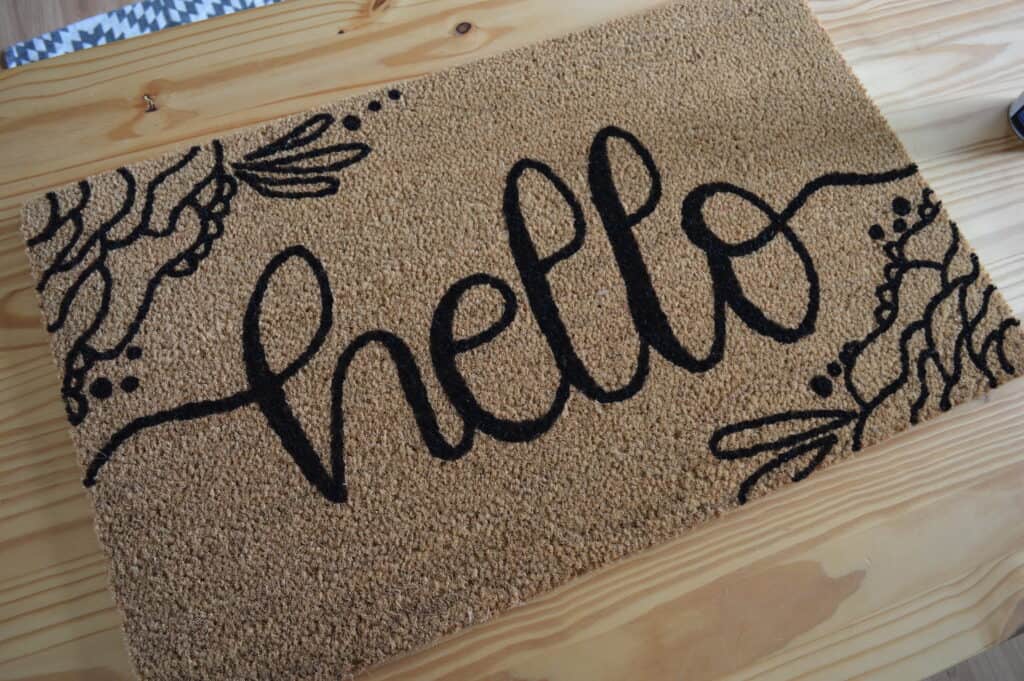
Display your mat on your porch, or give as a gift. They make wonderful, unique gifts that your friends and family will love.
Ashley resides in the Midwest with her husband and little family. She enjoys learning and living all things home – home decor, homesteading, homemaking, and home life. She manages her own social media account, Calico Homestead, and enjoy sharing my stories and discoveries with kindred spirits.
That is so darned pretty. You are amazing and wonderful for sharing your ideas. Do not ever forget how much you are appreciated by your followers.
Esther
Awesome. This is a great idea. Thank you.
This is such a neat idea! I pinned it to make sometime.
I believe I will repurpose worn out mats!
Really cute. Is it as easy as you make it look?
This is such a Cool idea! I look forward to trying this!
Thank you for all your inspiring crafts and recipes!
I always look forward to reading your emails! 💞
AHHHH I just moved into a new rental and I’m going to start making mine.
I always look forward to your emails