
How to Make Kombucha
This post may contain affiliate links. Read our disclosure policy.
I’ve been making my own kombucha for a while now every since I realized that my husband’s kombucha drinking habit wasn’t going to stop any time soon. It’s MUCH less expensive to brew it at home and my husband likes it even better than the store version.
How to Make Kombucha
Making homemade kombucha does take quite a few steps, but once you get used to the process, it’s quite easy and will just be another thing that you add to your regular routine. You can make just about any flavor that you want, and it’s fun to experiment with different kinds to see what you like.
Please note that I make 2 gallons of kombucha at a time because that’s what I have for containers, and that’s what works for our family. You may need to make more or less depending on how fast you go through it. All of my directions below will be for exactly how I make it.
What You Need to Make Kombucha
- Tea Kettle
- Gallon Jars (4)
- Half Gallon Jugs (3)
- Black Tea Bags
- Flavored Teas
- Strainer/Funnel
- Cloth Napkins & Rubber Bands
- Water Jug
- Scoby Starter Culture
- Dried Ginger
- Measuring Spoons
This tutorial is based on the idea that your cultures are ready to go. If you are using brand new SCOBY starter cultures, you will need to follow the directions on the package.
The cheapest way to get your kombucha started is to just get a SCOBY starter from a friend that already brews kombucha. I got my culture from my mom.
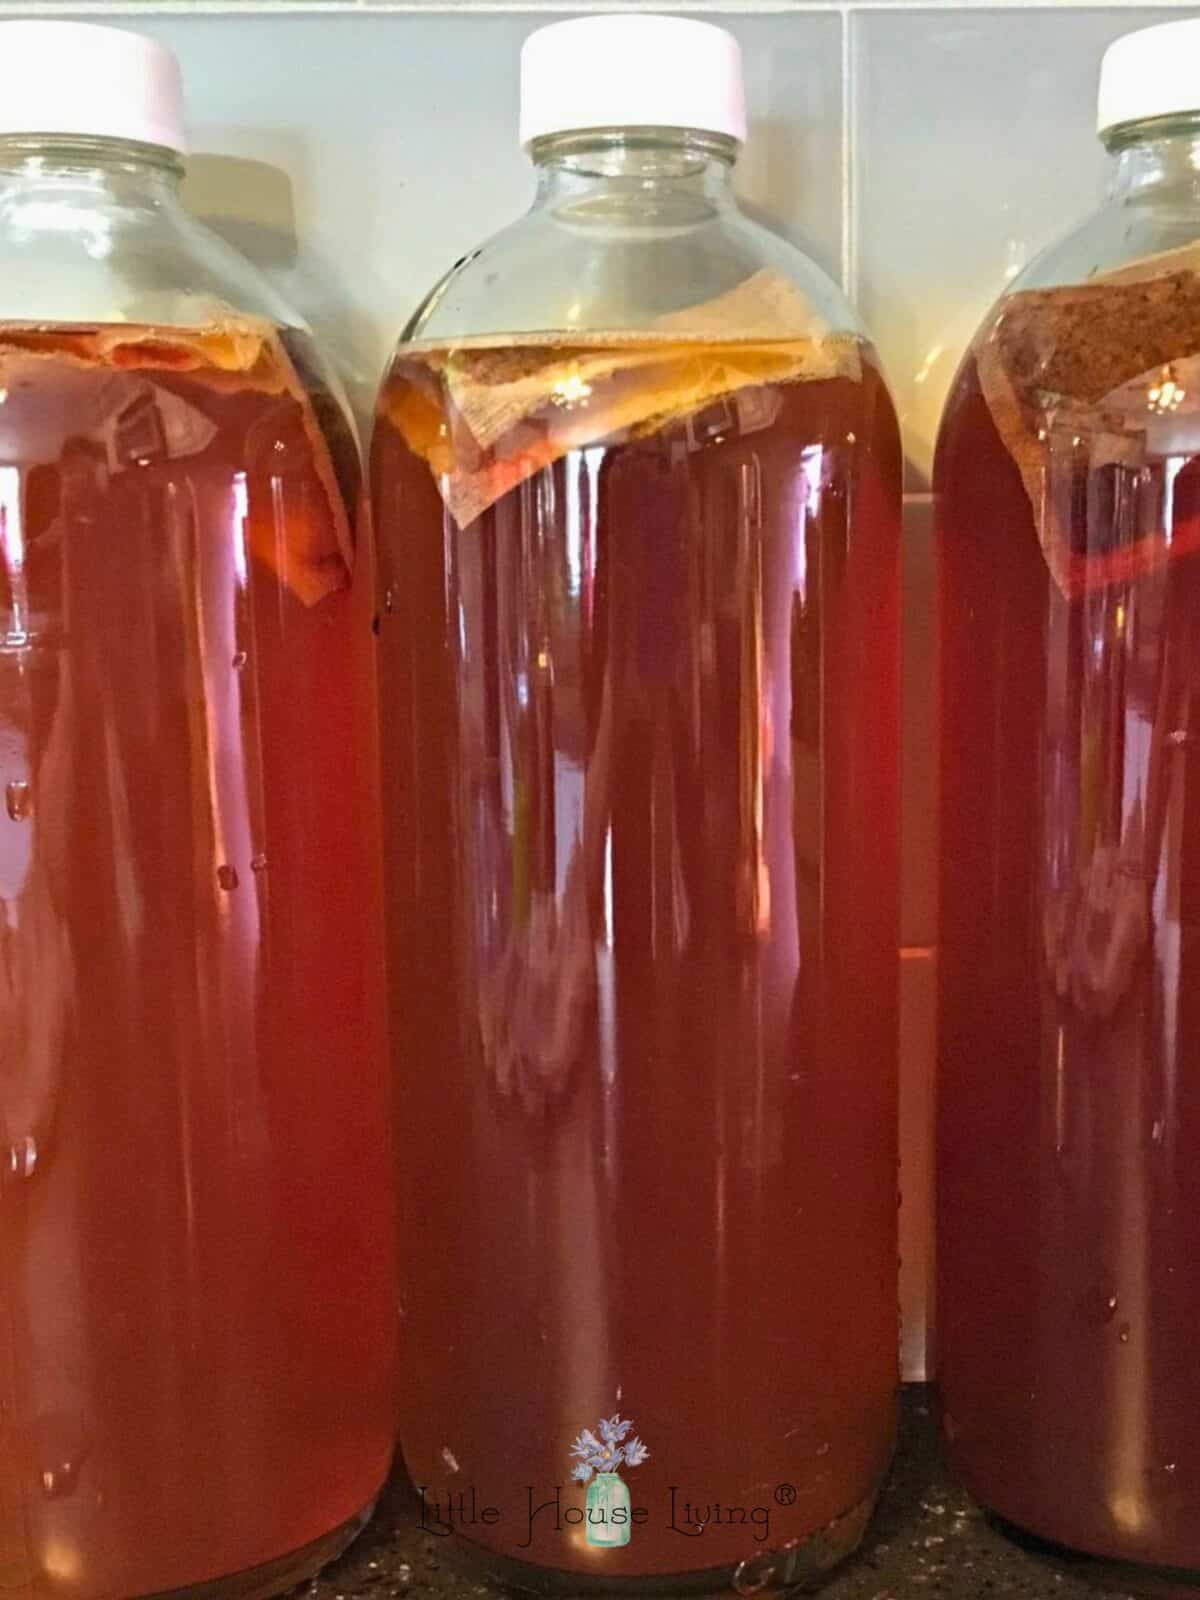
Assuming you aren’t starting from scratch, the first thing you’ll need to do is brew your black tea. I have the 7 Quart Size Tea Kettle from Lindy’s and I fill it full. Then I add 6 black tea bags (3 per gallon) and 1 1/2 cups of sugar (3/4 cup per gallon). The sugar is necessary to give your cultures something to feed on, so don’t try to skip this step. Brew your sweetened tea like normal and then let it come to room temp. I usually brew mine the night before to give it plenty of time to cool.
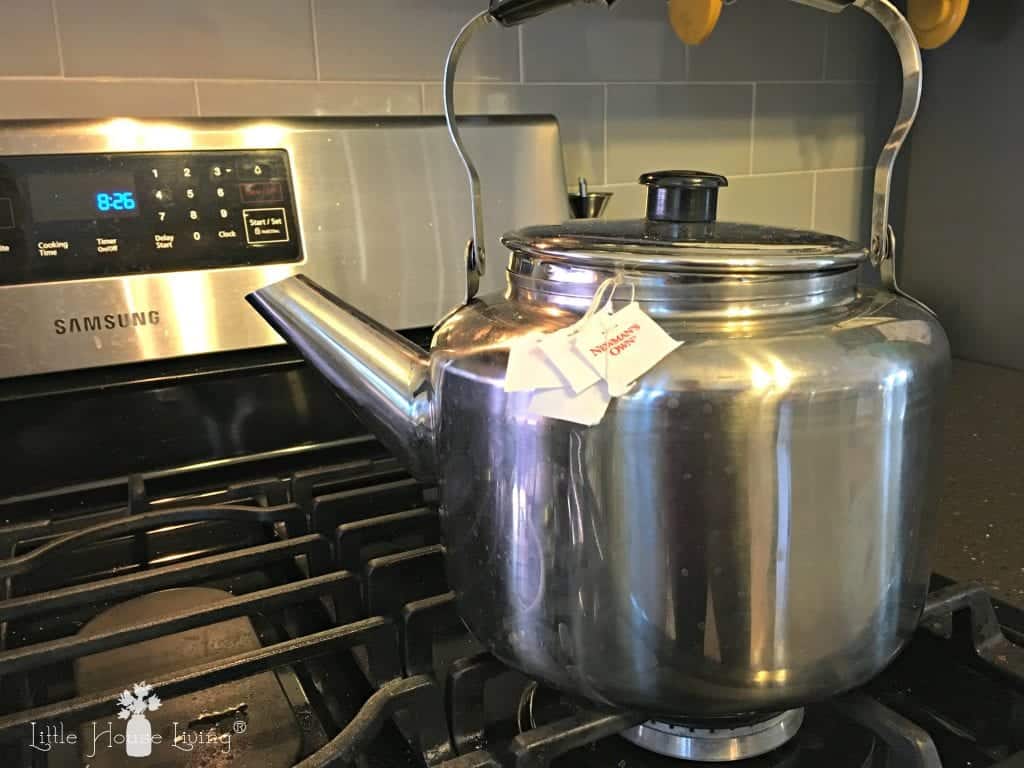
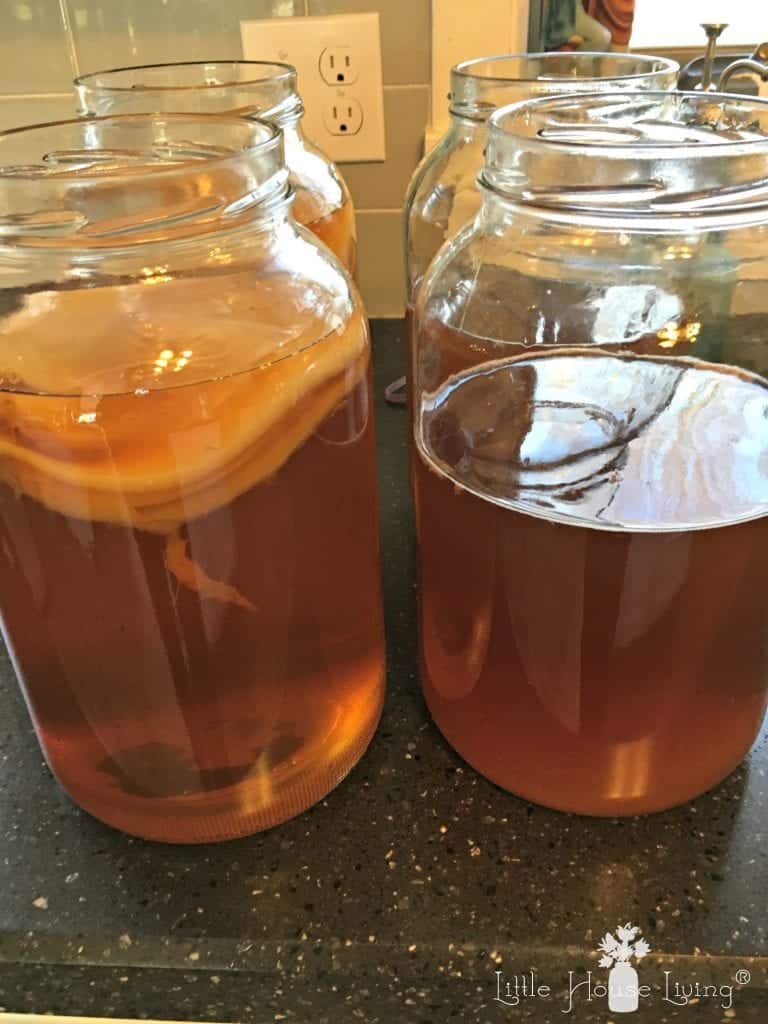
Here’s a look at my kombucha that is ready to go. You can see that the SCOBY has many different layers, and I actually removed some when I made this batch because it was getting to be too much.
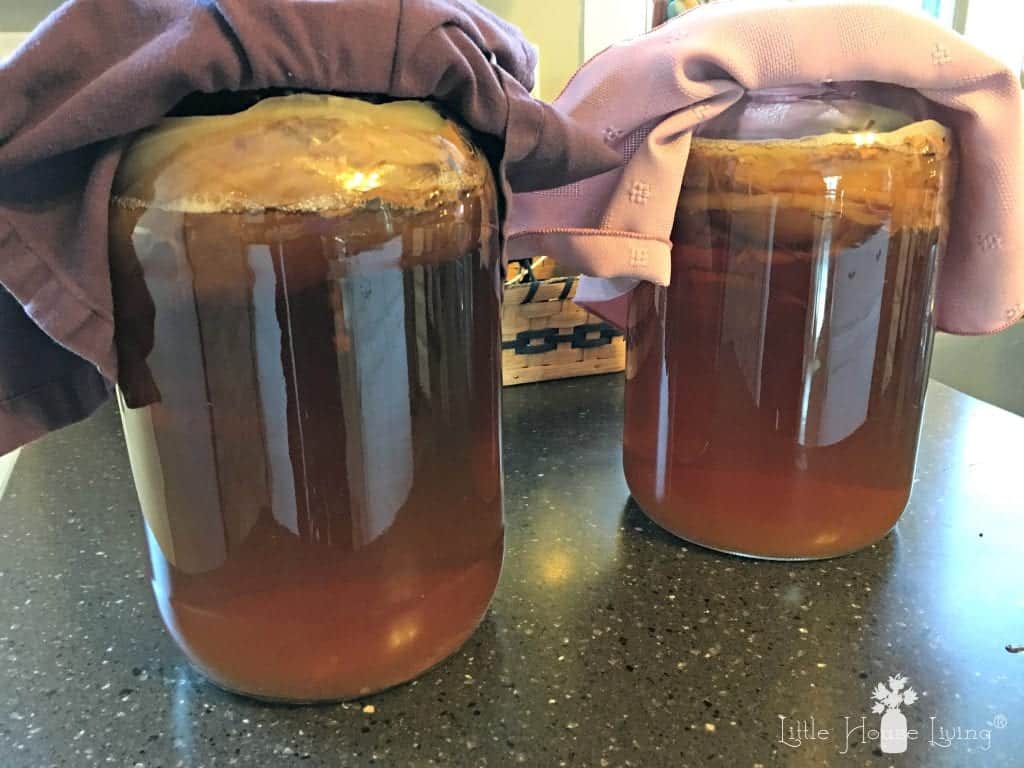
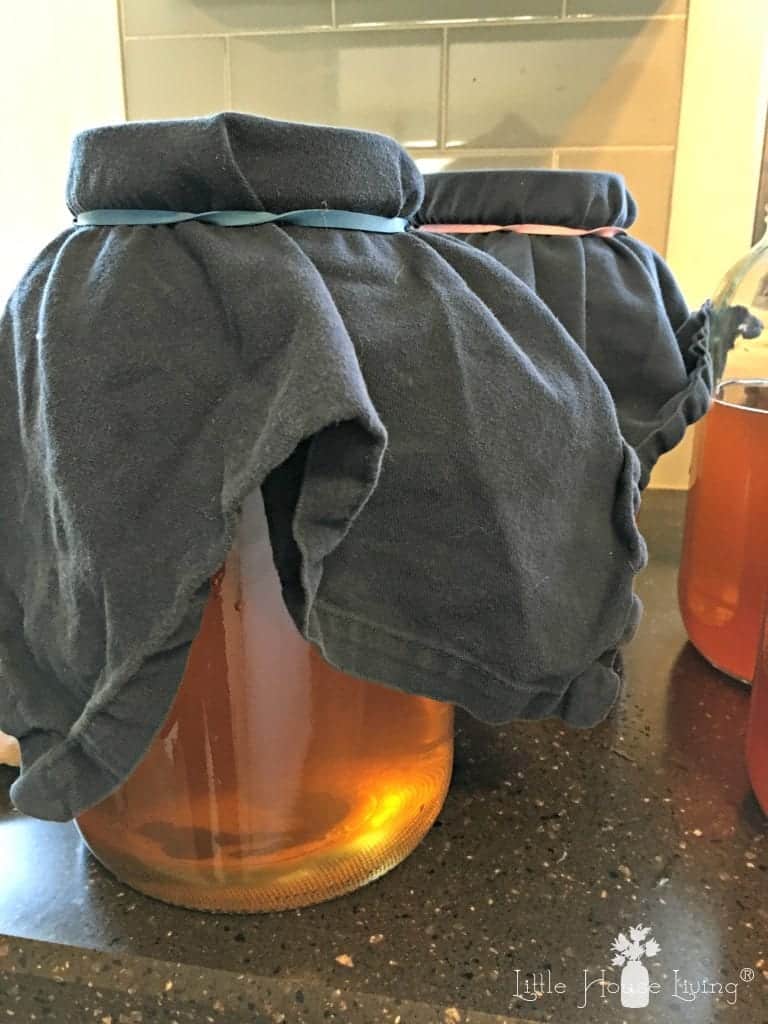
I store my gallons of fermenting kombucha in the pantry where the temperature doesn’t fluctuate and it doesn’t get warm. I place a cloth napkin on the top of the jars secured with a rubber band to give it some breathing room.

Another look at the layers of my SCOBY in the gallon jar.
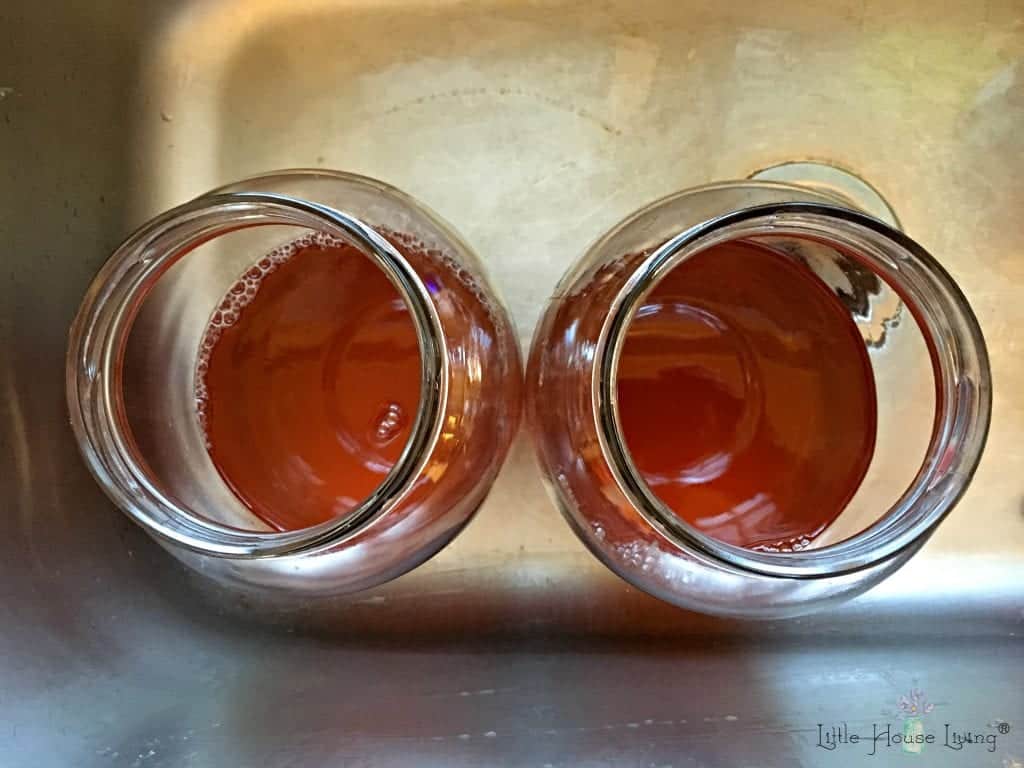
Getting started! Using 2 clean gallon glass jars, pour half of the brewed black tea in each jar. I do this all in the sink because I like to make a big sticky mess.
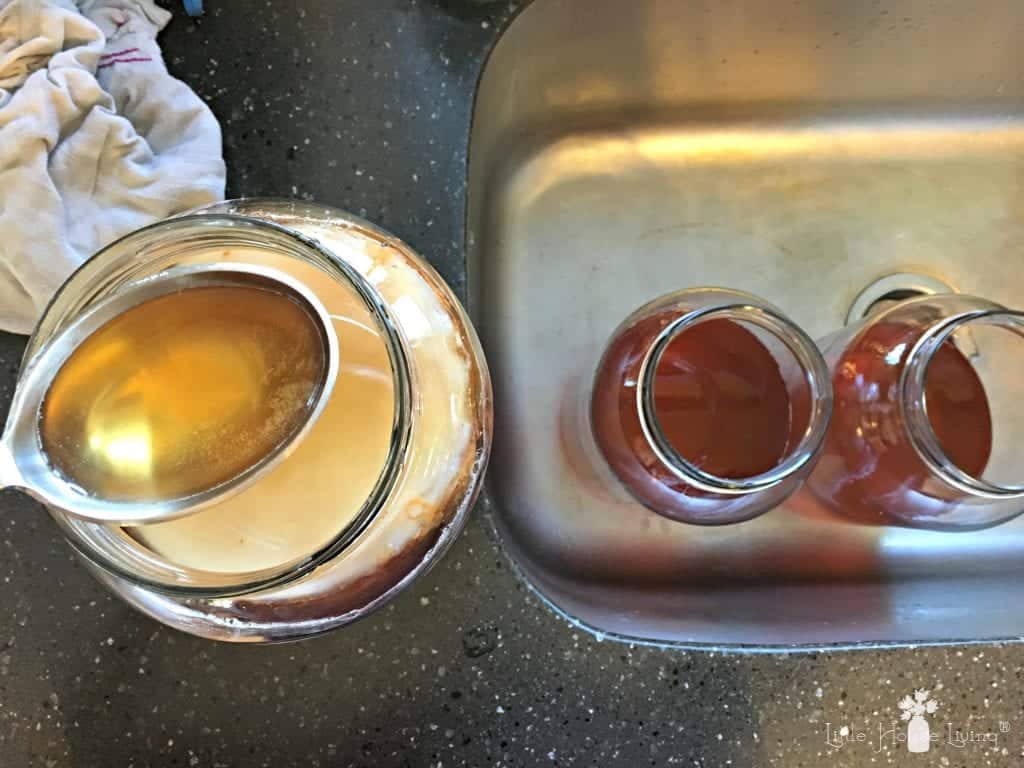
Now take the already fermented gallon jar of kombucha and carefully take 2-3 cups of the liquid and put it into each of the new gallon jars (the ones with just the tea). This will give your new gallon a little of the starter liquid to help the SCOBY along.
Here’s my Long Handled Measuring Spoons by the way. I LOVE them and use them for everything!
Once you’ve done this, add water to your new gallon jars. Just be sure and leave room for the SCOBY on the top. I use filtered water from our Berkey. (And I pour it in the gallons with the milk jug that we use to fill our Berkey, which is also from Lindys.)
Now you’ll need to take the SCOBY from the top of the old gallon jar and add it to the new gallon. Make sure your hands are CLEAN before you do this! You don’t need to introduce any bad bacteria to your kombucha. I just pick up the SCOBY in my hands, fold it like a taco, and then set it down on the top of the new gallon.
Once the transfers have been made, place a new, clean cloth napkin on the top of the new gallon jar and secure it with a rubber band. Carefully place the jars of kombucha in your pantry or wherever you can store them in a cool, dry place. Then make a mark with a date 10 days from now so you know when it’s time to repeat this process again. I just make a note on my planner.
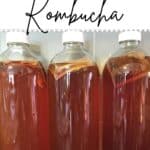
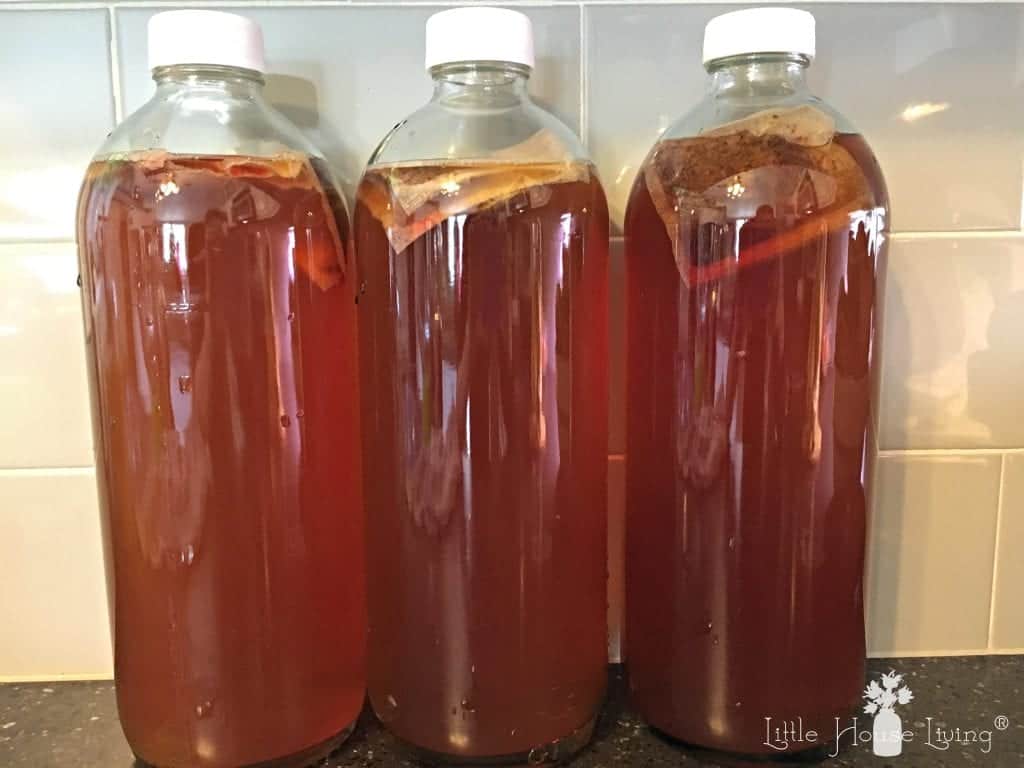
Now for the other part of this, the 2nd ferment! Each batch of kombucha will have 2 parts…getting the first ferment ready to go again (just like we did above), and getting the 2nd ferment going. For my second ferment, I use 3 old GT’S half gallon size jars. These seem to be the perfect size for how much kombucha we make at a time and they have a nice top which helps the tea carbonate better.
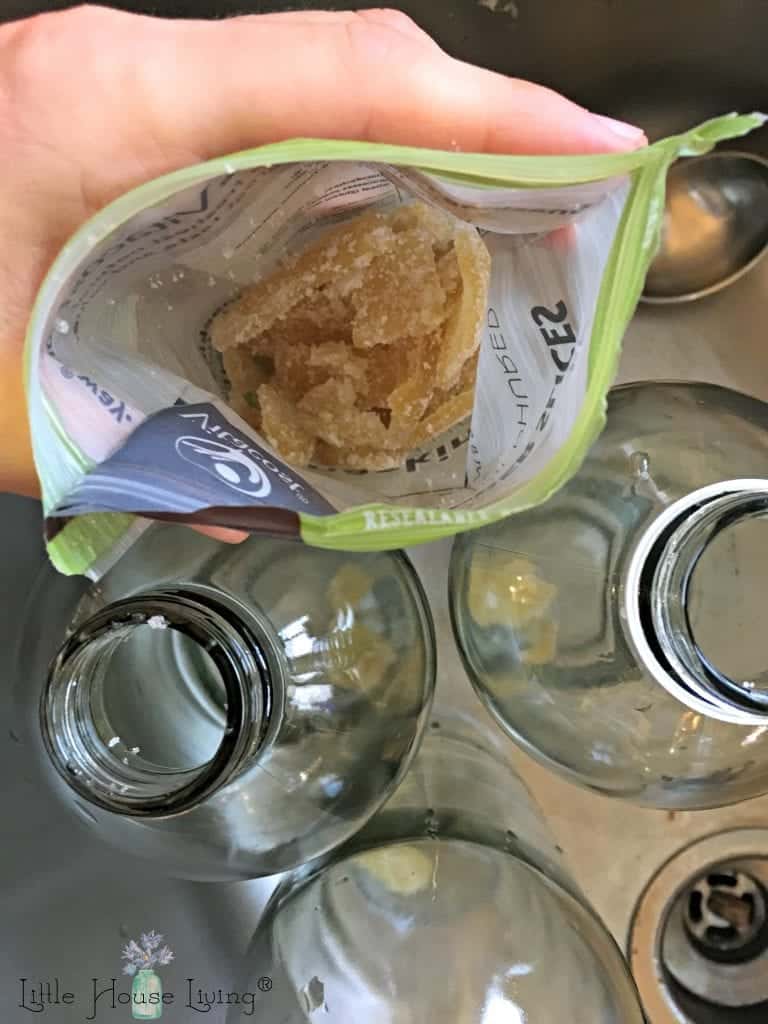
I start by putting a slice or two of dried ginger in each of the bottles. You want to get the kind that is coated in sugar (for the fermentation process) and that does not contain sulfates.
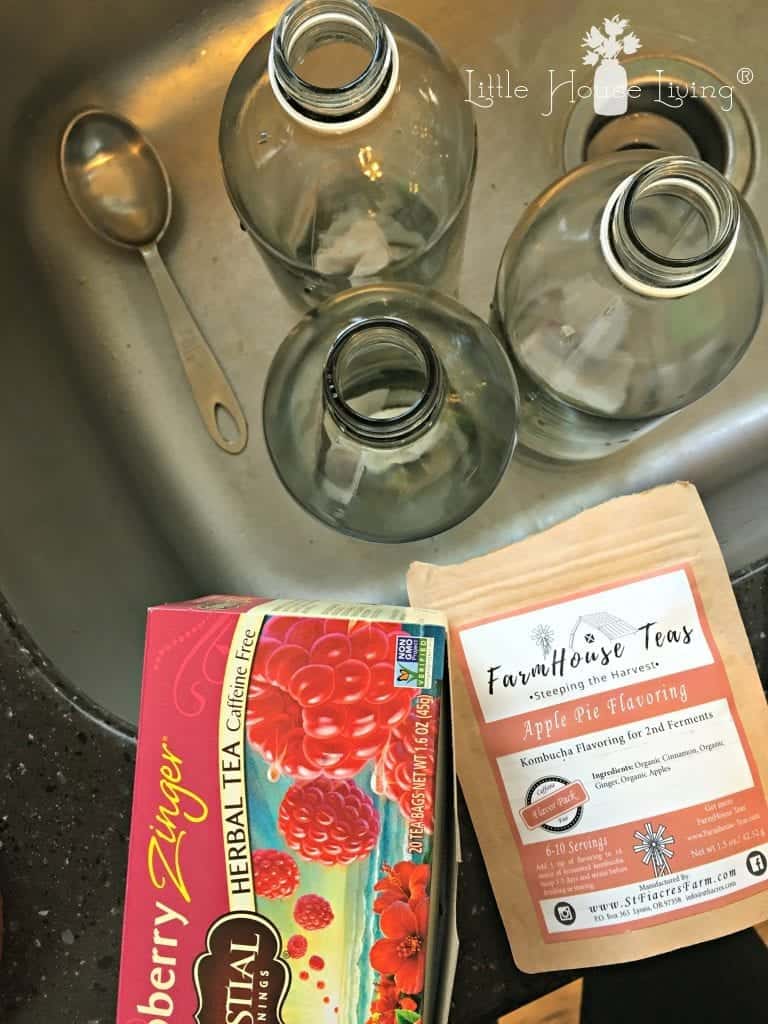
Now, you can pick what and how you are going to flavor your kombucha! If you don’t have any flavored tea on hand, you can simply slice in some of your favorite fruits to give it some flavor. We’ve also done a bit of juice for flavor as well. The easiest way we’ve found to flavor our 2nd ferment is to add flavored tea. Celestial Seasonings teas are easy to find (you can get them online or at Walmart), and I’ve also tried the flavored loose teas from Farmhouse Teas.
If you are using fruit, add whatever you’d like. If you are using tea bags, 3 tea bags per half-gallon seems to be the perfect amount of flavoring.
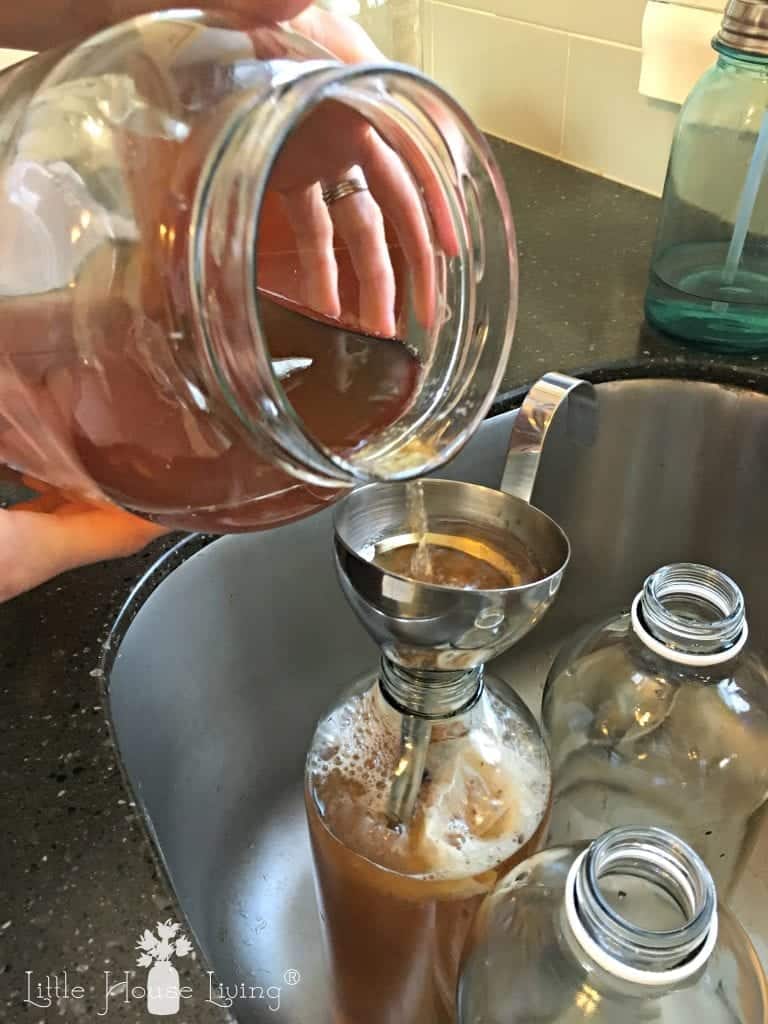
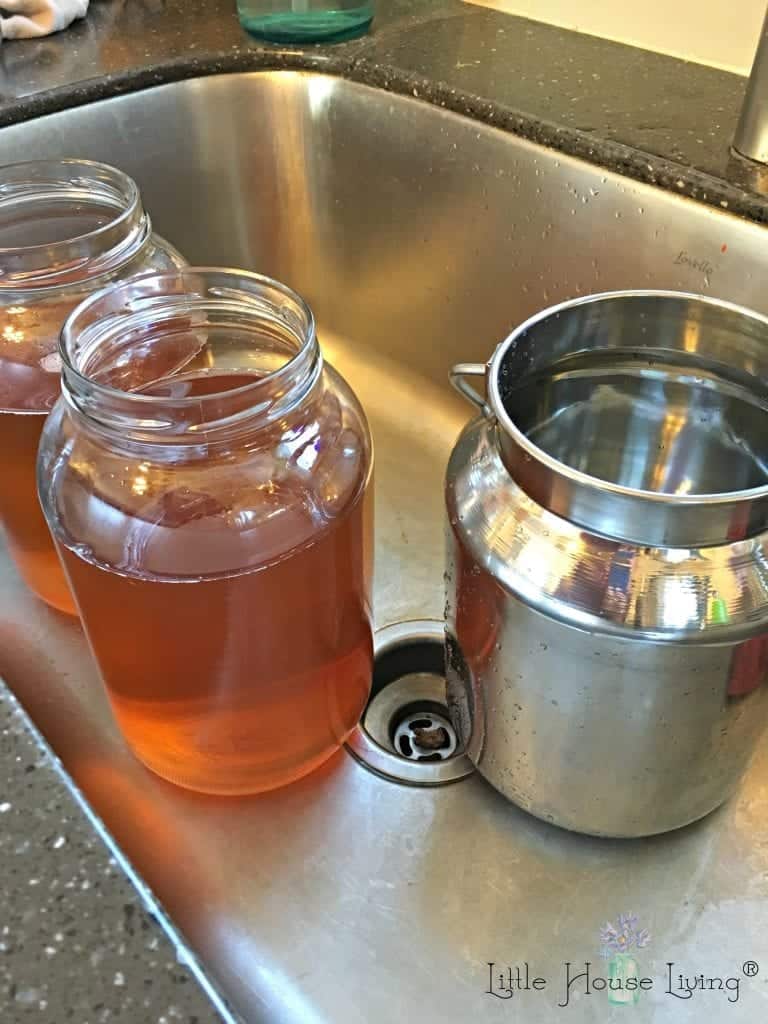
Now place the strainer/funnel in the top of the jars. I use this one from Norpro and it helps catch any of the yeasty parts that are in the bottom of the gallon jars. Slowly pour the 1st ferment kombucha into your 2nd ferment jars.

Like I said, we’ve found that 3 half gallons is the perfect amount of jars needed for the 2nd ferment if you are making 2 gallons of kombucha at a time. You are going to want to fill these almost to the top but leave them a little bit of space or they might explode and leave a sticky mess while they are fermenting.
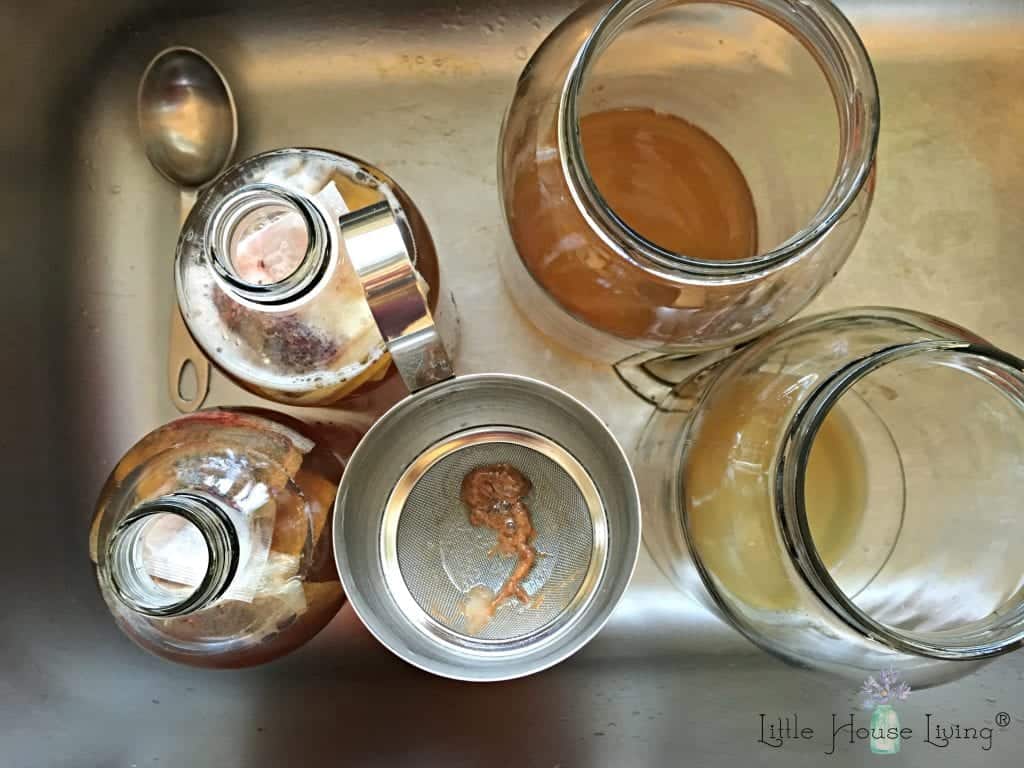
Here’s what my sink looks like after I finished getting the 2nd ferment ready. You can see the empty gallons that I just poured into the half gallons that are also filled with their flavored tea bags. The strainer is still sitting in the top of the last half gallon jar and has a nice big piece of yeast in it that I strained out.
Now put the lids on the half gallons and stick them right on the countertop in an area that will not be disturbed for the next couple of days. The 2nd ferment needs to sit out for 5 days before you place it in the fridge and it’s ready to drink. We do not strain this and leave it in these bottles (in the fridge) until we are ready to drink them so the flavor keeps compounding.
Hopefully, this tutorial makes sense! I know it’s a lot of steps, but like I said above, once you get used to the routine of doing it (every 10 days), it becomes second nature, and you will always have freshly made kombucha!


Merissa Alink
Merissa has been blogging about and living the simple and frugal life on Little House Living since 2009 and has internationally published 2 books on the topic. You can read about Merissa’s journey from penniless to freedom on the About Page. You can send her a message any time from the Contact Page.
SCOBY not Scooby.
Fixed 🙂 My fuzzy sick brain did NOT help me write this article!
I make mine almost the same but use the flip top bottles from Geyer Freres. I got the bottles at Aldi with lemonade in them. After everyone drank the lemonade I washed them out and saved them for my kombucha. II also use berries from our blueberry and Blackberry bushes that I froze during the summer, but I put them in the blender and make a slurry. The second ferment takes a day or two for my taste. I never thought I’d using flavored teas! What an idea!! I have made kombucha with dried hibiscus flowers that I purchased as loose tea tho. That turned out wonderful!!!
Do you get a fizzy second ferment?
It’s not always super fizzy (although sometimes it is!), but it’s always got a decent amount of carbonation.
Thanks. Really sounds easier then other I have read
Thank you for sharing Marissa.
On another subject, I have a ? Since you’ve been making laundry detergent for some time ( I have your book). I am now hearing negatives about using bar soap. Some are saying it doesnt rinse off clothing and may cause buildup in washing machine.
I was wondering if you’ve experienced any residue or dinginginess on your clothes, and or if you’ve tweaked your recipe?
Thank you
Warmly
Cecilia
Hi there…have you thought doing a video on this..it would be less confusing…visual is easier to comprehend..hopefully seeing a video in the future..
You can also use about 1/3 bottle of store bought kombucha. I used a flavored Synergy brand that worked fabulous.
Thank you for the tutorial Merissa! I have a couple questions. After the second ferment, do you put the lids on tight, or leave them loose? Do they need to be burped?
Thanks!
You will want to put the lids on tight for the 2nd ferment 🙂
yes or all your carbonation is gone!
I make mine pretty much the same way but I ususally don’t do a second ferment. I like it just as is. I use 15 oz used combucha bottles as a single serve. Can’t emphasise enough to keep your hands and equipment clean. I almost ruined my scoby. I forgot to wash my hands and make sure the towel is secure. I had a rubber band break one summer and fruitflies got in. Luckily, I had extra scoby and was able to throw away the contaminated scoby. Great article.
WHAT IS KOMBUCHA AND WHATS IT TASTE LIKE, IM INTERESTED IN TRYING IT….THANK YOU DAWN
Kombucha is a fermented tea. The taste is hard to describe but it’s a slightly vinegar tasting, slightly carbonated beverage.
You can grow your own scoby from scratch by mixing in 14-16 oz of Bragg’s ACV gallon of black tea.
I use 5 little bags per gallon and split it and add 2 cups of brown sugar and 2 tblspns of pure maple syrup. Let them sit out of direct sunlight at room temp and pull on the 7th day. They get vinegary after that. Very little fizz, but oh so good.
I love making kombucha. I make my tea quite a lot stronger than yours as I read strong sweet tea was required to begin the batch. Foes you tasted like commercial kombucha? My favorite flavor now is beet, orange and ginger combination. There are so many to experiment with.
It is always fun to see how others make their Kombucha-i never thought of doing it the way you do and i bet it turns out great. I use a continuous brew method and have a one gallon kombucha fermenting jar with a spigot at the bottom. Normally i flavor my Kombucha with slice pineapple as that is my all time favorite. I also like to use apples and cinnamon sticks as well. It is good and so good for you!