
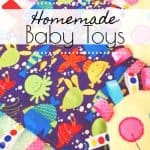
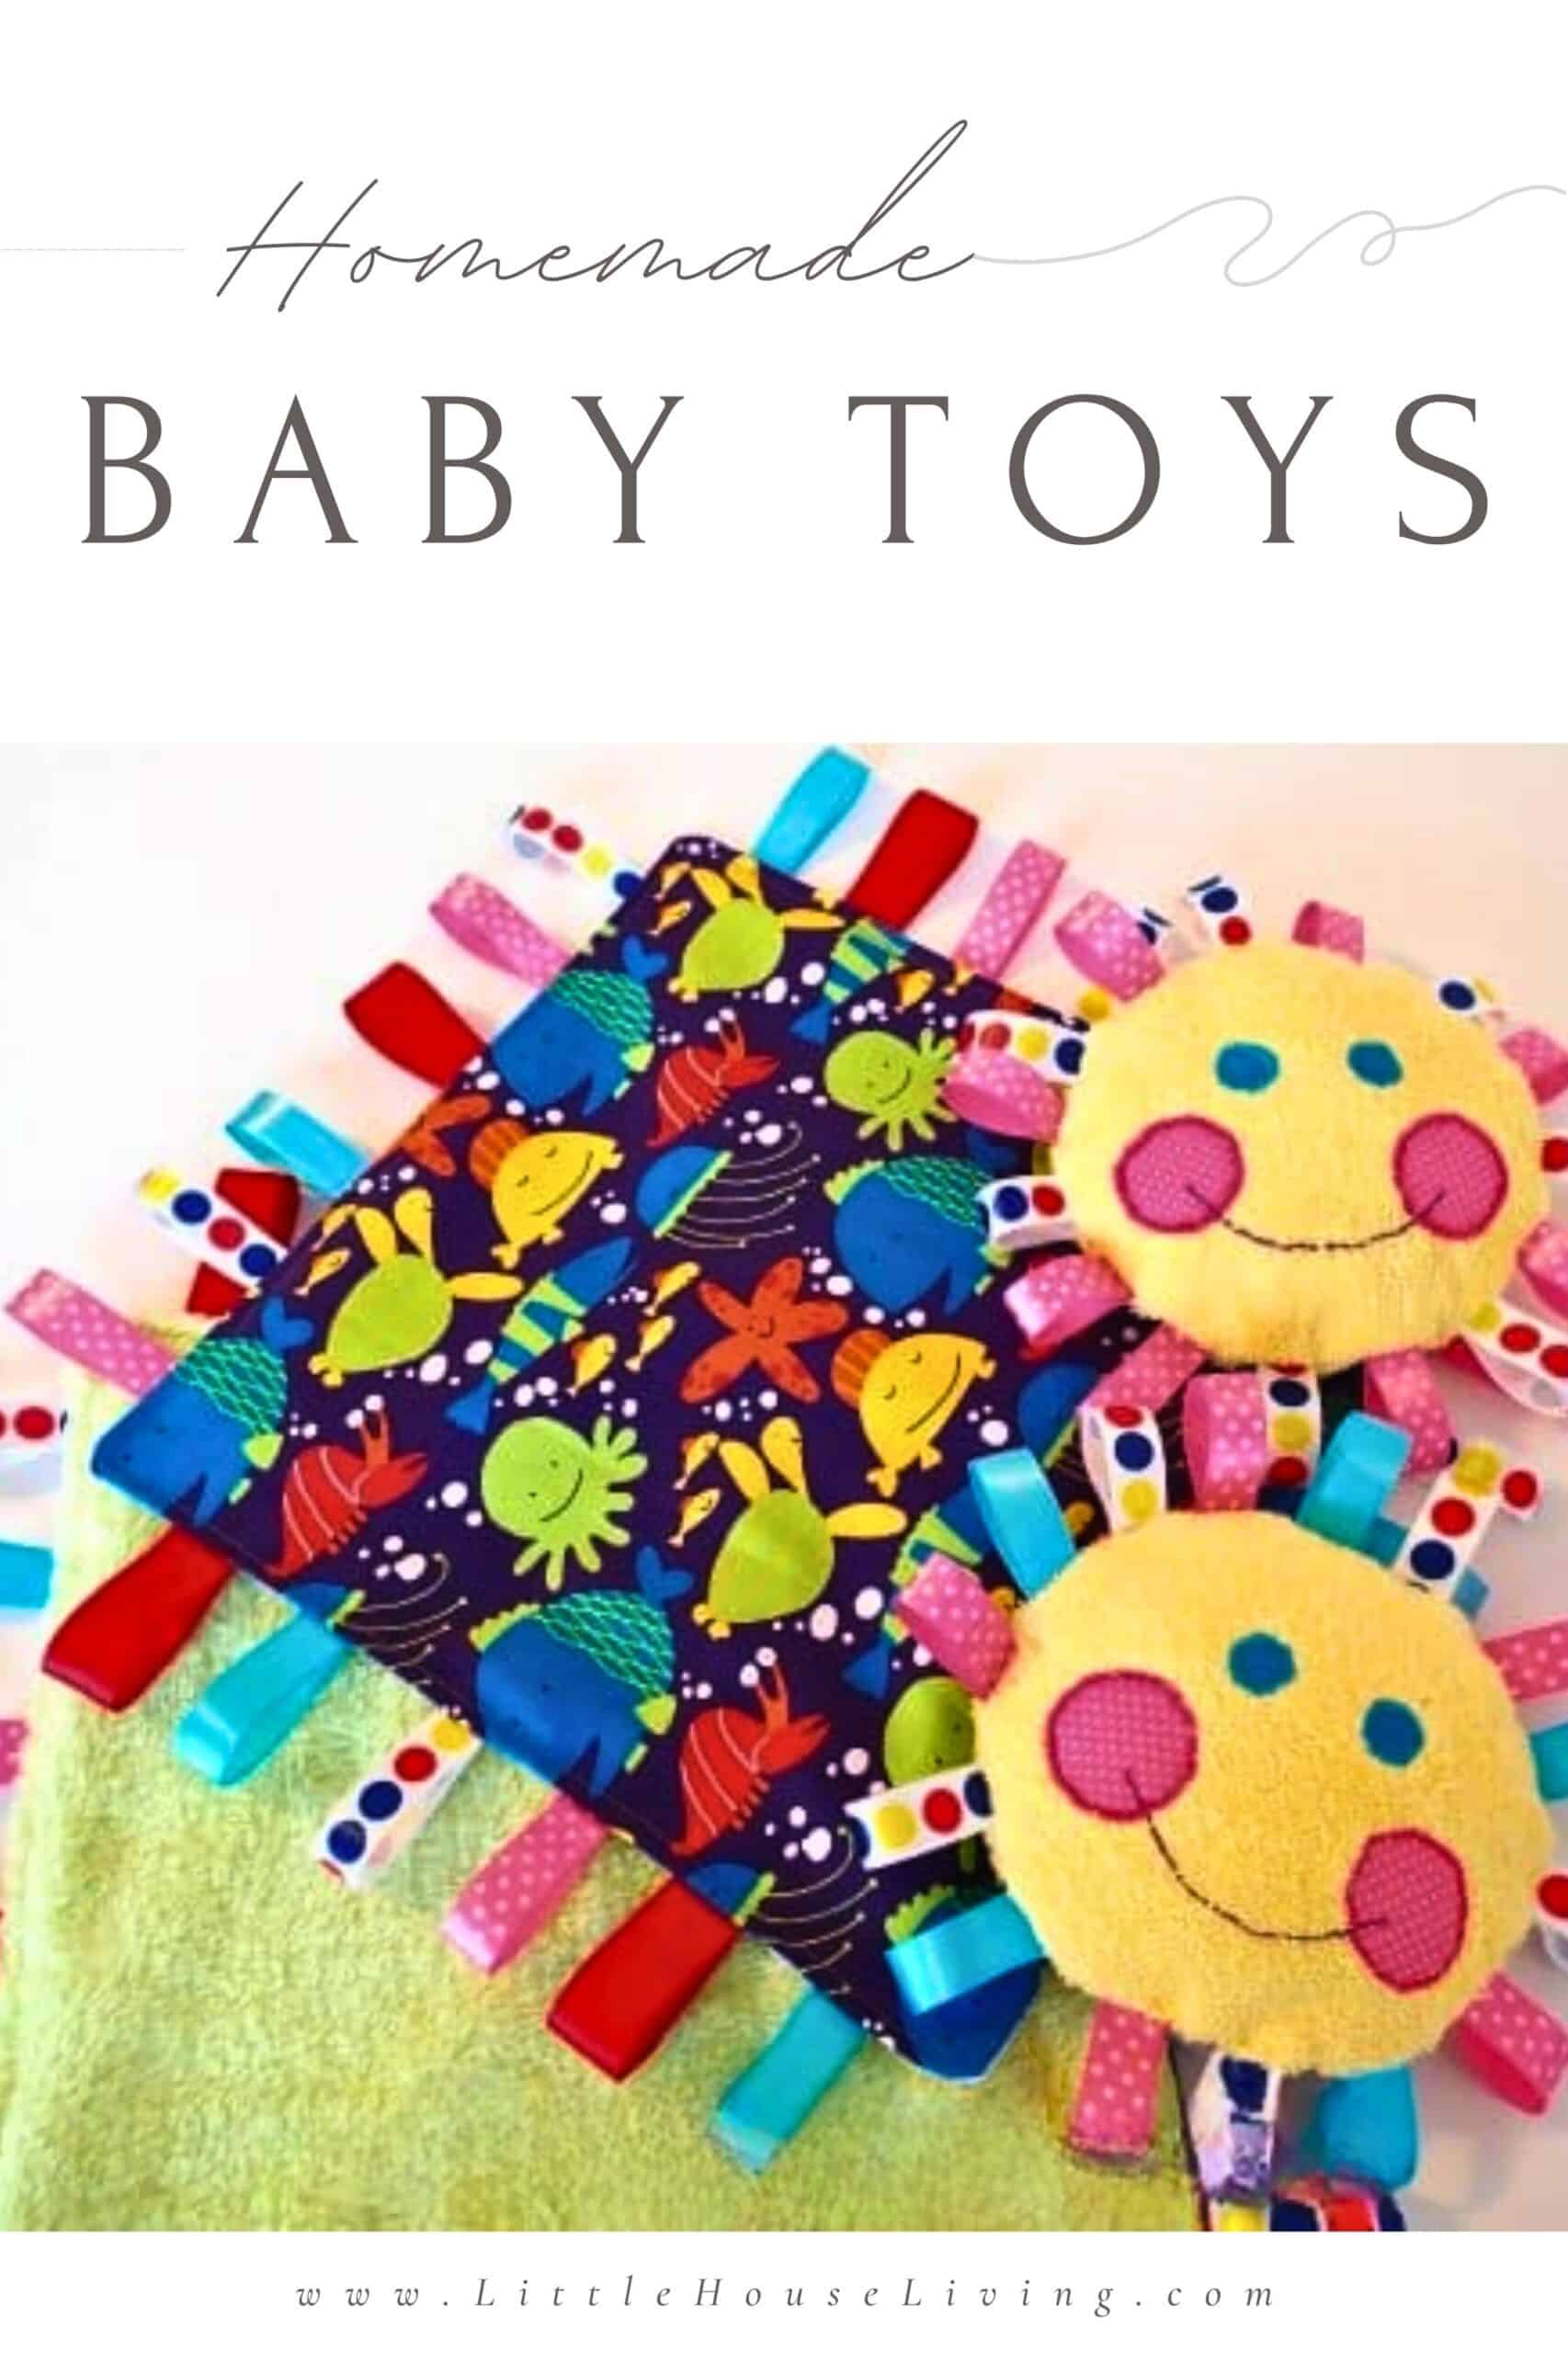
Easy DIY Baby Toys That Target Visual, Auditory, and Tactile Skills
This post may contain affiliate links. Read our disclosure policy.
Have you ever wondered why clothes and toys for babies are so expensive? They only use small pieces of fabric, so why pay so much money, especially when you can make these adorable and frugal Homemade Baby Toys?
Homemade Baby Toy Ideas
The tradition of knitting for new babies still continues, but why stop there when you can also create unique toys for a lot less than you can often buy in posh ‘baby boutiques’.
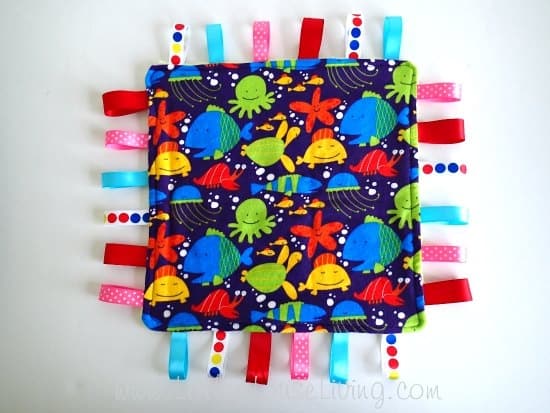
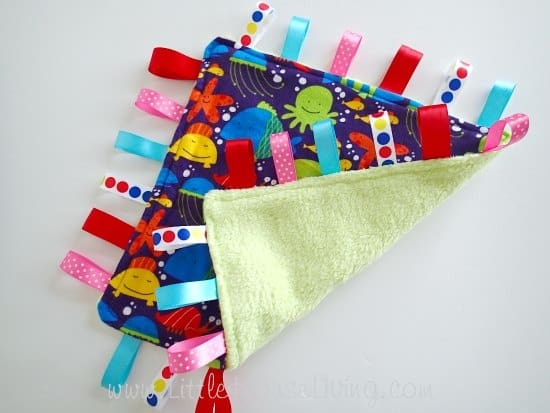
This baby toy pattern is a ‘baby essential’ today. It’s a comfort blanket, soother, toy, and cuddle blanket. It will most likely be the baby’s favorite plaything, often going everywhere with them.
You might want to make two now so that you can swap them out and toss them in the wash now and then. You can try making two types – a quiet snuggle version and a more active play version with crinkle lining. You’ll find directions for both types of tag blankets below.
Tip: Ready to start sewing? Check out my 7 Sewing Must-Haves List before you get started!
How to Make a Comfort Blankie
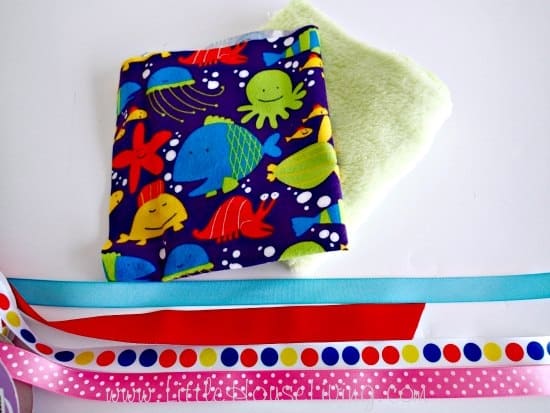
Supplies:
- 12-inch square of flannel or other soft fabric
- 12-inch square of minky
- assorted ribbons
- crinkle liner for the play version – I suggest a washed cereal bag
How to Make a Tag Blanket
Step 1: Cut out your two fabric pieces.
TIP – Don’t cut the minky using a rotary cutter and a self-healing cutting mat or you’ll get tons of tiny bits of fluff stuck in your mat. Just use regular fabric shears and try not to stretch the fabric as you cut.
The minky can be a little more difficult to work with, so let’s start on the other piece. I’m using a bright printed flannel.
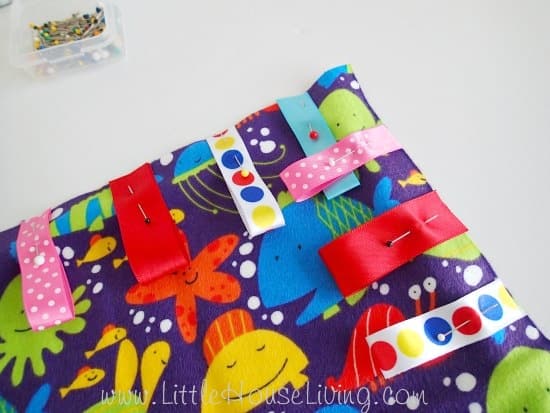
Step 2: Cut lengths of ribbon. I cut mine 5 inches long and used a total of 24 pieces on a 12-inch square, 6 pieces per side.
Step 3: Fold the ribbon pieces in half with the printed or satin side facing out and pin them at regular intervals around the outside, taking care not to get too close to the corners. There is no need to measure, eyeball it to get them fairly even.
Step 4: Baste all of the ribbons in place with a quarter-inch seam, and then remove all the pins.
Step 5: Place the minky square on top, right sides facing in, and pin around the edges. Use plenty of pins because the minky has a pile that likes to shift around.
Optional: If you want to add a crinkle liner, place this on top of the minky layer now. Use pins with large or brightly colored heads because small pins can easily disappear in the pile of the minky.
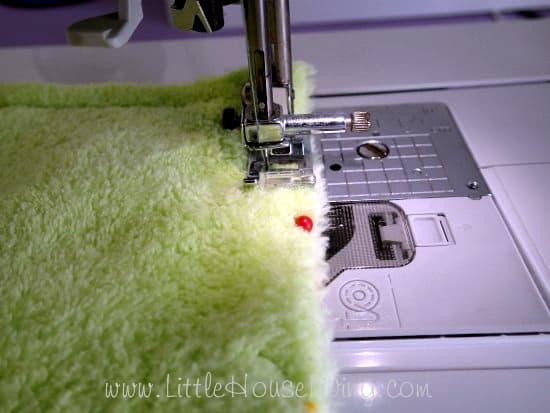
Step 6: Stitch around the perimeter with a half-inch seam allowance, leaving a gap in one side of about 3 or 4 inches for turning.
Step 7: Trim and round off the corners.
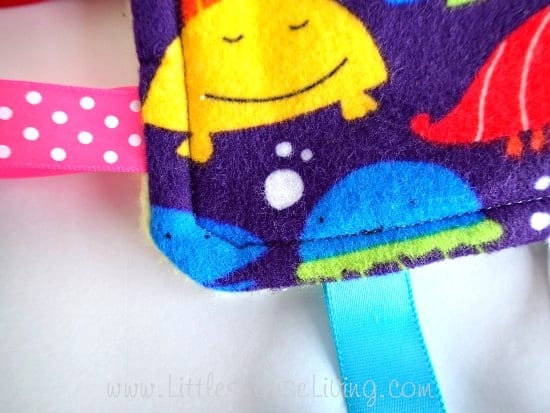
Step 8: Turn the right side out and smooth everything flat. Don’t iron directly onto the minky because it can melt or at the very least, lose its pile. If it needs a press, press it onto a thick towel with the minky face down using low heat.
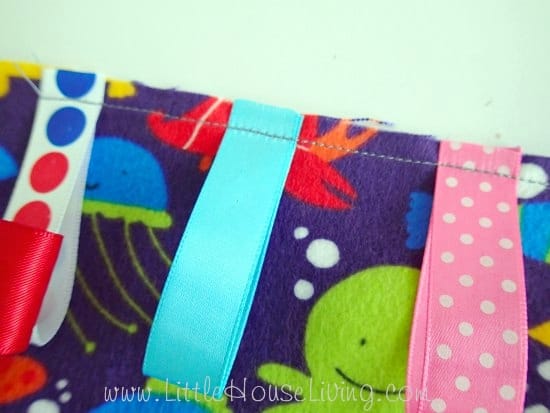
Step 9: Topstitch around the edge with a quarter-inch seam, fold in the raw edges and close up the gap you left earlier.
Snuggle and enjoy!
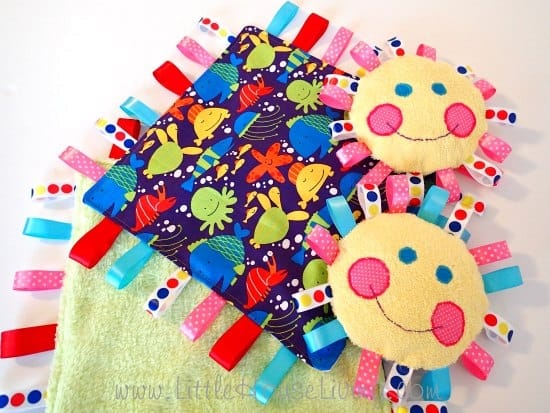
These homemade baby toys make great gifts for baby showers and newborns. I’ve been stitching away, making all sorts of goodies for three new arrivals expected shortly. Looking for other baby toys to make? Check out this Sunshine Ribbon Toy or these Perfect Baby Burp Cloths.
More DIY Baby Projects
- 10 Minute Baby Blanket
- Baby Sling Sewing Pattern
- Cheap Baby Sensory Bottle Toy
- Towel Baby Bib Pattern
- Baby Pillow
- Homemade Baby Wipes
Find more fun and simple free sewing patterns on Little House Living!
You can use simple household items to make DIY baby toys such as fabric scraps, card board boxes, a wooden spoon, plastic lids, and other basic items to make something your child will play with.
Anything that can be a choking hazard is something you should not give your baby to play with. Rice, uncooked pasta, coins, pens or a pencil, a plastic bag, pipe cleaners, plastic bottles, bottle caps, or anything with sharp edges should not be used in making homemade toys.
When possible, use a natural material like 100% cotton when making DIY toys.
Preschoolers can play with basic household things like an empty box, leftover fleece or fabric, empty paper towel rolls, empty canister containers, some kitchen utensils like spoons and tupperware once they learn to not put things in their mouths.
Try to create things that can enhance fine motor skills and grozz motor skills. Toys that promote creativity and exploration should be considered.
Do you sew your own homemade baby toys? We’d all love to see what you make.
Share what you’ve made in the comments!

This Homemade Baby Toys Sewing Project was originally published on Little House Living in September 2014. It has been updated as of October 2023.
I love the taggie you made. I’m going to try it. Thanks for sharing!!
I hope it turns out well for you Nancy.
Baby things are so cute!!! I love these ones!!
So cute and simple. Someone gave my son a similar tag blanket with ten tags and a religious picture on the fabric. It is meant to help teach the rosary (there are ten prayers in each decade). So your project can be really versatile.
That’s a really nice idea. No reason why toys can’t have an educational feature too.
such fun fabric! I have making one of these on my list of things to do, thanks for the tute, now I will do it right the first time 🙂
Oh, I remember making a bunch of these when my 10 year old was a baby. 🙂 Thanks for the sweet trip down memory lane!
This is so cute! I have a few friends getting ready to have babies, so I’m going to save this and make some for them for their new cuties! Great tutorial!
-Michelle @ TheGraciousWife.com
Sounds like a great plan. This will be a quick project if you get all your supplies together and sew them all at once.
Such a bright, fun and tactile toy, Deby.
Stopping by from Say G’day Saturday. These comfort blankets are so so adorable!! Your photos are awesome as well. I have 3 pregnant friends and am hoping to get pregnant myself soon, so I will definitely be making some of these soon. Pinned!
Goodness, with all those new arrivals on the way, you’ll need to be sewing them production line style like I was. At least this way, its very quick to make 3 at once.
I love these Deby, so cute and easy to make. Thanks for the simple tutorial too.
So adorable! I definitely want to make a taggy blanket for my baby boy. That sun is beyond adorable, too.
Navy Wifey Peters @ Submarine Sunday Link Party!
I used to make dolls out of outgrown children’s socks. I would use small pieces of scrap fabric to make simple clothes for them as well. I’m relatively new to sewing (again), so not made many baby items, other than quilts!
Now I wish my youngest grandchild wasn’t as old as she is so I could make these for her…maybe make them and donate to a pregnancy center or for children in emergency situations, I’ll have to find a need so I can make them!
That’s a really lovely idea Wendy. I’m sure there are lots of groups out there who would be delighted if you made some of these for them.
Wow! This is incredible. I love them! Great idea too. You’re right. Baby towns are so expensive. Thank you for linking up to Tips and Tricks. Hope to see you again this week.
Thanks for sharing your post at Motivation Monday last week! Your post is one of this week’s features!
You are so right. I never could figure out why baby things were so expensive. They grow out of them so fast. Thanks for linking up to Gingerly Made!
I use the packaging from baby wipes for the crinkle sound .
I love this!! I have 7 month old grandaughter wholoves to eat the tags on everthing!! The ribons on the edges are just like the tags!!Going to have to ry!! Found you on Wine’d Down Wednesday!! I would love if you stop by my place tomorrow and share some of yor favorite things on My 2 Favorite Things on Thursday – Link party!! I’d love to have you!!
Thanks for sharing at the Inspiration Spotlight Party. Pinned & shared. Hope to see you again soon.
Should all material be washed before making anything, blankets from flannel or cotton or fleece??? Some say Yes wash before making and some say they never wash before making something. Do or Do not! Thank you for the video! Can’t wait to start making some of these toys! (as soon as you let me know)
It depends on what you are making but with baby blankets or toys, yes, the fabric should be washed first.
Im a beginner machine embroiderer and my first grandbaby will be 6mo tomorrow! I just graduated from nursing school and they just moved 6 hrs away to Savannah, GA! It KILLS me so I like to make surprises when I am missing her terribly. The embroidery machine is basically for her! Lol!! Anyway, what do you use for the crinkle liner? She loves them.
You are so right. They grow out of them so fast. Thanks for share
You are so right. I use the packaging from baby wipes for the crinkle sound .
Thank You
I can’t wait to make this! I was thinking of maybe adding some bells inside to give it some noise too. Do you think the bells would work with the stuffing around it? Such a cute little gift
I’m sure it depends on the kind of bell you use but I would think that it would still work.
I would make a small bag to put the bell in and then place inside for safety. You can buy small squeakers which can be done the same.
What age are these for?