
Hatching Eggs in a DIY Egg Incubator
This post may contain affiliate links. Read our disclosure policy.

Ready to add some little ones to your homestead? Create your own DIY Egg Incubator and start hatching eggs with this tutorial!
Hatching Eggs in a DIY Egg Incubator
Contributed Post by Kendra Paulton
Spring is in the air and with the warmer temperatures and longer days, also comes all of the fun, exciting new life! For us on the ranch, this means calving is in full swing… and also that this ranch mama is looking to add to her chicken brood! Purchasing baby chicks at the feed store adds up quickly at an average of $4.00 per chick (for the most common breeds).
If you have laying hens (and a rooster, for fertilization) of your own, you can definitely hope for a hen to become broody and set on and hatch her own eggs. I have found this not to be very reliable, though on occasion it has worked in our favor. A couple of years ago, I wanted to up the likelihood of hatching our own chicks in order to save purchasing new outside chicks, and so I decided to use an egg incubator.
What I found in my research of purchasing an incubator was that I could expect to spend around $100 on an incubator with decent reviews, and expect a 50% hatching rate. This didn’t overly excite me, as you can imagine. As I dug deeper into what I was actually getting for $100, I realized I could build a sufficient incubator on my own for the same, or cheaper, price.
Essentially, an incubator is a humid, insulated box with a temperature-controlled heater. Eggs incubate for 21 days in a temperature of 99-102 degrees. Eggs must also be turned a minimum of once in a 24-hour period (better practice is twice in 24 hours, though some people will even go so far as to do quarter-turns every six hours).
For an incubator with temperature control and an automatic turner, you can expect to spend around $140. When I realized these were essentially retrofitted styrofoam coolers, I determined I could build one myself, for cheaper.
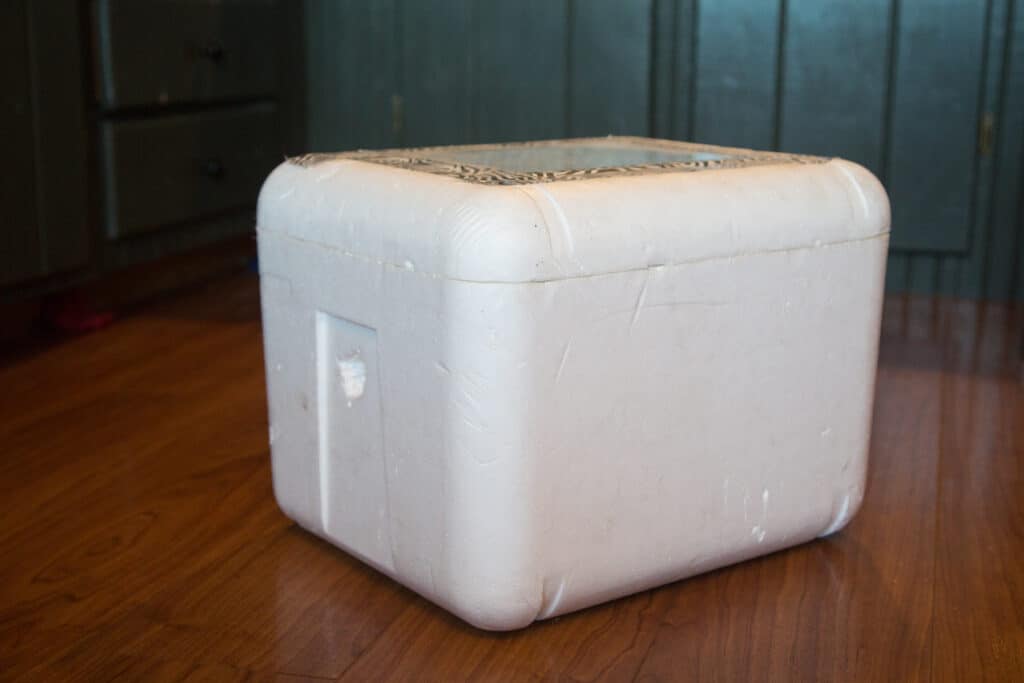
I started with a styrofoam cooler we had leftover from a vaccine that had been shipped to the ranch. You can purchase these on Amazon for about $16 for 2 of them. However, I would suggest trying to locate one for cheap or free by asking a local veterinarian, clinic, etc. for one they are not using. You can also find them inexpensively at home supply stores such as Menards and Lowes.
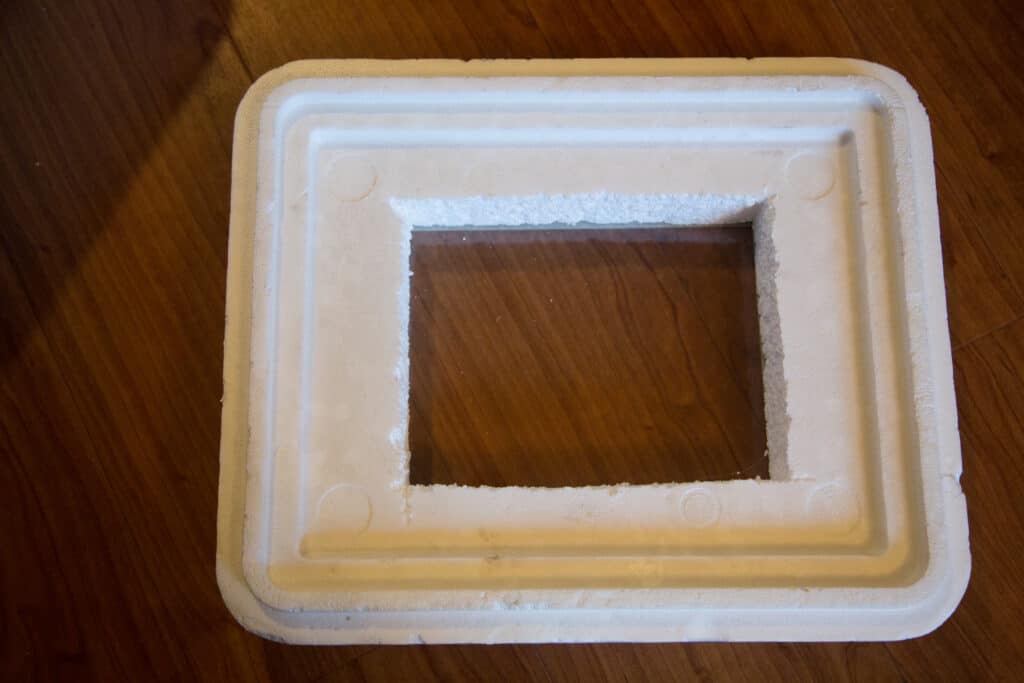
I cut out a rectangle from the lid and used duct tape to secure in place a piece of glass from a broken picture frame I had. This created a window so I didn’t have to lift the lid any more than absolutely necessary to check on the eggs. Total cost thus far: $0. (Yay!)
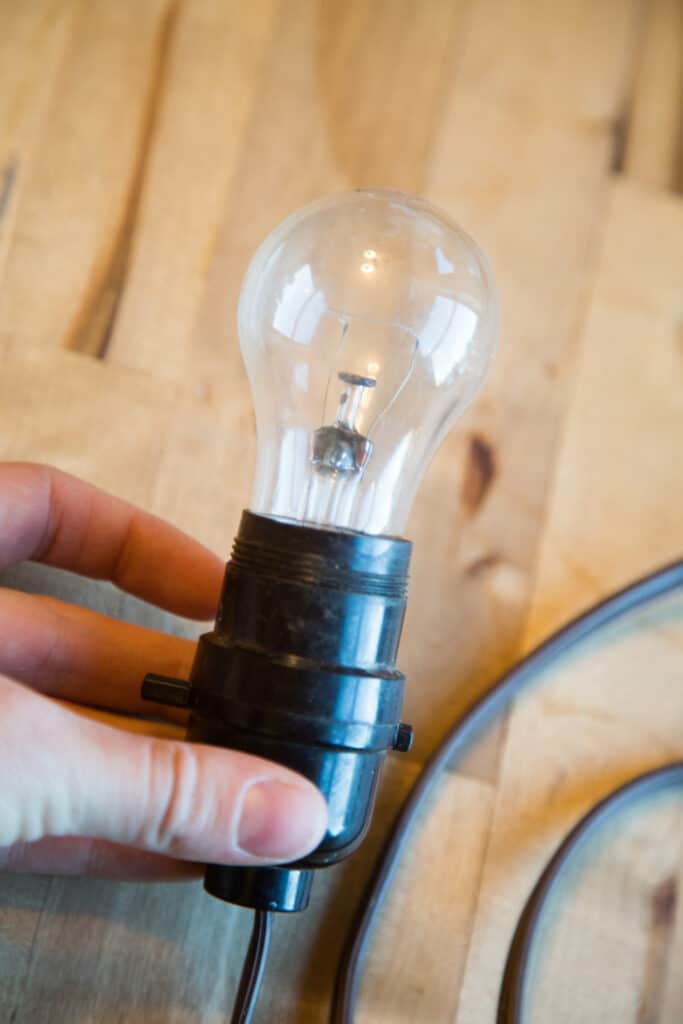
Next, I purchased a light bulb socket with an extension cord for about $7 on Amazon.

I cut a hole in the side of the styrofoam cooler to fit the socket and screwed a midsize 60 watt light bulb into it, making sure I could easily access the on/off switch.

In the opposite side of the cooler, I poked two more pinky-sized holes. One hole was for ventilation, and the other for a temperature probe. This is where the fun part comes in.

Using a Digital Temperature Controller, I plugged my light bulb socket into one end of this Digital Temperature Control unit ($30 on Amazon).
Essentially what this unit does is allows you to set a low and high temperature setting that you want your environment to stay within.
This means that when the interior temperature goes below 99 degrees, the lightbulb will automatically turn on and thereby heat up the inside of my cooler. When the temperature gets above 102 degrees, the lightbulb will automatically turn off! Outstanding!

I built a very simple platform out of scrap lumber and scrap window screen and wedged that to fit tightly at the top of my cooler-incubator.

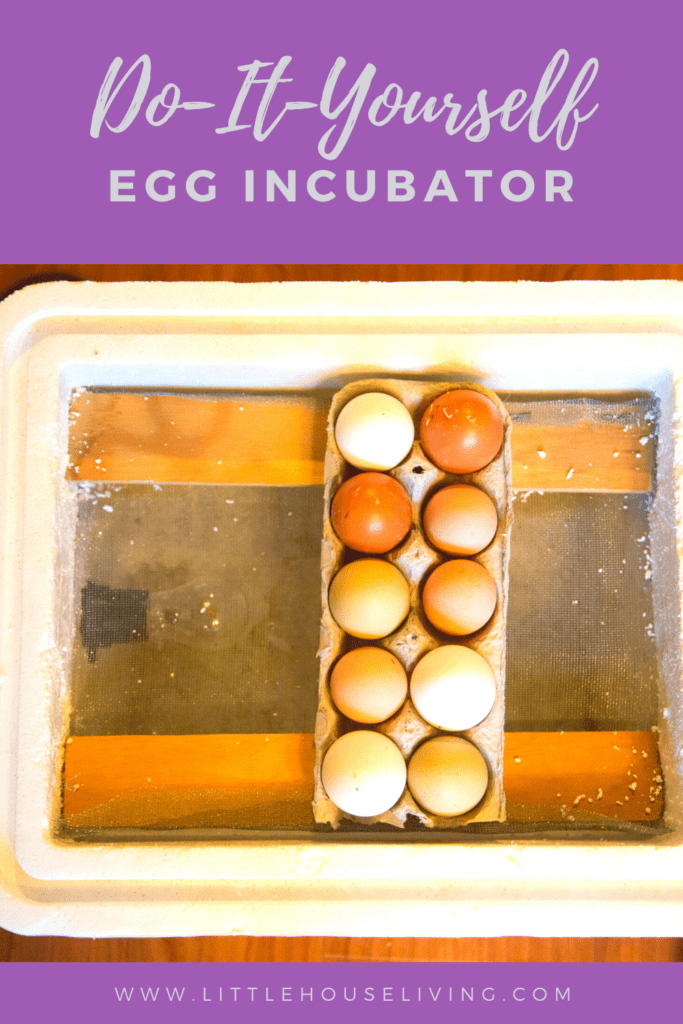
Using a leftover egg carton, I poked holes in the bottoms of each egg compartment. I wanted to keep my eggs as far away from the lightbulb as possible to avoid accidentally cooking any of the eggs, so I opted to cut off a couple of the compartments so the carton would fit in sideways. This means I can only incubate 10 eggs at a time, but with a larger cooler, I would be able to increase the capacity to whatever I want!
One other aspect of egg incubating to remember is humidity. Eggs need to be kept at 40-50% humidity for the first 18 days and 65-75% humidity for the final week.
Some digital temperature controllers will actually have built-in humidity readings, however, I did not worry too much about the specifics of this. I simply always kept a shallow dish of water inside the incubator, and this seemed sufficient. If I noticed water droplets forming on my window, I assumed my humidity was too high and dumped some of the water.

Once you have your incubator assembled and your fertilized eggs arranged, next comes diligence and waiting! As I mentioned before, you will want to turn your eggs anywhere from 2 – 4 times a day. This prevents the chick from becoming deformed while growing in the egg. Best practice is to automatically do this first thing in the morning and right before bed, or about 12 hours apart from each other. Some people will actually label their eggs 1, 2, 3, 4, and do quarter turns every six hours. Just do what best suits your schedule.
Try to avoid opening the incubator lid any more than absolutely necessary. You don’t want to release humidity or cause fluctuations in temperature.
I would also encourage you to consistently check to make sure nobody has bumped the temperature probe (the metal prong you inserted into one of the side holes). The first round of egg incubation I had done, a curious toddler had pulled out the probe without my knowledge, so the light bulb never turned off, and we “cooked” our eggs! Oops!
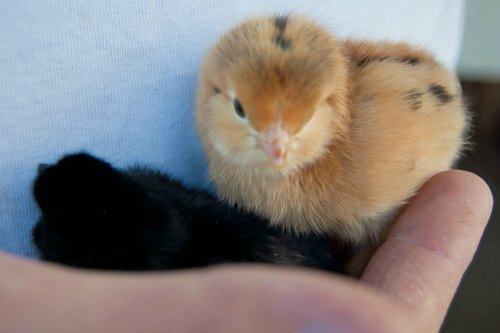
Start watching your eggs carefully at day 21. You’ll hear little peeps, pecks, and they will start to wiggle! Resist the urge to help the chick out of its shell, as that will weaken the chick! Leave the chick in the incubator until it is dry and fluffy, and then remove to a brooding box and offer water and feed.
The final cost of my incubator was under $40, plus a little elbow grease! We hatched out a few rounds of chicks and ducklings with a successful hatch rate of approximately 75% — which after talking to friends and reading reviews, is the same or better than many of the similar incubators on the market!
One more side note: purchasing fertilized eggs online can be surprisingly expensive. I mentioned before that you can simply rob the eggs from your own chickens (as long as you also have a rooster). You can actually even keep the unwashed eggs in a cool (not cold) location for up to five days before putting them in the incubator together. This allows you to be able to save for several days so your eggs hatch out closer together!
However, if you do not currently have chickens of your own, another very affordable method I have found is to locate a source of farm-fresh eggs. I have a friend who sells eggs for consumption for $2/dozen. I simply put in my order ahead of time and requested to have my eggs unwashed and nonrefrigerated. She was happy to oblige!
Overall, I was very pleased with the results of our incubator. As a bonus, it was an excellent homeschool teaching tool for my children!
Have you ever incubated eggs? I’d love to read about your experience!
Looking for more tips on raising chicks and chickens? Here are some other articles on Little House Living to check out:
- Chicken Egg Production; What To Do When Your Chickens Stop Laying
- DIY Chicken Feeder
- Raising Baby Chickens; A Beginners Guide to Baby Chicken Care
- How to Keep Your Chickens Full and Healthy
- Feeding Clabber to Chickens
Kendra Paulton is a freelance writer, photographer and Certified StoryWay Guide specializing in family Legacy Books in the Black Hills of South Dakota. She resides on a fourth generation cattle ranch with her husband, five homeschooled children, and pack of German Shepherds. Visit her website www.dakotacanyonranch.com to connect.
That’s a great way to do it if money is tight.
Hi, I see that the eggs are upright in the egg carton. Do you rotate them end-to-end every 12 hours? I was curious how this orientation effected the chicks, and how it would work with a quarter turn. I’ve never hatched chicks but have hens. 🙂
Thanks!
Great idear. Thank you
Which bulb is better 60 watt or 40 watt for a small incubator