
How to Make Your Own Paper
This post may contain affiliate links. Read our disclosure policy.

Are you looking for a unique craft that you can do with materials you already have on hand? This DIY Homemade Paper Tutorial is perfect!

How to Make Your Own Paper
We homeschool our children, and art is a very big part of every single day—even if it wasn’t in the lesson plans! As a result, sometimes the paper waste in our house feels like it gets out of control! Well, one thing I discovered we can do with all of those piles of papers is to recycle them into beautiful homemade paper!
The fun part about this project was that it was very simple and utilized supplies I already had on hand, costing me exactly zero dollars to experiment! Though it is a little time consuming, I was very pleased with the end result.
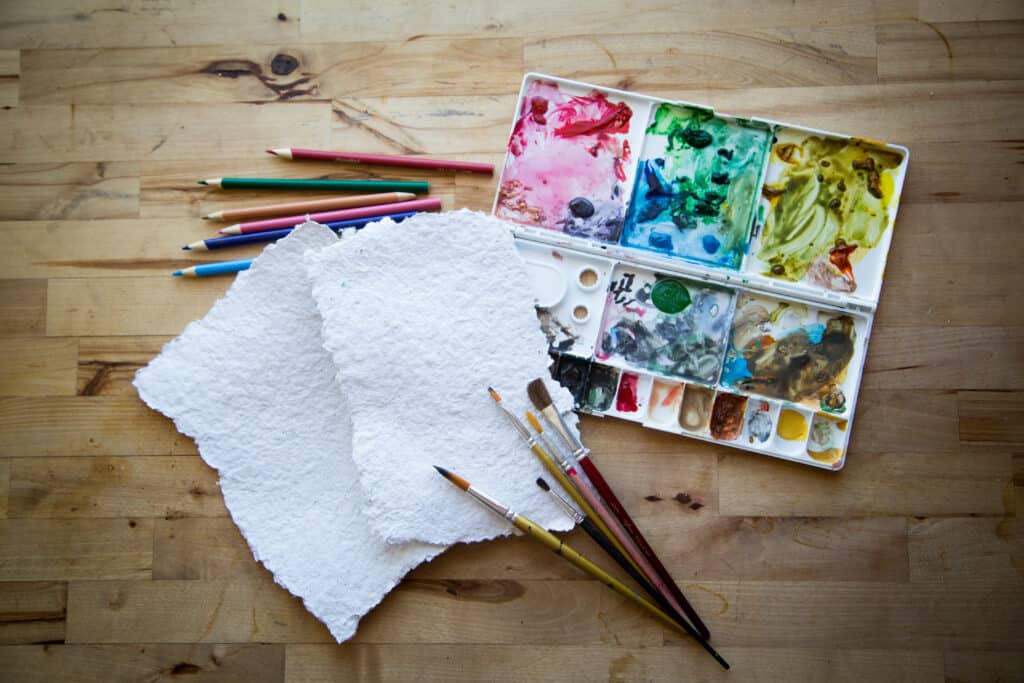
The finished product is a thick, textured paper with unique flecks of color in it that make an excellent medium for unique note cards or gift tags! Or, like I did, something to paint on!
How to Make Recycled Paper

Tear used paper into small pieces and put into a blender. (I suggest a cheap blender found at the thrift store – not your regular home blender like I did!)
This can be colored paper, white paper, or any paper at all really. But, if you want to use something like egg cartons or cardboard, consider that you’re going to want to soak it overnight before attempting to blend it.
Another consideration is the color of the paper. I was going for a white or off-white finished product with a few flecks of color, so I chose paper with minimal color. If you are hoping for a more colorful finished product, consider adding in torn-up colored paper, or even some food coloring into the blender.

Completely cover the paper shreds with water to about an inch above the paper, and blend until thin and pulpy. If it seems to be too thick, add more water and pulse again. The goal here is to have no big chunks and to have a thin, soupy, pourable mixture.

Place an old window screen (I had a discarded one in our garage that was bent and had small tears in it) or piece of screen stretched over a wooden frame over a kitchen sink or large basin.
*Even if you do not have an old screen laying around, a roll of window screen is fairly inexpensive on Amazon and will last for ages.
Using a picture frame as a mold—I just pulled the glass out of a cheap Dollar Store frame — pour the pulp in an even layer in the frame, trying best you can to get to all four sides.
If your screen and sink/basin is large enough, you can use multiple frames at one time to make multiple pieces of paper at once. I used one 11×14 frame and made one big sheet of paper that I later made into smaller pieces. Next time, I am going to lay out several 4×6 or 5×7 frames side-by-side to make multiple single sheets at once.
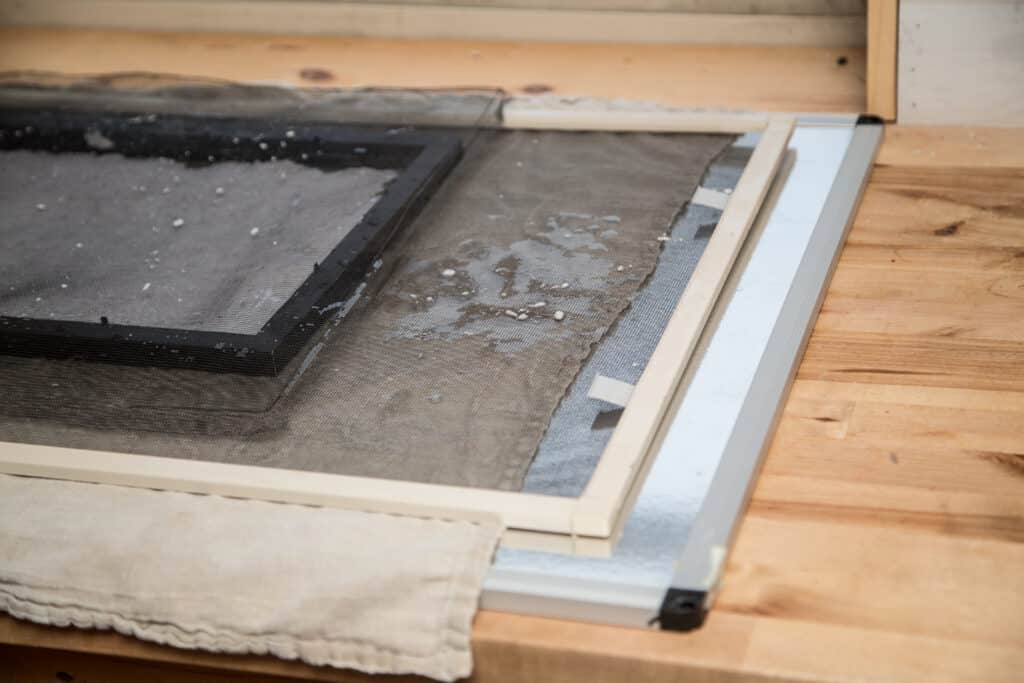
Place another piece of screen on top, and use a sponge to gently press out the excess water. (Do not wipe the sponge across the screen, as this will pull the pulp through the screens and you’ll have a mess!)
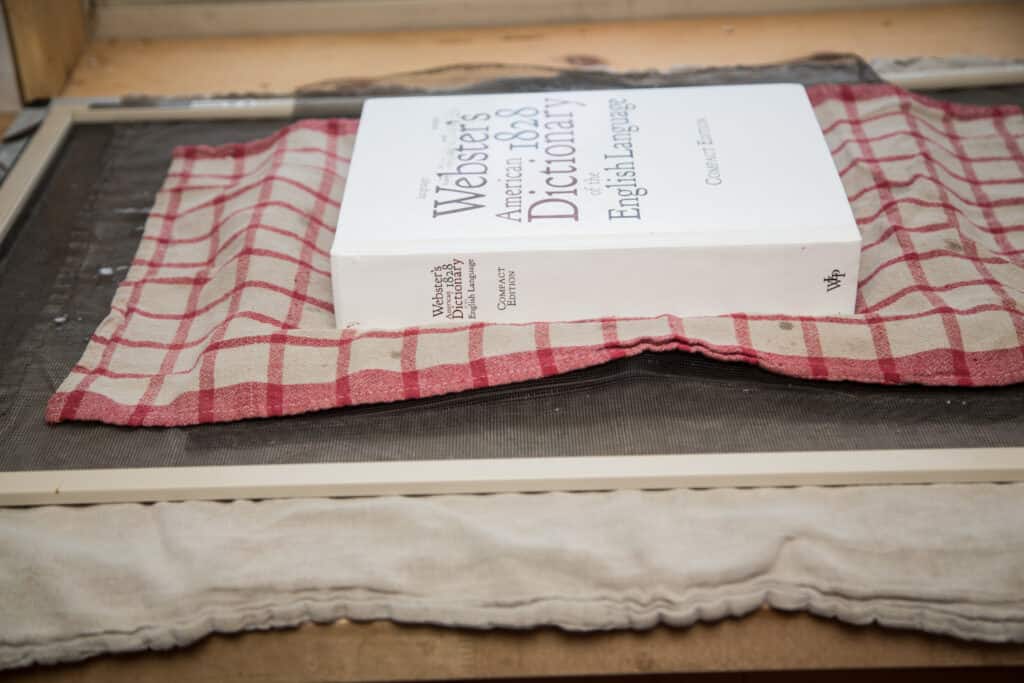
Once you have gotten as much water out as possible, transfer the screen to a large solid surface. I used my butcher block with a whiteboard and a towel to protect my butcher block.
What you want to do is apply pressure to the drying paper to keep it flat while it dries. I used my favorite huge dictionary (protected with a towel) for my weight.

The drying process is a little tricky… my paper was very thick and took quite a while to dry. I left it in the position above overnight, then realized it needed to breathe more. So, I decided to remove the towels and book and set the screen with the paper mold over the top of our heater vent. That worked much better, but it didn’t stay perfectly flat. However, since the end goal was just a fun, artsy notecard material, I still considered the finished project a success.
Because this project is so inexpensive to experiment with, it’s a fun one to try again and again! Next time, I am going to play around with a thinner pulp mixture to see if I can get a thinner end product.
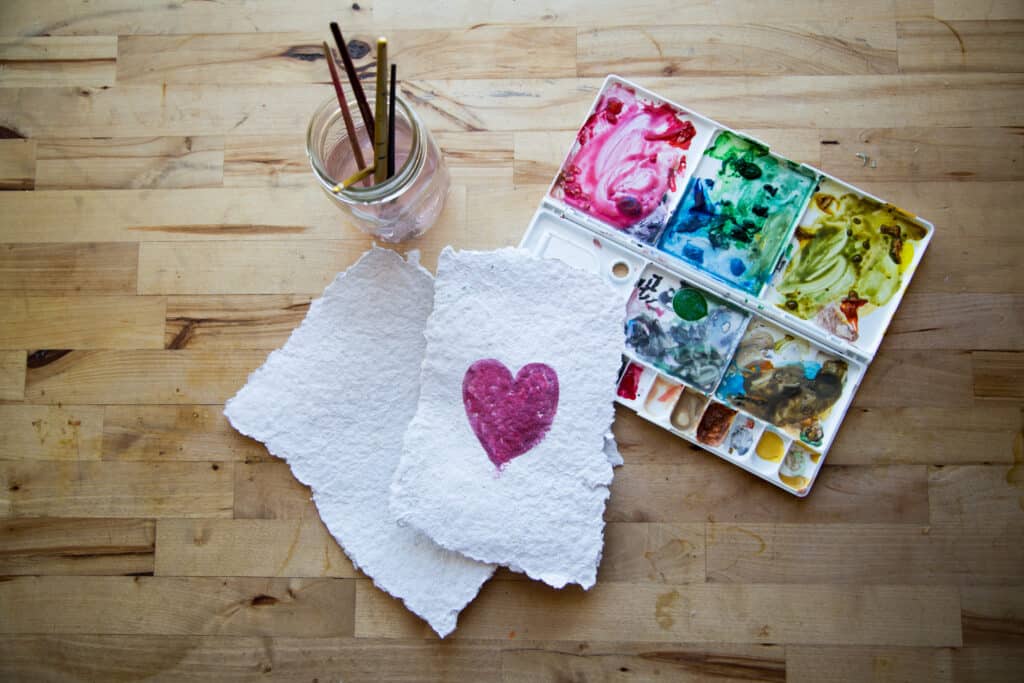
I especially enjoyed the unique flecks of color that dotted the paper. Next time, I would like to try adding dried, pressed flowers into the paper, or perhaps even herbs or dyes.
This is a really fun way to make custom gift tags and homemade cards! An added bonus is that this project really is so simple that even kids can do it, with just a little help with set-up.
Kendra Paulton is a freelance writer, photographer and Certified StoryWay Guide specializing in family Legacy Books in the Black Hills of South Dakota. She resides on a fourth generation cattle ranch with her husband, five homeschooled children, and pack of German Shepherds. Visit her website www.dakotacanyonranch.com to connect.
This post on how to make your own paper was originally published on Little House Living in February 2021. It has been updated as of February 2026.
This would be a great idea for pressing it iver the back of a muffin tin to dry into cup shapes for seed starting. I wonder if that’d work? I may try and see. 🙂
I was just at a store the other day and they were selling recycled paper cards (for $7 each!) that contained flower seeds within the paper pulp, so the recipient can plant the ‘card’ and grow beautiful flowers! I think I am going to try it – thanks for your tutorial!
Forming this thick “mush” into cookie cutters for shaped forms, then sprinkling them with wildflower seeds can make little seed starters somewhat like seed balls. Just scatter them about and leave them. Nature will take care of the rest.
This is such a great idea! As soon as I am done with my school I’m doing it!!!!!!🙂
I used to make them with bills that needed to be shredded,then formed them into logs and burned them. Also added wildflower seeds into the sheets ,then cut them into triangles and included them in Birthday ,Easter and mothers day cards.
What an awesome idea! I love this! I like to repurpose and reuse items, how awesome to recycle paper, I wonder how this would do with painting on them?
The kids and I painted on it and it was pretty fun! It’s not the smoothest but I think that could be refined with trial and error!
I’ve made paper using 1/4 recycled paper to 3/4 dryer lint. Works well and puts good use something that would usually get tossed out
I chuckled when I read this as 20 years or so ago when homeschooling my son did this!! Thanks for sharing!!
I’m always looking for things that I can do with my grandchildren and I can’t wait to try this. Thanks