6 Vintage Homemade Household Cleaners
This post may contain affiliate links. Read our disclosure policy here.
Discover the charm of old-fashioned living with 6 Vintage Homemade Household Cleaners that promise a gleaming, frugal home. Embrace the simplicity and effectiveness of these time-honored cleaning hacks as you scroll through this blog post!

Vintage Cleaner Recipes
Tired of shelling out your hard-earned cash on commercial household cleaners that promise miracles but often underdeliver? Well, you’re not alone. It’s time to step back from these pricey products and explore some vintage homemade household cleaners our grandmas swore by.
These DIY concoctions will transport you to a time when cleanliness was achieved with basic ingredients in your kitchen pantry and prove that effective cleaning doesn’t have to break the bank.

1. All-Purpose Cleaner: Vinegar and Water Mix
This all-purpose homemade cleaner is versatile and can be used on various surfaces, including countertops, glass, and floors.
The acidic nature of vinegar makes it a potent cleaner and acts as a natural disinfectant, breaking down grease, grime, and mineral deposits. Plus, it leaves behind a clean and fresh scent as it evaporates.
Ingredients:
- White vinegar
- Water
Instructions:
- Start with a clean and empty spray bottle.
- Pour equal parts white vinegar and water into the bottle.
- A common ratio is 1:1, so if you use one cup of white vinegar, add one cup of water. You can adjust the quantities based on the size of your spray bottle.
- Secure the spray bottle cap tightly and give it a good shake to ensure thorough mixing of the ingredients.
- Spray the mixture on countertops, glass surfaces, and even floors.
- Wipe down with a clean cloth or sponge.

2. Wooden Furniture Polish: Olive Oil and Lemon Juice
This vintage wooden furniture polish not only brings out the natural beauty of wood but also imparts a lovely fragrance to your living space.
The combination of olive oil and lemon juice revitalizes your furniture, leaving it with a healthy sheen.
Ingredients:
- Olive oil
- Lemon juice
Instructions:
- Select a clean bowl for mixing the ingredients.
- Measure 1 cup of olive oil and pour it into the bowl. Add 1/4 cup of lemon juice to the olive oil.
- Stir the mixture well, ensuring the lemon juice is evenly distributed throughout the olive oil.
- Dip a soft, lint-free cloth or an old cotton T-shirt into the olive oil and lemon juice.
- Apply a small mixture to the wooden surface, spreading it evenly. Before applying the polish, make sure the wooden furniture is clean and dust-free.
- Gently buff the furniture in circular motions, allowing the polish to penetrate the wood.
- Continue until the surface has a smooth and polished appearance.

3. Stain Remover: Baking Soda and Hydrogen Peroxide
This vintage stain remover is a powerhouse when it comes to handling various stains, from food spills on clothes to stubborn marks on carpets.
It targets stains without harsh chemicals as the baking soda acts as a gentle abrasive, helping to lift and break down stains, while the hydrogen peroxide functions as a mild bleach.
Ingredients:
- Baking soda
- Hydrogen peroxide
Instructions:
- Begin by identifying the stained area on clothing or carpets.
- In a small bowl, measure out 1 part baking soda, then gradually add hydrogen peroxide to the baking soda to create a paste.
- Mix the ingredients thoroughly until you achieve a thick and spreadable consistency.
- Before applying the stain remover, blot or gently remove any excess material from the stained area.
- Using a clean cloth or an old toothbrush, apply the baking soda and hydrogen peroxide paste to the stain and ensure it covers the entire stained area.
- Allow the stain remover to sit for at least 30 minutes, giving it time to penetrate and lift the stain.
- After the designated time, wash clothing items as usual or vacuum carpets to remove the paste.

4. Tile and Grout Cleaner: Baking Soda and Vinegar
This vintage tile and grout cleaner is a budget-friendly and toxin-free alternative to commercial cleaners.
The acidity of the vinegar combined with the gentle abrasive nature of the baking soda creates a dynamic reaction that helps dissolve mineral deposits and grime from any surface.
Ingredients:
- Baking soda
- White vinegar
Instructions:
- Sprinkle a generous amount of baking soda over the tile and grout surfaces, making sure to cover the grout lines thoroughly.
- Fill a spray bottle with white vinegar and lightly spray it over the baking soda-covered areas. You’ll notice the fizzing reaction as the two ingredients interact.
- Allow the mixture to sit for at least 5-10 minutes. During this time, the bubbling action helps to break down dirt and grime.
- Using a brush or an old toothbrush, scrub the grout lines and tile surfaces in circular motions. Pay extra attention to any stubborn stains or discolored areas.
- Rinse the cleaned area with water or wipe it down with a damp cloth to remove any residue.

5. Glass Cleaner: Cornstarch and Vinegar
This vintage glass cleaner provides a gentle yet effective cleaning solution that’s suitable for windows, glass tables, and mirrors.
The white vinegar acts as a natural degreaser and helps dissolve dirt and grime, while the cornstarch adds a polishing effect, leaving the glass surface streak-free and shiny.
Ingredients:
- Cornstarch
- White vinegar
Instructions:
- Begin by selecting a clean mixing bowl for your glass cleaner.
- Measure 1 tablespoon of cornstarch and place it in the bowl, then add 1/4 cup of white vinegar to the cornstarch.
- Stir the mixture thoroughly until the cornstarch is completely dissolved in the vinegar.
- Before applying the glass cleaner, ensure that the glass surface is free of dust and debris.
- Dip a clean cloth or paper towel into the cornstarch and vinegar mixture, then use it to apply the mixture to the glass surface in circular motions.
- Continue wiping until the glass is clean and streak-free.
- For larger surfaces like windows, you can transfer the mixture to a spray bottle for easier application.

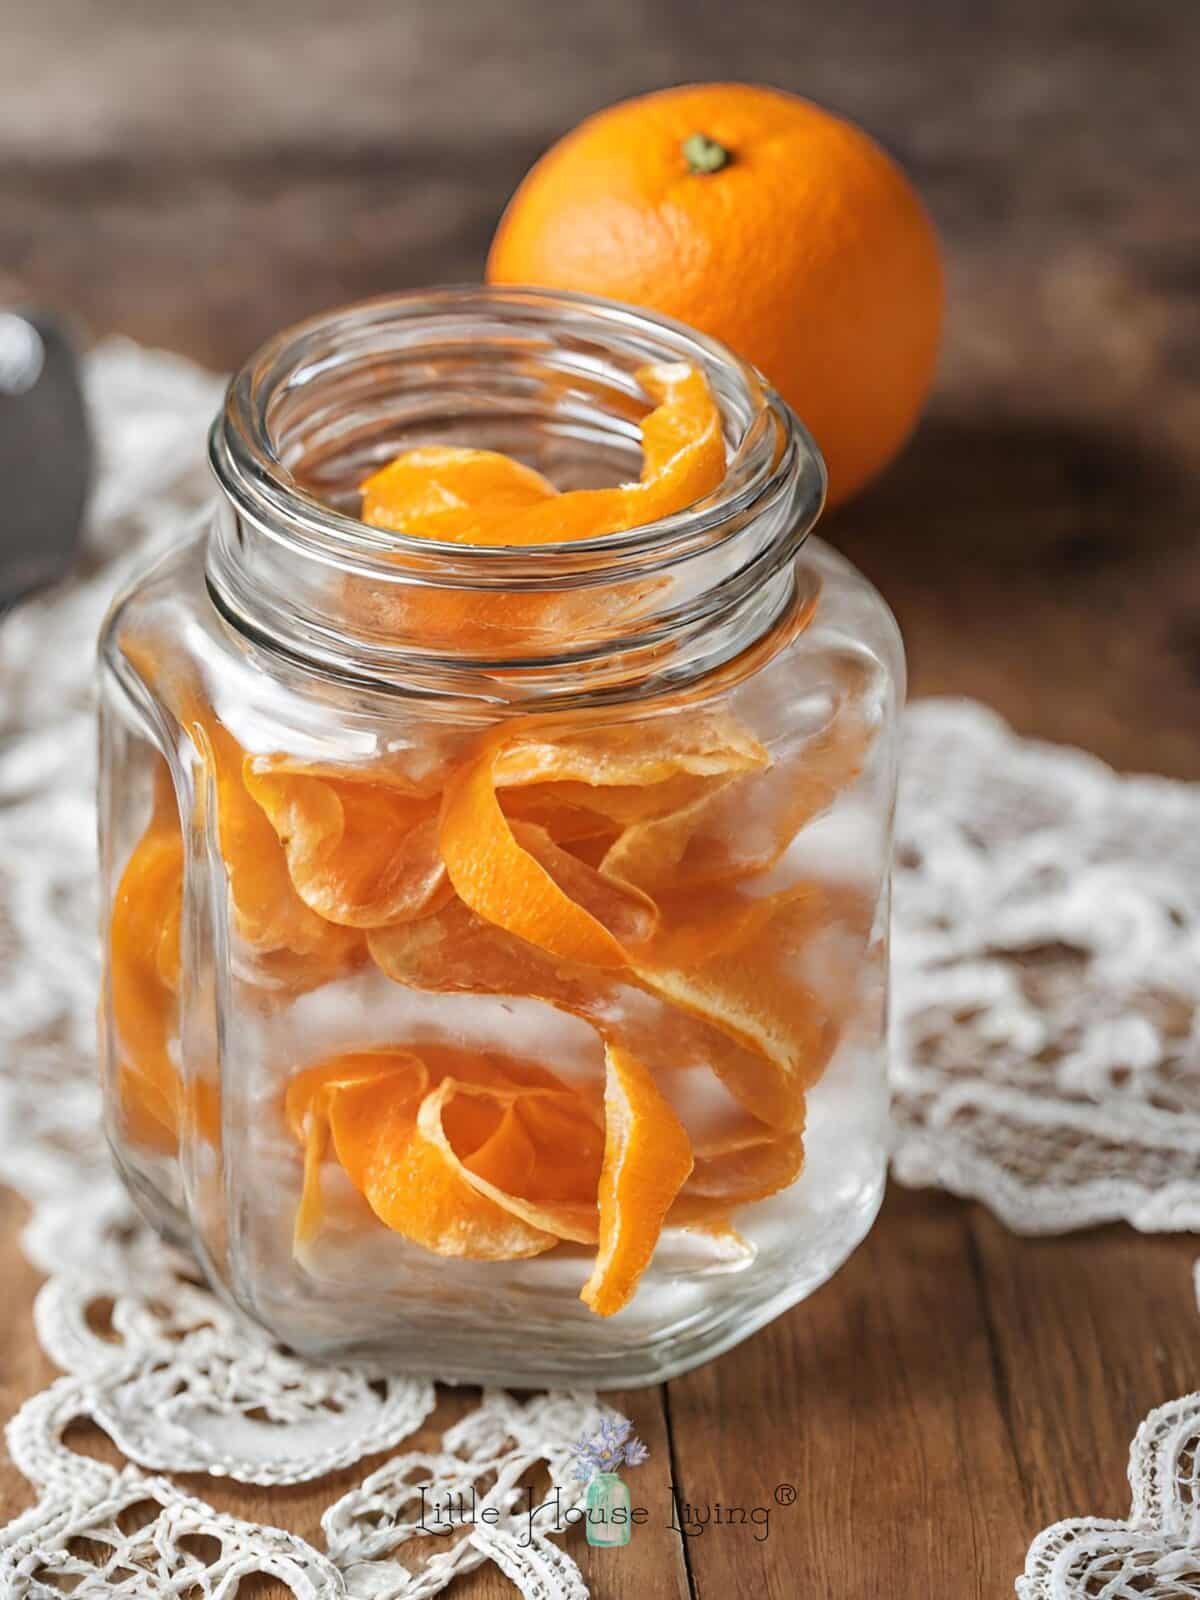
6. Air Freshener: Citrus Peels and Essential Oils
This vintage air freshener is a charming and chemical-free way to bring a burst of natural fragrance into your living space.
The combination of citrus peels and essential oils creates a delightful aroma that not only freshens the air but also adds a touch of relaxation or energy, depending on the chosen essential oil.
Ingredients:
- Citrus peels (e.g., orange, lemon, or lime)
- Essential oils (e.g., lavender or tea tree)
Instructions:
- Begin by collecting citrus peels from fruits like oranges, lemons, or limes. Make sure to remove any remaining fruit flesh as much as possible.
- Place the citrus peels in a clean, dry glass jar and add a few drops of your favorite essential oil.
- Cover the citrus peels with water, submerging them in the liquid.
- Allow the jar to sit in a cool, dark place for a day or two to allow the oils to infuse into the peels.
- Place the jar in any area of your home where you want a natural and pleasant fragrance, allowing the citrus peels and essential oils to release their aroma into the air.
- Refresh the air freshener by adding more essential oil or citrus peels as needed.
Give these vintage DIY cleaners a try, and you might find yourself embracing the simplicity and effectiveness of these age-old cleaning solutions.
Plus, it’s a great way to reduce your reliance on store-bought products and embrace a bit of the past in your modern-day home.

Which of these vintage cleaners have you already tried? Which ones work well for you?

Merissa Alink
Merissa has been blogging about and living the simple and frugal life on Little House Living since 2009 and has internationally published 2 books on the topic. You can read about Merissa’s journey from penniless to freedom on the About Page. You can send her a message any time from the Contact Page.
This blog post about Vintage Homemade Household Cleaners was originally published on Little House Living in February 2024.


Love these cleaner recipes, Merissa. I go through so much vinegar these days for cleaning my house. And I’ve been using white vinegar in my washing machine along with dryer balls in my dryer for years instead of fabric softener. It’s strange to think of how many toxic chemical we kept in our homes for cleaning for years. It’s so much better to use the things our grandparents did, and to know that people and pets won’t be harmed by them. I do like to remind people with cats that even small amounts of essential oils, even in a diffuser, can be harmful to their felines, causing issues like permanent liver damage. Thank you for all your affordable and doable ideas!
Thank you for the very complete selection of cleaners. Have used and continue to use most of them as a child and an adult