
A Guide to Preserving and Drying Greens From Your Garden
This post may contain affiliate links. Read our disclosure policy.

Want to make the most of your garden this year and prevent food waste? Here are some easy ways to start drying greens that you didn’t even realize you could eat!

A Guide to Preserving and Drying Greens From Your Garden
If you follow my blog regularly, you already know that my garden received a fair share of hail this year. On top of that, we seem to have a problem with grasshoppers, flea beetles, and hornworms. It’s not been a great summer for the garden!
Despite those issues, I’m still determined to save as much food from the garden as I can. One of our goals is also to preserve that food in a way that is shelf stable. I tend to rely too much on the freezer for preservation and since we don’t know how often or for how long the power will go out this winter (we only know that it’s frequently from what a neighbor said), it’s better for us to stick with foods that we can preserve in other ways which is why this year’s focus is on Canning, Dehydrating, and storing things in the Root Cellar.
Today I want to share with you a couple of things, what foods I am dehydrating and drying and how.
Greens That You Can Eat
When we grow a garden, we tend to grow if for the varieties of foods that we know….tomatoes, carrots, beets, etc. And when we grow these things, we tend to eat only the parts that we are familiar with, usually the root or the flower.
Of course, we all know to eat the leaves o things like lettuce and spinach, but what about all those other wonderful greens that your garden is producing? Are you really going to let the chickens or the compost pile have all of that?
Here are some greens that you need to try drying this year to make the most of your garden. I’ll also be answering many questions in this article like, “How do you dry greens for storage?” “How do you air dry greens?” and more!
Drying Carrot Greens
The root of the carrot is just part of these little vegetables tastiness, you can also eat the greens! These can be eaten fresh, or they can be dried and stored to eat later.
There is a rumor that carrot tops are poisonous, but they actually aren’t. The only reason you would need to avoid the tops is if you are allergic to birch pollen or mugwort pollen.
Carrot greens provide a variety of nutrients such as Vitamin C, magnesium, calcium, fiber, and also potassium, iron, and Vitamin A. (Source) They can be used in many different ways and are very easy to dry and preserve.
Carrot greens are typically used as a garnish or a small add-in to a meal and are not eaten in large quantities (they can be rather bitter). But however, you want to utilize this green is up to you!
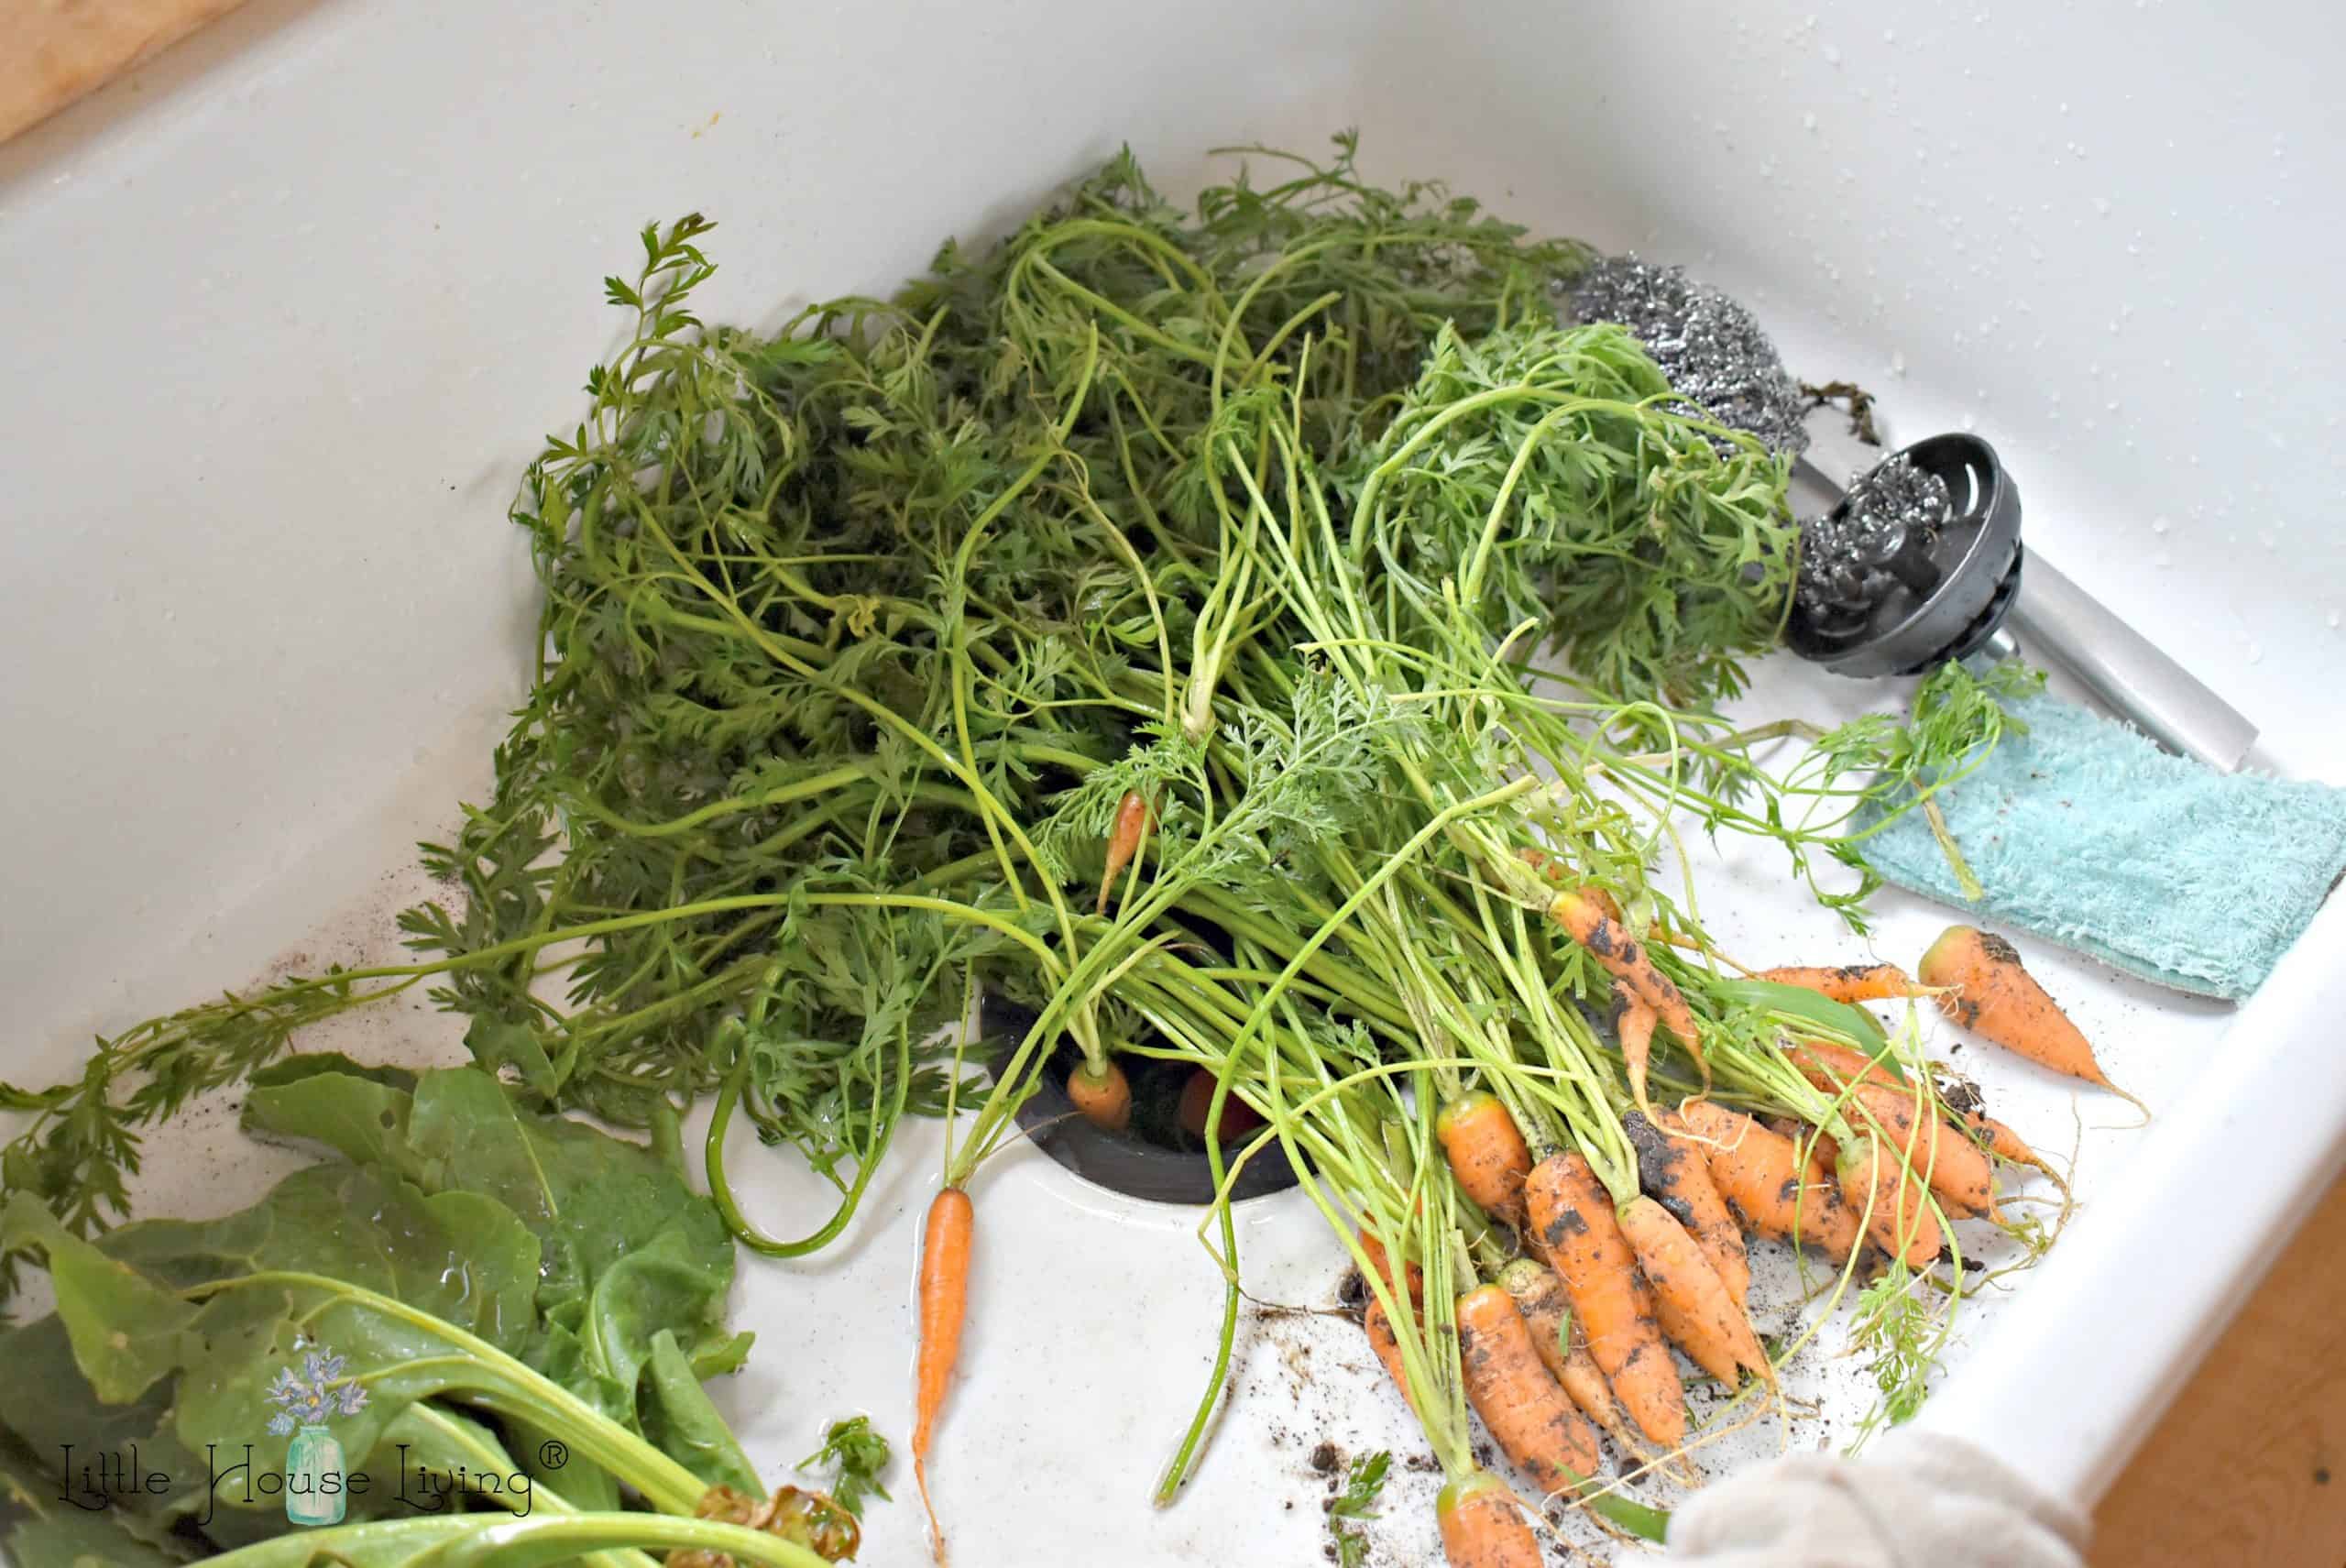
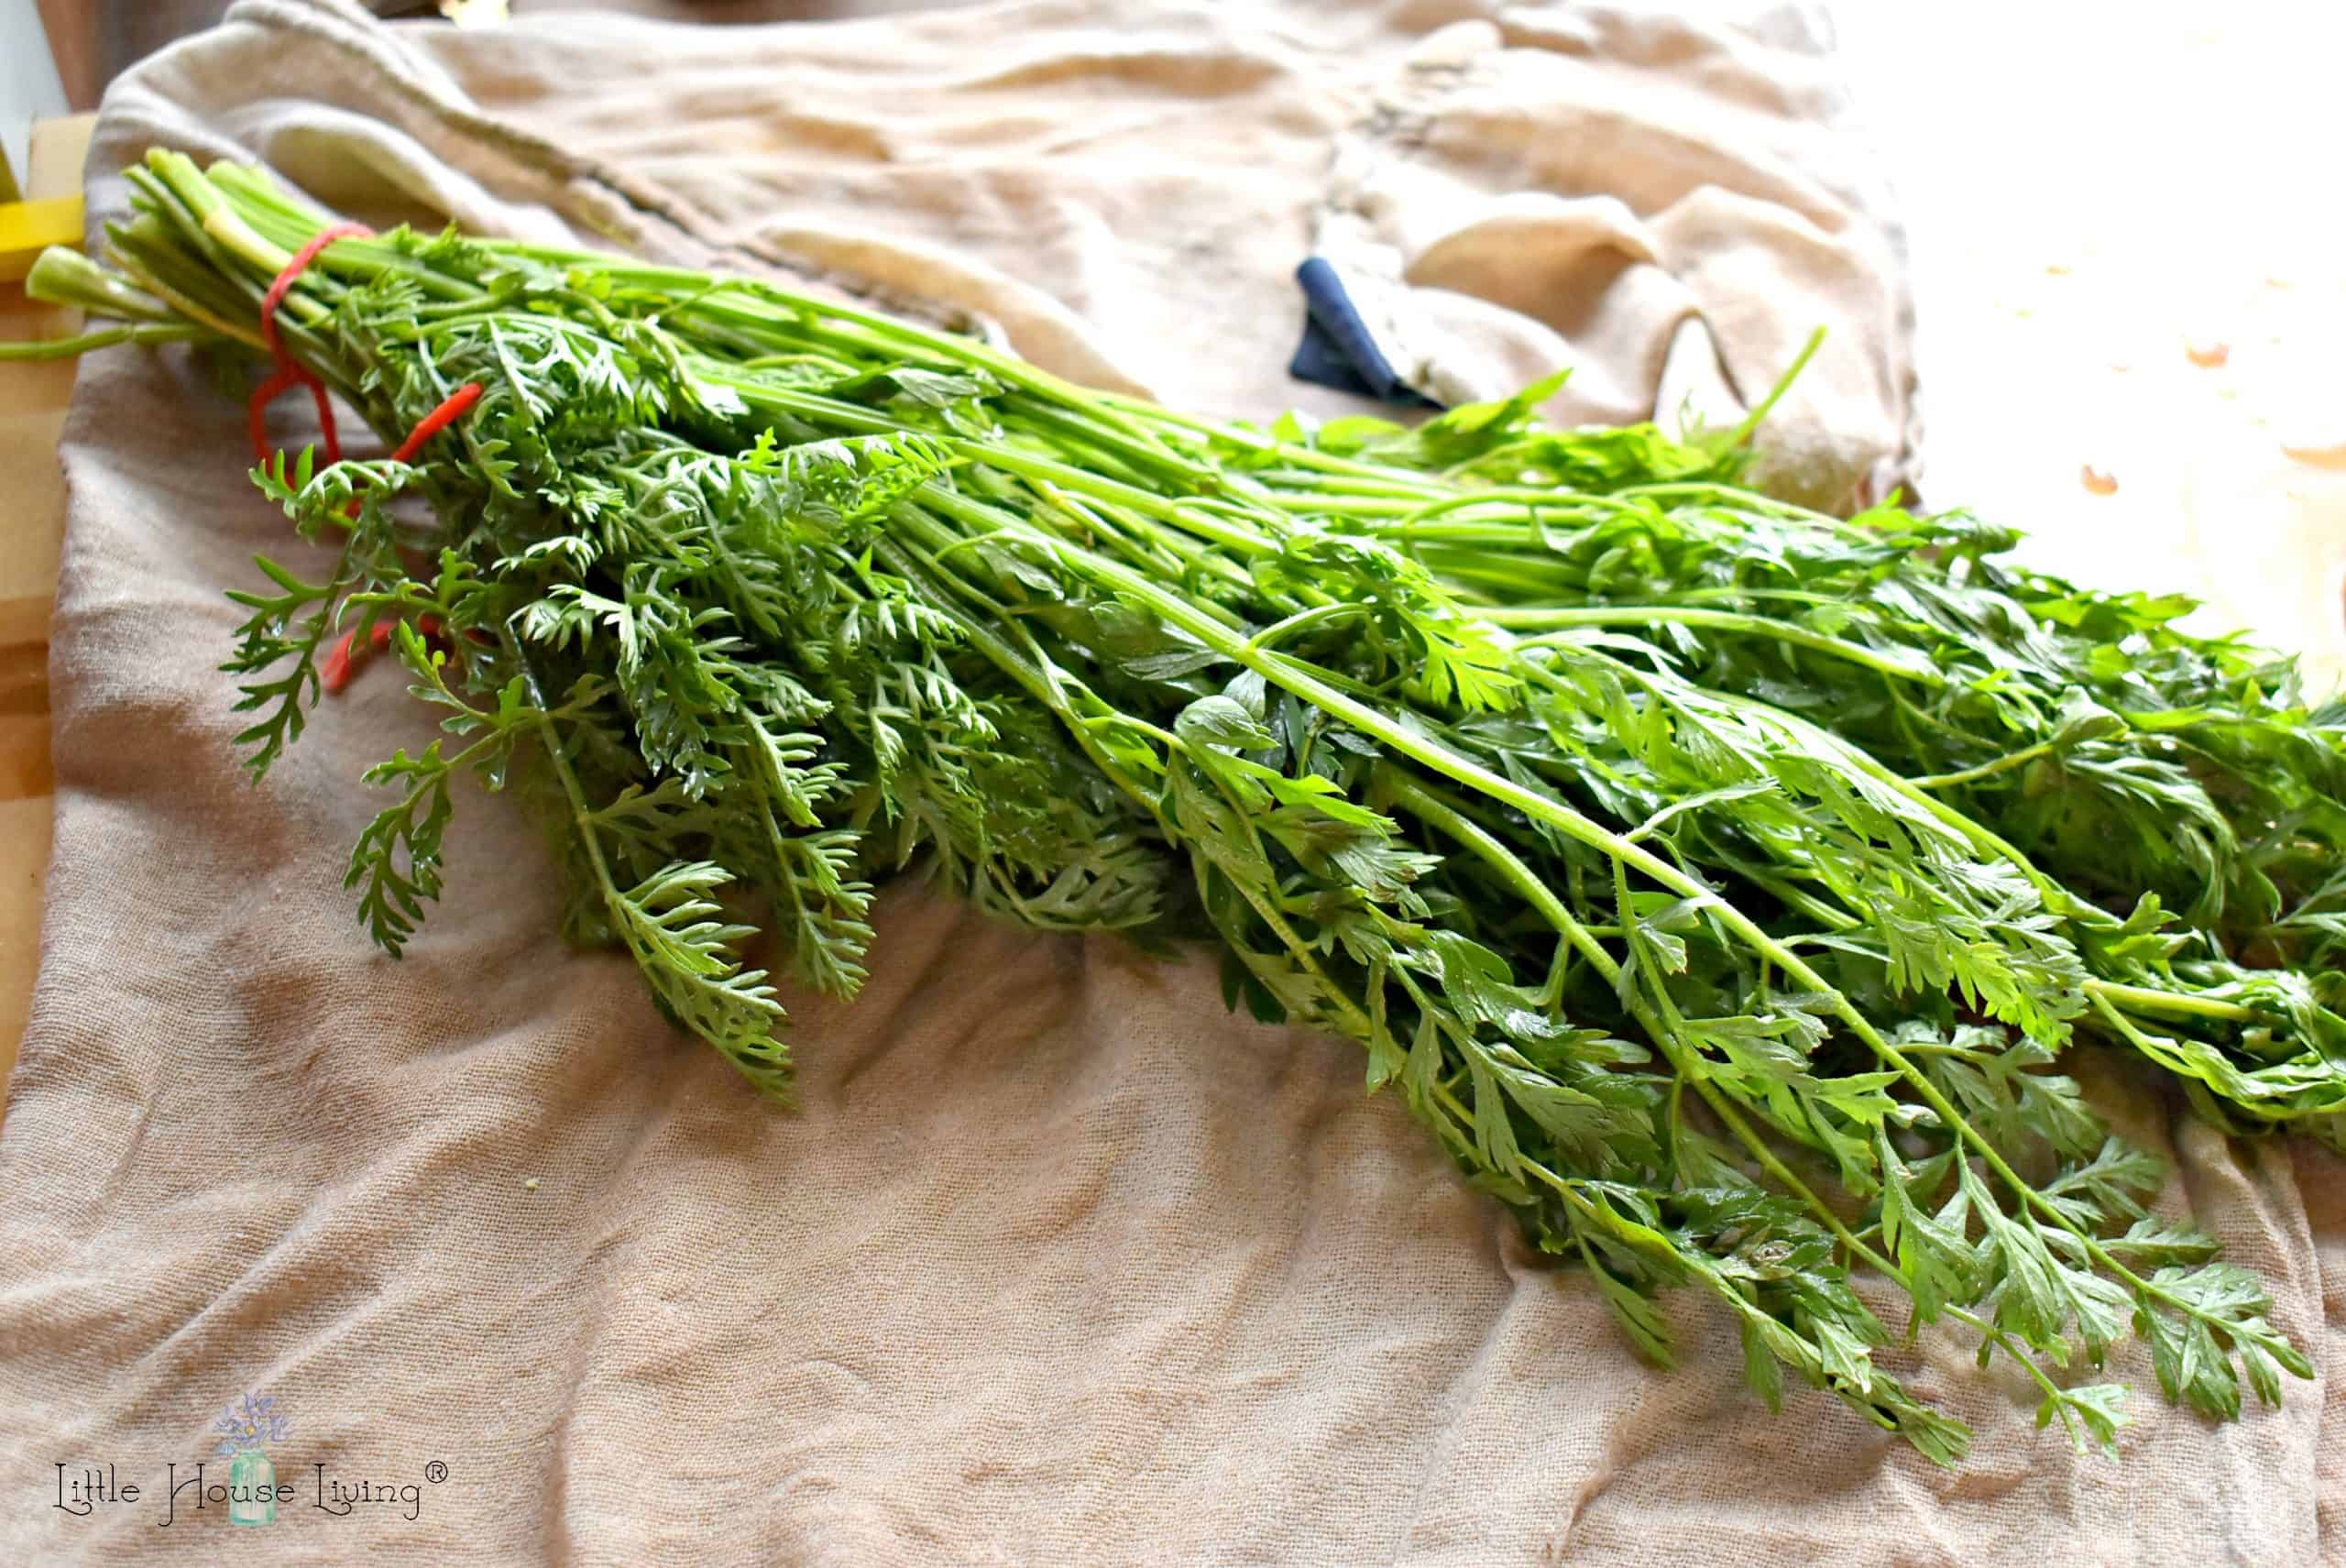
Start by taking several of the carrot greens and tying them together. I just used yarn to do this. I tied mine together with the carrots still on, and then cut off the carrots once they were tied in a bunch.
Then wash the carrot greens in cold water as well as you can. You may be surprised at how much dirt comes out, even when they look clean!

Dry the carrot tops as well as you can on paper towels or on a clean cloth. I’ve also seen some use a salad spinner to dry their greens.

Hang the carrot tops upside down in a warm, dry place where they can dry undisturbed for at least a week. If you have high humidity in your area (or use an air conditioner in your home), they may take longer. Do not take them down until they are completely dry and crispy.
When you finally do take the dried carrot tops down, use your fingers to remove the leaves from the stems carefully. Save the pieces of leaves and toss the stems to your chickens.
Store the dried carrot top greens in a mason jar or any glass jar with a plastic screw-type lid until needed. Be sure to label your jar so you don’t forget what dry food is there!
How to Use Carrot Greens
Here are some of the ways that you can use your dried carrot greens:
- Sprinkle it over baked potatoes.
- Add into sauces for a nutrition boost.
- Make Carrot Top Pesto (replace the nuts with beans or seeds for a more frugal version).
- Add into soups.

Drying Broccoli Leaves
I will admit, this is one of my favorite greens to dry and to use! Why? The broccoli plants produce an abundance of huge leaves (if you have a healthy plant), and the broccoli flowers (the part we typically eat), is just a small part of that plant. Broccoli leaves are easy to dry and store and you can get a large amount from one plant.
Broccoli leaves contain even more vitamin C and calcium than the main part of the broccoli that we normally eat. If broccoli is a superfood, the greens are an extra superfood!
The best part is that they taste similar to broccoli but a little milder. They can be used in many different ways after they are dried (or while they are fresh too!) and since their flavor is so mild, they are easy to use an abundance of.
You can cut and use the broccoli leaves while the plant is still growing, or you can cut the leaves after you are done with the plant for the season. Either way is fine, just don’t cut too many leaves while the plant is still growing.
Start by cutting off the fresh leaves from the plant with a sharp Paring Knife. I always use my Rada Knives! As you collect the leaves, tie them together with a big of yarn so you have a bunch. I usually tie about 10 leaves together. Only select leaves that look nice and healthy, not ones with pest damage. Also, steer clear from leaves that you might have sprayed with pesticides.

Once you have a bunch or several bunches, wash greens and scrub the best you can to remove any dirt or bugs from them before drying. I find that broccoli leaves are usually pretty clean, so a gentle rinse is really all they need.
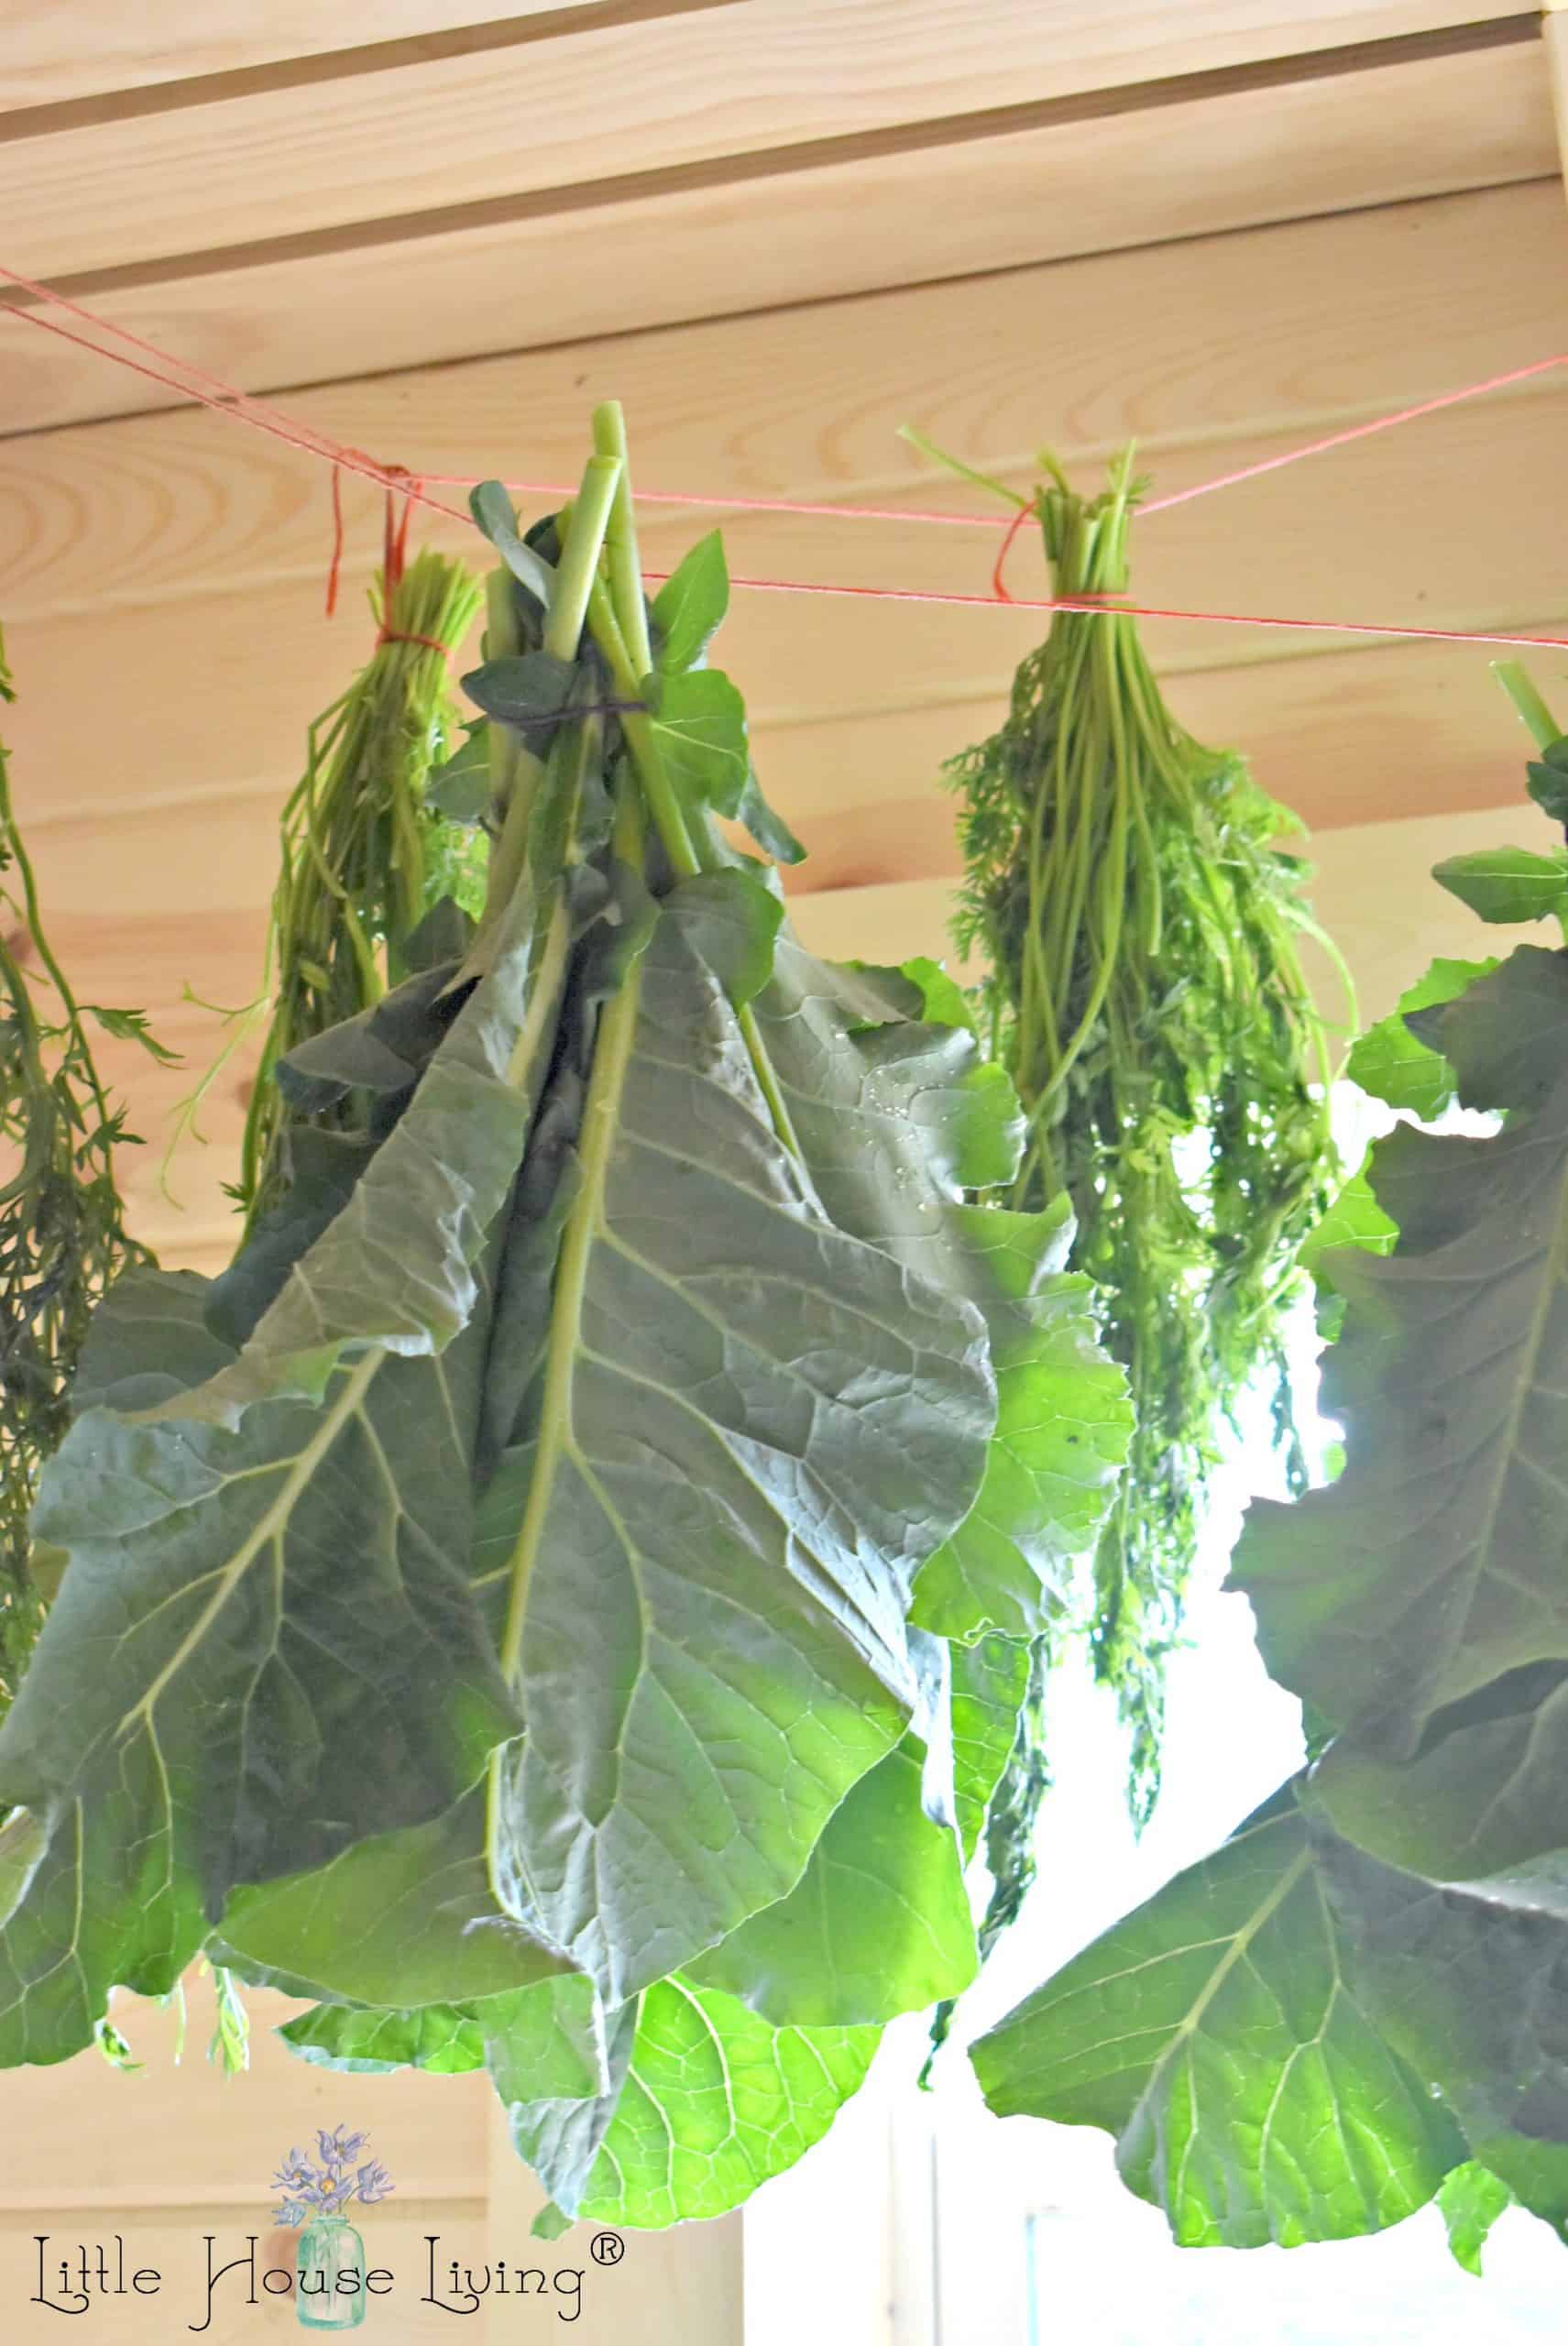
Tie these outer leaves up in a warm, dry place so that they can dry. Like the carrot tops, these will take about a week to fully dry unless your home is humid or you use air conditioning. Just keep an eye on the broccoli leaves and take them down once they are dried.
When they are fully dried and ready to be stored away, use your fingers to remove the leafy part from the stem that goes down the middle of the leaf. Place these dried broccoli leaf pieces into a mason jar with a plastic screw-type lid until needed. Be sure to label your jar so you don’t forget what dried green is there!
If you want to dry broccoli leaves faster, you can put them in a single layer in the dehydrator. (So they get good air circulation.) They only take about 4-6 hours to dry completely. I have the L’Equip Food Dehydrator from Pleasant Hill Grain.
How to Use Broccoli Greens
As I mentioned above, broccoli greens have a pretty mild flavor that tastes somewhat like broccoli so they are very easy to add into many different things. Here are our favorite ways to use them:
- Add them into stir fry.
- Blend them into a smoothie.
- Add them into a casserole (like this Amish Chicken Casserole).
- Find a bunch more recipes with Broccoli Greens here.
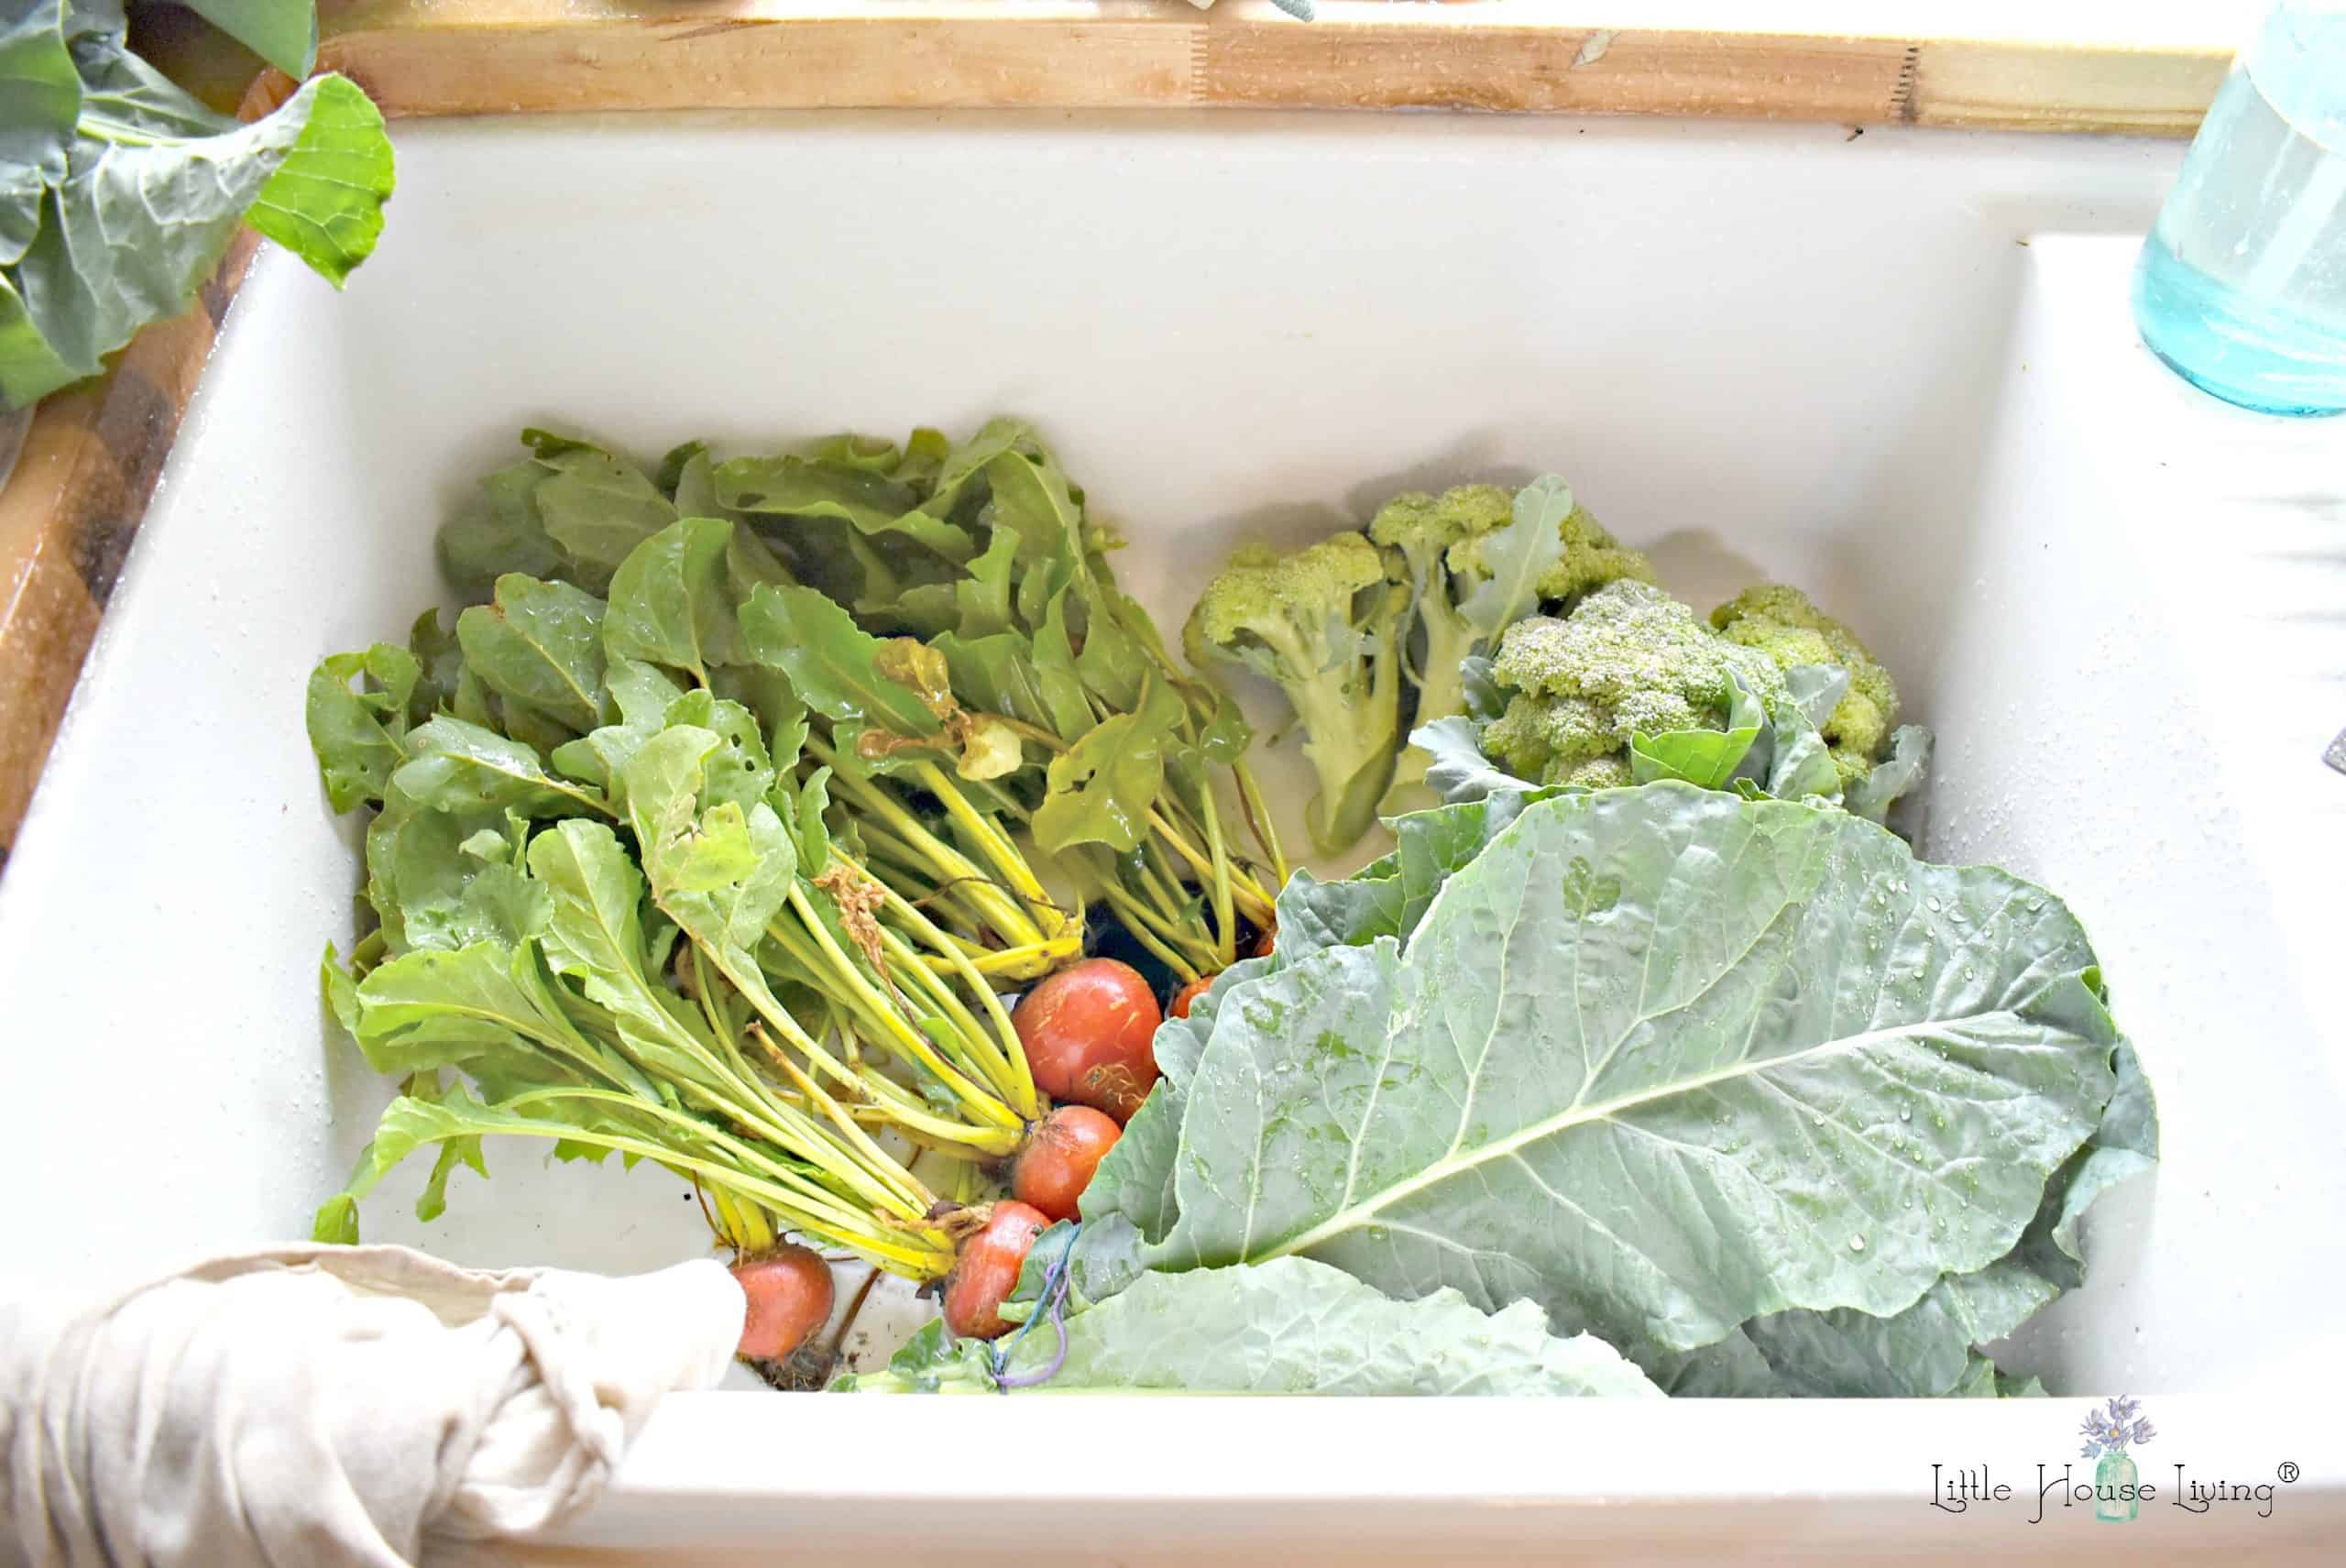
Drying Collards, Cauliflower Leaves, Swiss Chard, Beet Greens, Cabbage, or Turnip Greens
For the above types of greens and leaves, I use the same method for drying as I do for the broccoli greens. If I happen to have space in my dehydrator and the leaves of the beets or turnips are very small, I might use that instead of hanging them to dry.
You can use all of these greens dried in the same way as the broccoli leaves.
Note: If you plan on drying the stalks of any of these vegetables, make sure that you do not cut them into thick slices, and remember that you may need to peel some of them before drying if the stalks are particularly stringy or tough. Personally, I would peel and cut into thin strips or grate the stalks and then dry them just for ease of drying and to make sure they will have a good tenderness when dried.
Drying Zucchini
I know this isn’t a leafy green, but it’s still a green vegetable and deserves a place on this list!
Typically, we shred and freeze zucchini to store it for future dishes, but lately, I’ve been drying it to have a shelf-stable product that we can use similarly.
Start by preparing your dehydrator. Use fruit leather sheets for your dehydrator over the trays if you have fruit leather sheets. If not, you can cover the trays with parchment paper.
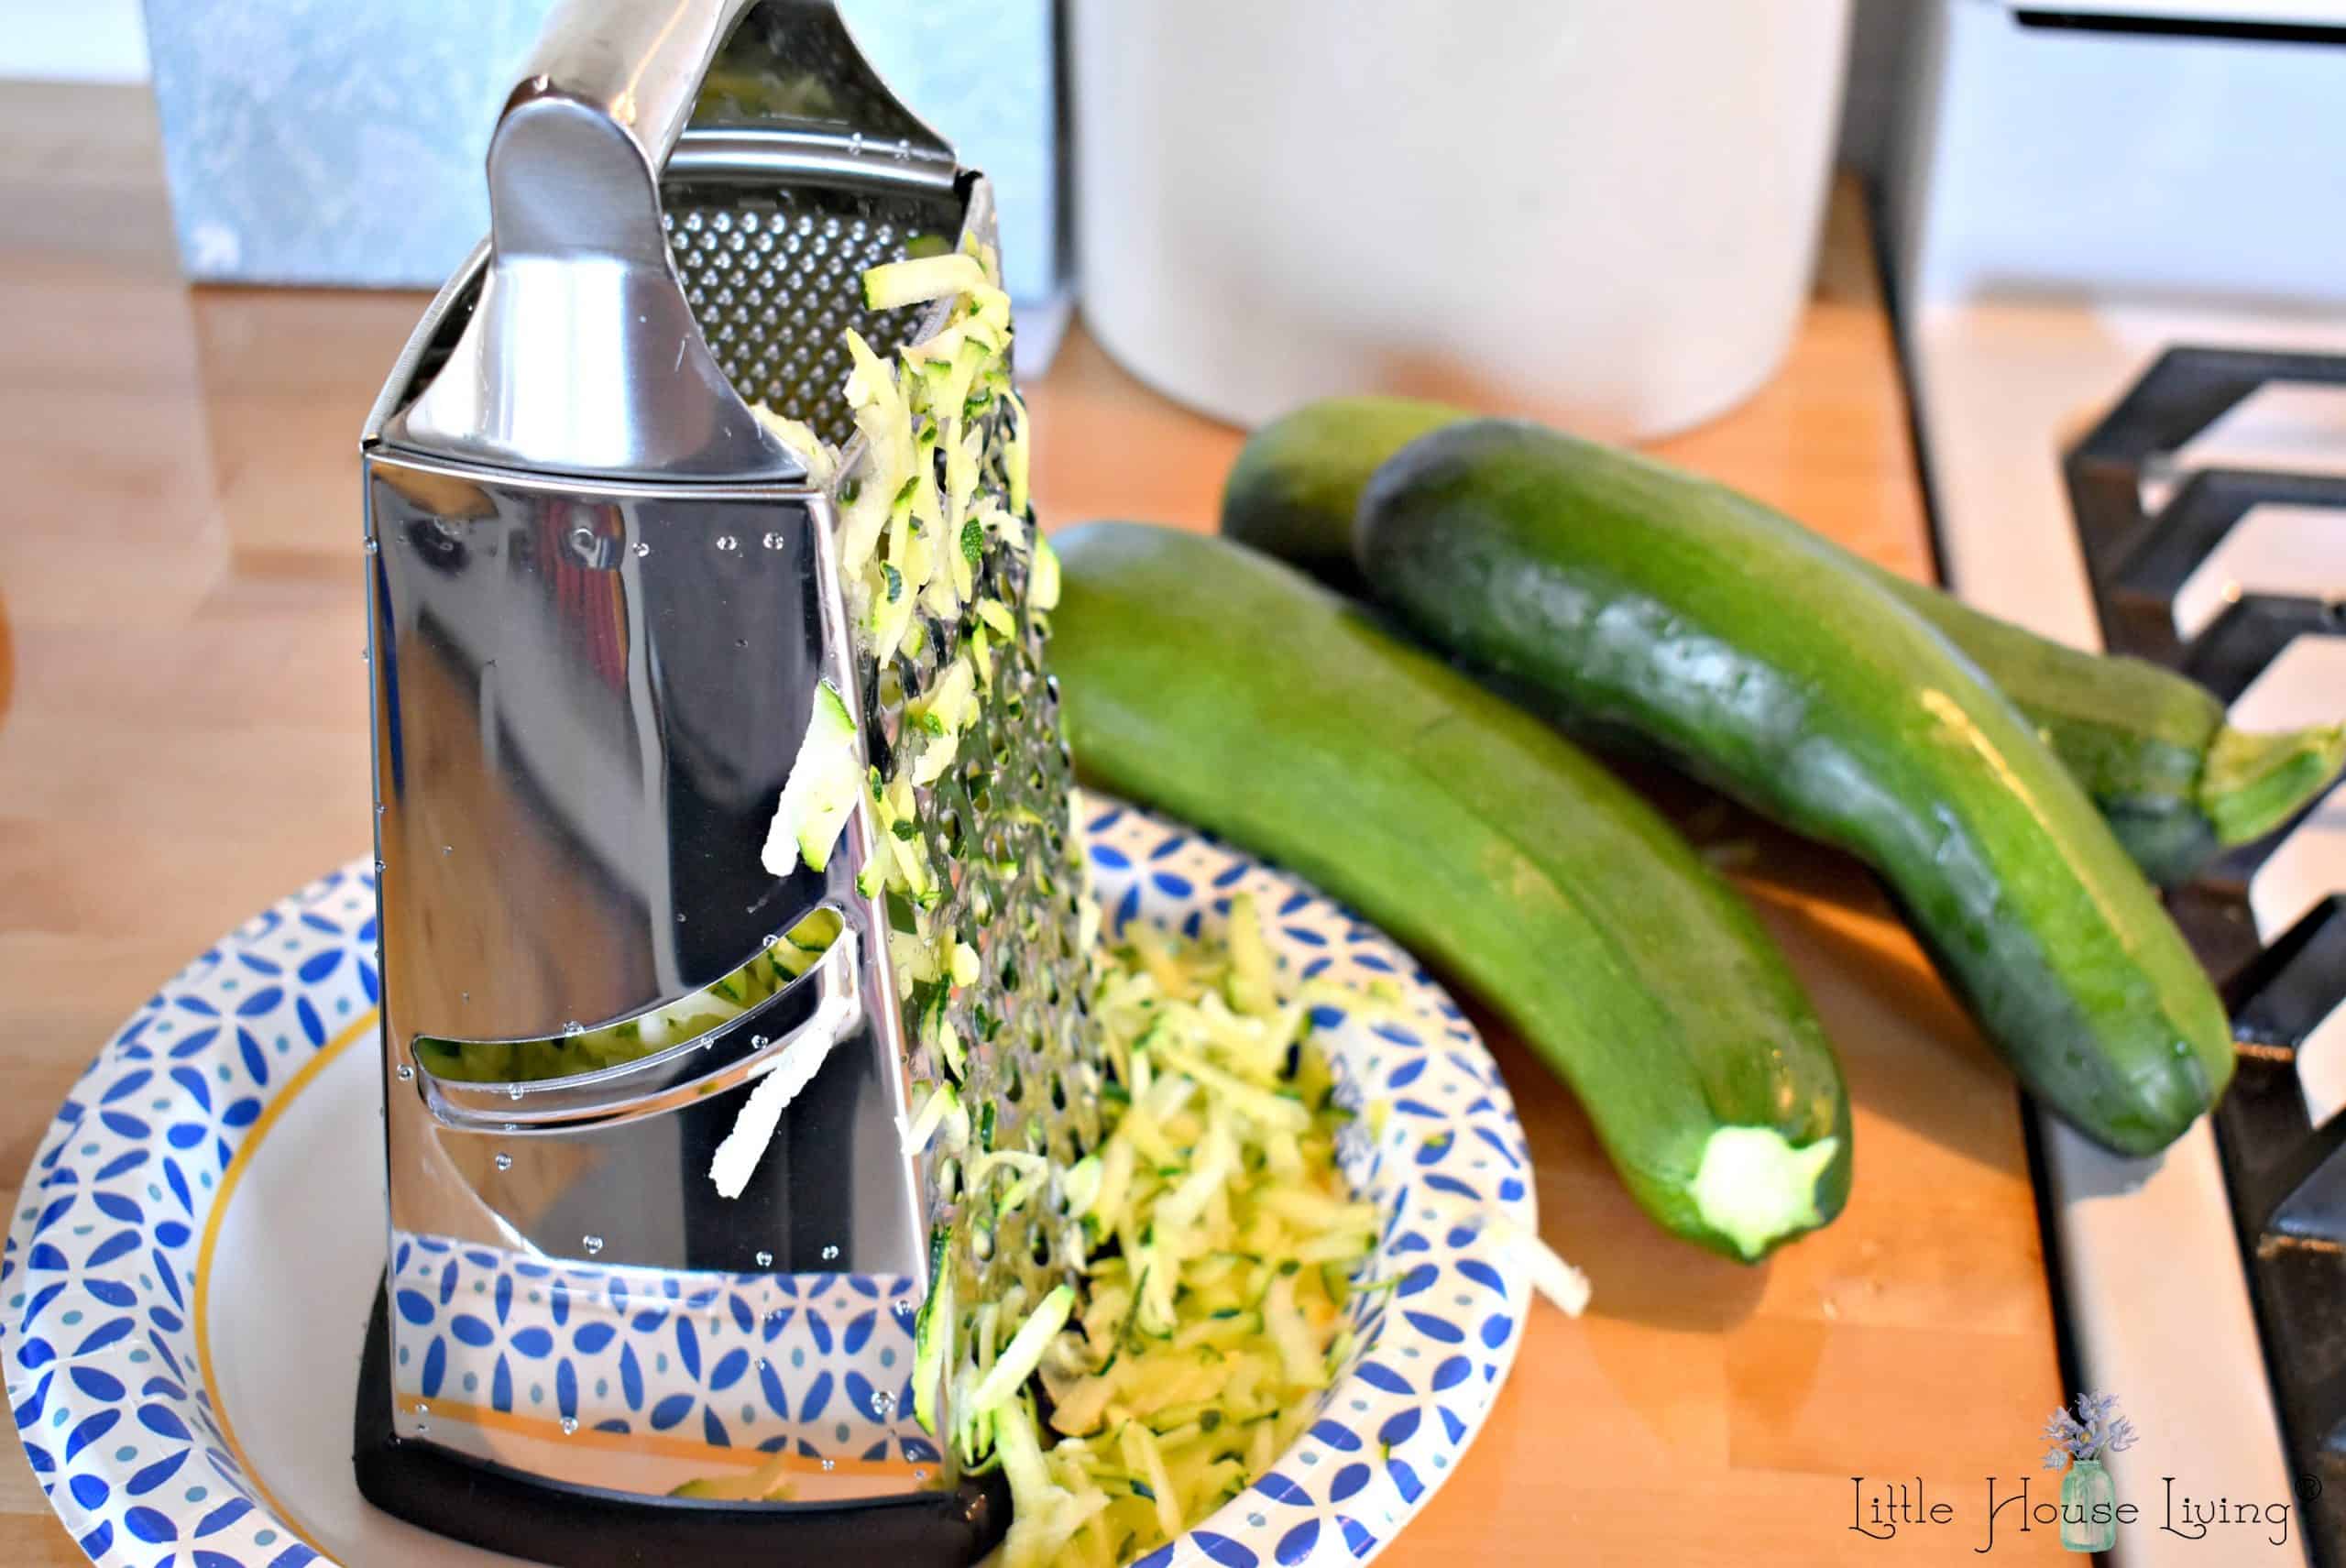
Shred the zucchini and add it to the trays in an even layer. I put mine on pretty thick so it will take a while to dry, but if you have a lot to do at once, you can do this as long as the layer is even and you dry the zucchini until it’s brittle.

Set your dehydrator on the highest setting (150 degrees) and dry for at least 24 hours. If your zucchini is not completely dry and brittle, continue drying as needed. I have a L’Equip Dehydrator from Pleasant Hill Grain.
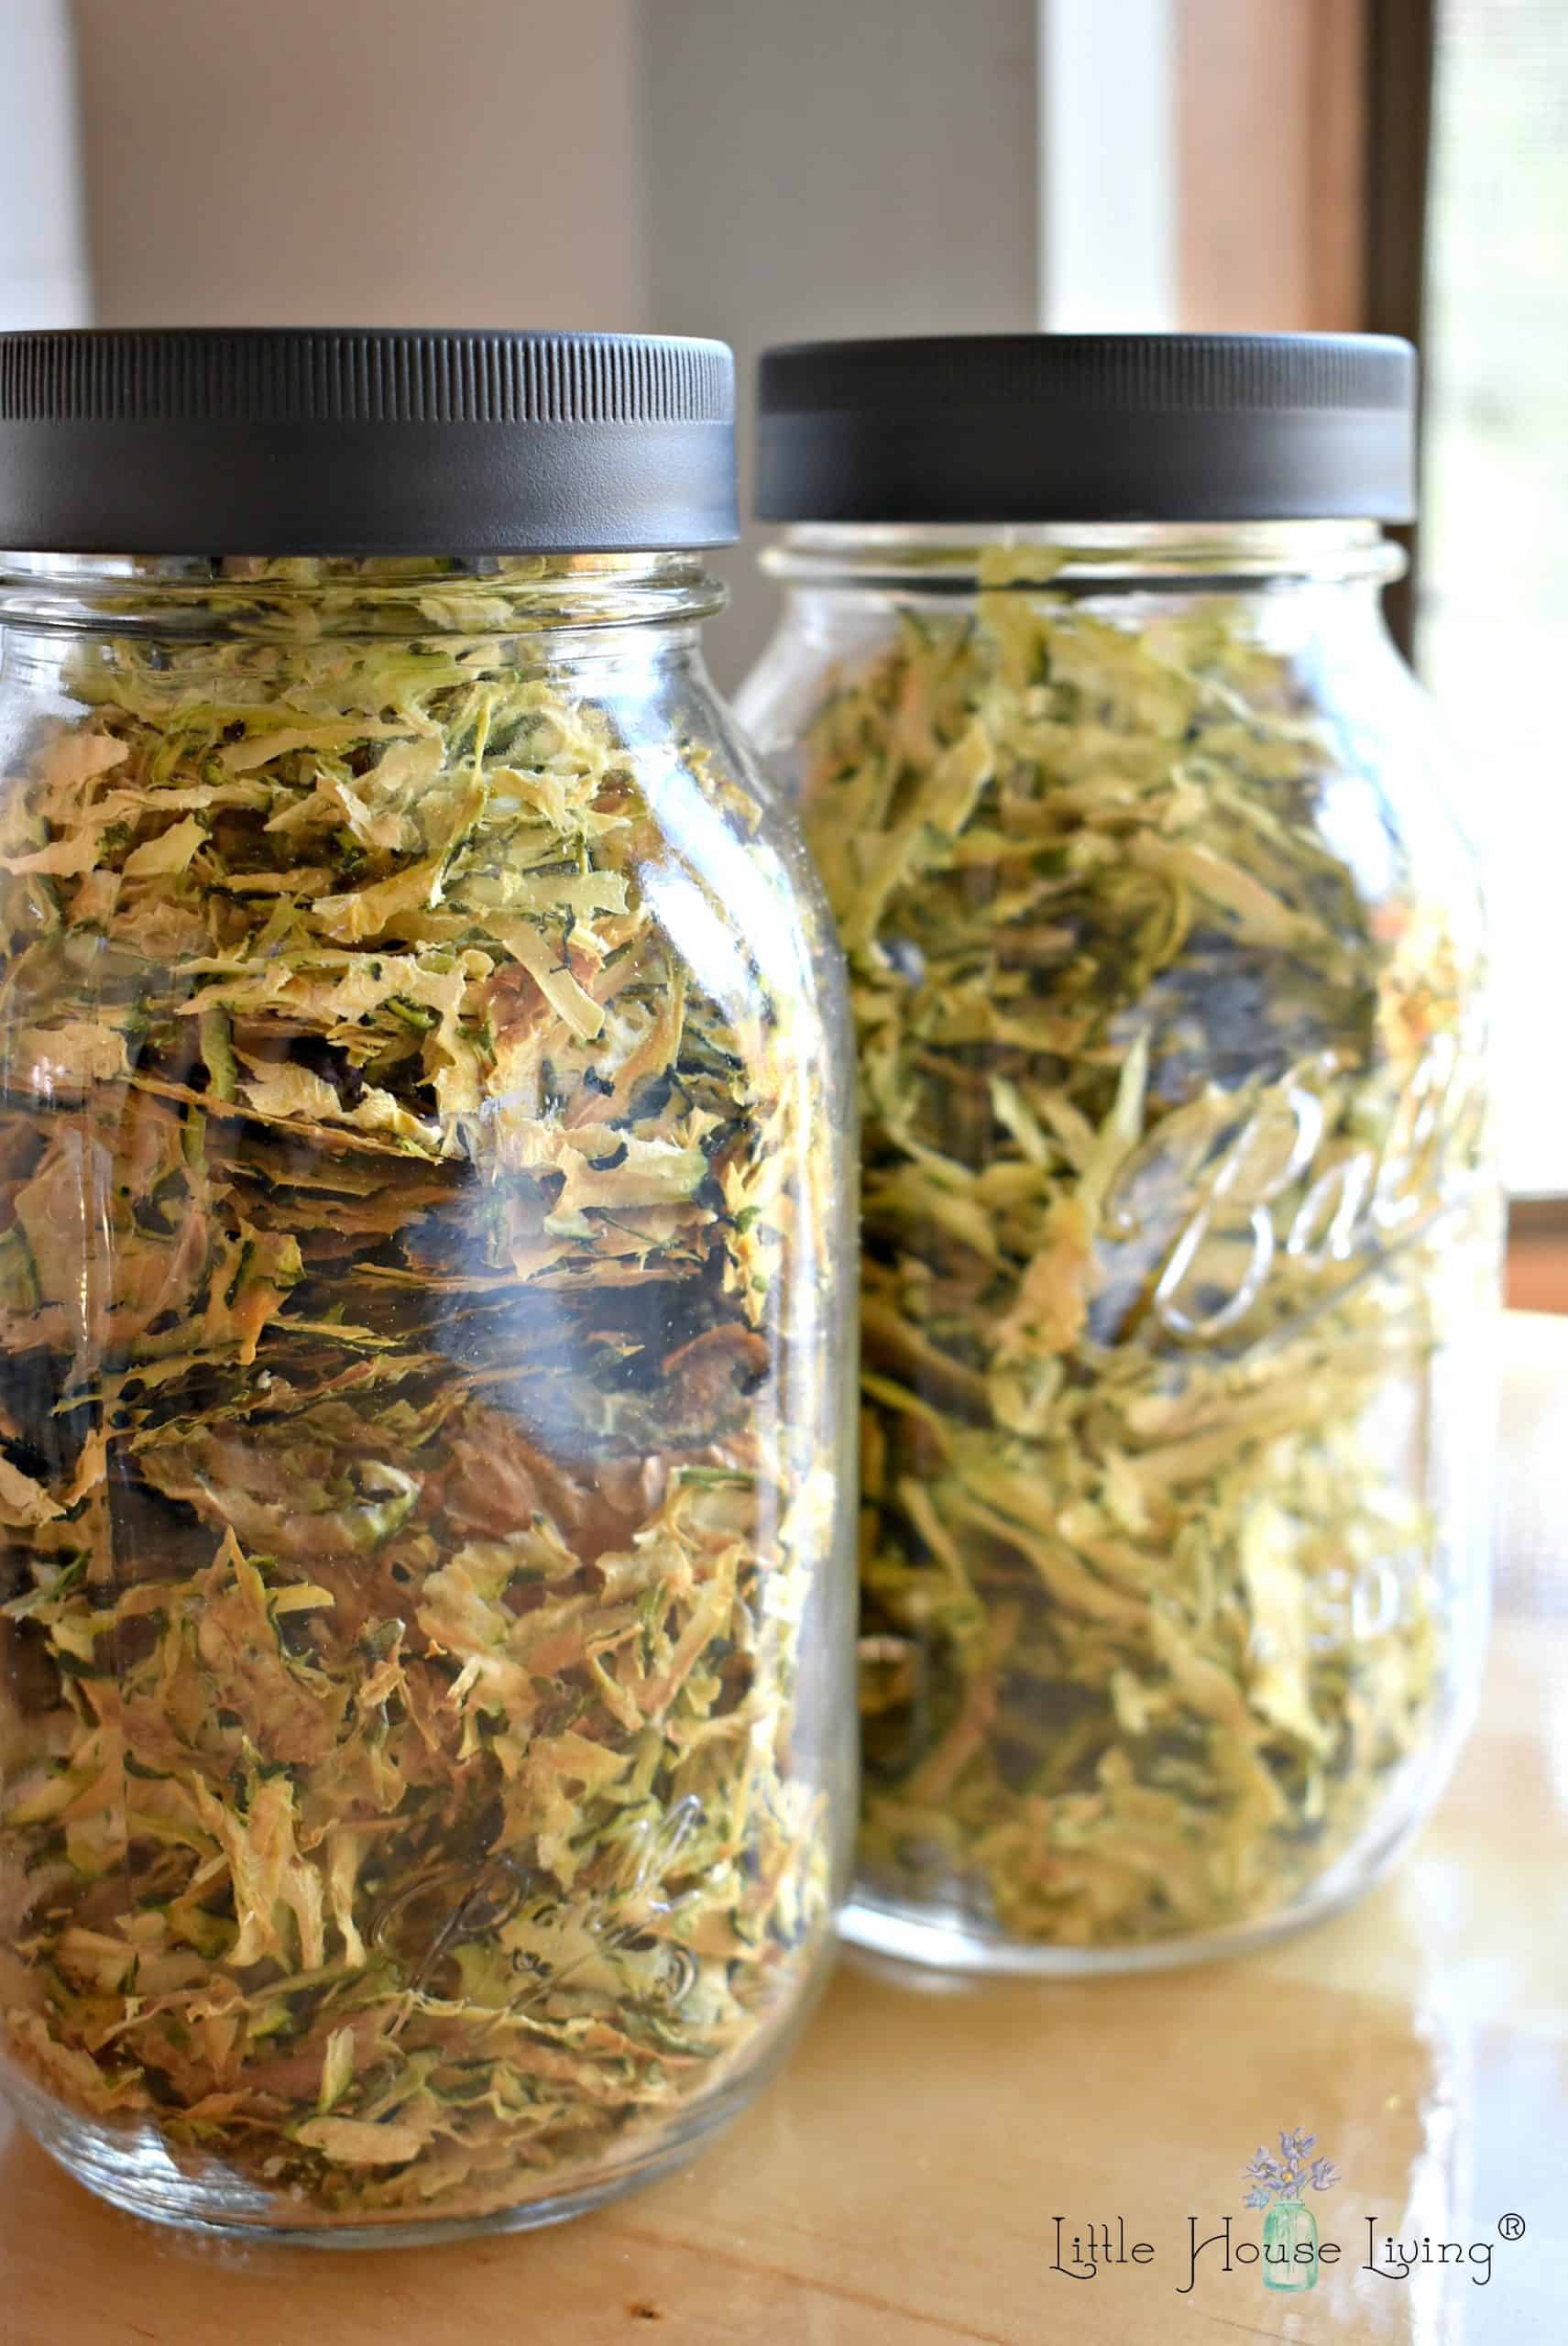
Crumble the dried, shredded zucchini into a mason jar with a plastic screw-type lid until needed. Be sure and label your jar. I can fill 2 quart jars (or one half gallon) with all 6 trays of my dehydrator full (about 1 zucchini on each tray).
How to Use Dried Zucchini
You can use dried zucchini in the same way that you would use frozen zucchini, but instead of squeezing the extra moisture out, you will need to add a little warm water (but not boiling water) back in to help “reconstitute” the zucchini. Once you’ve done that, you can proceed to add it to all my favorite zucchini recipes such as:
- Easy Cinnamon Zucchini Cake Recipe
- Zucchini Cookie Recipe
- Chocolate Chip Zucchini Cookie Bars
- The Best Zucchini Muffin Recipe
- Recipe for Zucchini Brownies
- Homemade Zucchini Bread Recipe
- Chocolate Zucchini Muffins Recipe

Drying Kale
I find kale a little hard to use up when it’s growing in the garden so it’s nice to have a way to preserve it to use later. Drying is an easy way to do this and it helps the kale leaves from taking up so much space in your kitchen.
We already have a post on Drying Kale here on Little House Living. You can follow it here. I like to use this method instead of hanging the leaves to dry because they dry very quickly (in only a few hours!) and the leaves are really too little to hang dry.
I use dried kale in the same way that I use broccoli leaves:
- Add them into stir fry.
- Blend them into a smoothie.
- Add them into a casserole.
I grow quite a bit of Tatsoi and dry that the same way I dry kale.
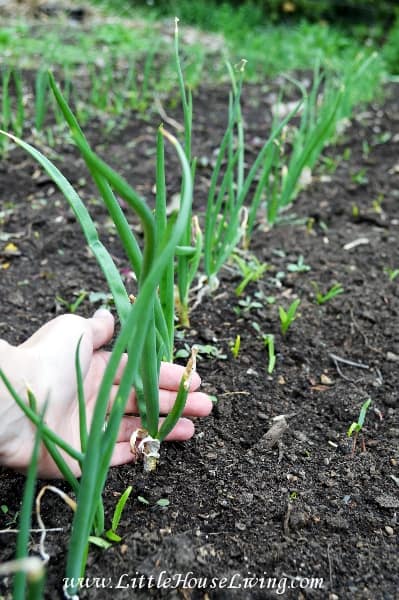
Dried Onion Tops
While not a “leafy green,” this is still another vegetable that can be eaten and is typically discarded. While you can pull a few onion tops at any time during the growing process (as long as you leave something there for the plant to collect sunlight), it’s easiest to remove the tops when you are ready to cure the onion for winter storage.
To do this you will want to cut the onion greens off about 1-2 inches from the bulb. Place them on some tray in a warm area to let them dry (I like to use my Solar Drying Rack for this). I don’t like to put any part of the onion in my dehydrator in the house because it’s very hard to get the smell out once you’ve done it.
Once the tops are completely dry and brittle, grind them up in the food processor or blender and you’ve got a great onion powder that you can use in recipes.

What About Drying Greens in the Microwave or Oven?
Greens will dry just fine in the open air and sun; electricity’s not needed to dry them in the oven or microwave. Plus, oven drying or microwave drying will heat your greens and can ruin the taste and/or nutritional value. You want to dry them in a relatively low heat as suggested here.
What Kind of Dehydrator Should I Buy?
With many of these greens, you can harness the sun’s power for drying. If you choose to get a dehydrator for things like zucchini, I have and would recommend the L’Equip Dehydrator from Pleasant Hill Grain. Mine has been going strong for over 10 years.
Do You Need to Add Anything to Prep Greens Before Drying?
I don’t use anything like lemon juice, citric acid, water blanching, or anything else to my greens before drying because we didn’t mind the slightly darkened color, especially since I mostly planned on using them for green powders.
However, if the color is an issue for you, you may need to experiment.
What Are Some Other Things You Can Dry?
You can dry corn, peppers, bananas and other fruit, peas, sliced eggplant, large or small mushrooms, and so many other things (even cheese!). Once you start dehydrating and drying things you will love how fun it is to produce something shelf stable.
There may be several other greens that you can dry and enjoy from the garden but these are the ones that we dry regularly and know are good! You can also dry lettuce, spinach, arugula, and other basic greens as well (I usually don’t grow much of those so we don’t dry them).
More Tips on Making Dehydrated Food
- Dehydrated Zucchini and Squash and Making Zucchini Flour
- How to Dehydrate Pears
- Dehydrated Vegetables
- Strawberry Apple Dried Fruit Tea
- Drying and Preserving Flowers; What to Do With Dried Flowers
Have you tried drying greens? What do you dry? What do you make with it?

Merissa Alink
Merissa has been blogging about and living the simple and frugal life on Little House Living since 2009 and has internationally published 2 books on the topic. You can read about Merissa’s journey from penniless to freedom on the About Page. You can send her a message any time from the Contact Page.
This article on Drying Greens was originally posted on Little House Living in July 2020. It has been updated as of May 2026.
Hello! Any ideas on what to do with an over abundance of cucumbers?
Can you dry them too?
You could make dried cucumber chips if you wanted to. I just slice them and put them in the dehydrator with a little bit of salt and/or garlic powder. You could always make them into relish and can it too.
Shred excess cucumber and dehydrated. To use, reconstitute in a little water and mix with yogurt, salt and garlic for tatzaki sauce to serve on gyros or use as a dip or burger sauce, salad dressing, etc.
Merissa, do you have any recipes for baked kale chips?
I don’t but I can ask my mom if she would post her’s…she makes them often!
Great post! I may try to dehydrate some of my violet leaves. We use them fresh in smoothies but ive been debating drying some for winter use. Thanks for the nudge
That sounds like a great idea!
I’ve dried spinach leaves as well as different herbs.
I have added the dried spinach to soups and other dishes. I’ve also made it into a powder and added it to dips, sauces, and omelets…and so easy to dry.
We’ve had an abundance of lettuce this year so I’ve begun preserving it to freeze and use in soups and stews this winter. We also have a bunch of celery leaves since our celery did well. It’s been a hard year for our garden as well. Didnt plant until late and the heat has been overwhelming. Still determined to use as much as we can! Our herbs, onions, and garlic are plentiful!
Sounds like a great plan! Even if things didn’t go as we planned, there is still much we can harvest if we get creative.
What is the importance of the plastic screw type our verses a metal lid and band? Thank you for these ideas! I look forward to wasting less garden greens
They are reusable and won’t rust. Of course, you could reuse the metal lids but you’d want to make sure they wouldn’t get mixed up with your canning lids since they’ve already been used.
Did NOT know this about carrot tops and broccoli leaves!!! FAB info. Thank you!
I have been using the Dehydrate mode on my Instant Pots for drying basil, Italian parsley, celery, squash, and sweet onions. Works great but can only dry a very small quantity one round each day, even using the Kispog 5-tier stainless IP drying rack (best yet). What larger dehydrator do you recommend. I’m in a very small city apt so space is an issue. Love your posts, I keep on learning how to live on a very limited income in a tiny space, thank you!
I would also like to know what dehydrator you use. I bought one back some years and was not Impressed, so haven’t used it.
This is such a useful site, I have learned so much even in my later years, never to old to learn. I canned and froze huge garden produce when raising my kids. Now I just bought a dehydrator, so this was good infor to use those greens. Younger women need help in this day and age so they are asking me for advice I will share this site with them. thank you so much.
Pampered chef has a rotisserie/air fry/toaster/bake/dehydrater oven… it is about 400$ for the whole set up, but we love ours!!! Use it almost daily!
Hi Merissa,
I will try drying the carrot tops and see what I can sneak them into! For kale, I make kale chips with either just salt or some seasoning. Yummy and they give a lot of satisfaction with the crispy crunch. It’s amazing to see how crazy expensive they are in the stores.
Thanks again for sharing you knowledge and experiences with us!
Best wishes always!
I learned this year that mustard green chips are sooo much tastier than kale chips! Definitely a hit with my husband and me. I dry them with some oil and salt in the oven on the lowest setting.
In our garden, zucchini and tomatoes are the gift that keeps on giving. We add it fresh to everything ! This year we started dehydrating to store up for the winter. Both have have graduated from the “sneak a veggie” for the kiddos, to everyday stretch a dollar fillers in chili beans, spaghetti sauce, casseroles, stir fry and soups/stews.
love-love can’t wait to try dried broccoli leaves. I’ll give a try in broccoli cheddar soup this fall.
Thank you Merissa !
Oh yum, they would be so great in soup for sure!
Froozen zucchini or summer squash, yuk. Never anything but rubbery. I make chips of them with all the chip flavors.Salt vinegar. ranch dressing. Ect. Or pickle them. That was new this year…
Please be careful with tomato leaves I read somewhere years ago that these can make you very sick
I wouldn’t ever recommend drying or consuming tomato leaves. Not only are they not edible but I’m allergic 🙂
I was pretty much awed by the tips you have on the different veggies.
Thanks for the valuable help you give.
Will be sure to use them.
I do appreciate your letters.
Thank you so much
Good to know that those greens are edible. Thank you for the post. It is helpful
How do you rehydrate the leaves for use later?
I don’t rehydrate the leaves, we just add them into various meals or sauces. Zucchini is the only thing on this post that I rehydrate with a bit of water.
I’m new to your community… you mentioned in your post, refrigerator dill pickles. Just wondering how much dill weed you can put in, I do not have any fresh dill….but plenty of cucumbers. Thanks
I’ve been using fresh so I just use a couple of sprigs. I’m not sure what the dried equivalent would be.
I have an abundance of chard. Is it the same process as spinach to dry?
Yes.
Thank you for this post. Broccoli greens are amazing; I found that out last year when my broccoli harvest consisted solely of leaves and stems! This year my garden is doing much better, but in many cases it’s been a rush harvest the veggies in before the viruses and bacterial infections set in.
We have been eating mixed greens galore since spring. Beet leaves, chard, lamb’s quarters, and sometimes wild sorrel.
We had a fantastic meal the other day using mixed greens, leftover linguini with butter. I had about a cup of it so I cut it into small pieces, then mixed it with garden greens, caramelized onions, sauteed garlic, salt, and grated cheese. My husband had it as a side and I had it for dinner. Amazing flavor, used the leftovers, and basically free!
How do you store home grown potatoes for use over the winter?
We store them in a cool, dry place. We’ve previously stored them in our basement and will store this year in a root cellar.
Hi Melissa, thank you for this, it’s very informative. I’ve recently bought a dehydrator, but last year I made this stock powder in the oven and it was simple and very good. Here’s the link for anyone who’s interested
https://www.thespruceeats.com/sodium-and-msg-free-vegeta-seasoning-1137184
Thank you that was a fantastic link
I still have broccoli plants growing here in NYC that still haven’t produced heads at all since I planted them April! but the plants are doing well and have lovely leaves. I think I will harvest them before its too late. Thank you! I love broccoli and potato soup!
Thank you for all the drying suggestions. I am just getting ready to dry beet greens and will now dry the onion tops, too! Have you ever dried radish greens? I tried for the first time (by hanging and air drying) and the leaves turned yellow. Were they too mature or is this common? Do you think they lose the vitamin and mineral content during the drying process? Thank you for any feedback you may have. Have a blessed harvest!
I haven’t tried radish leaves but if they are turning yellow by hanging I would recommend trying them in the dehydrator instead.