
High Elevation Sourdough Bread Recipe
This post may contain affiliate links. Read our disclosure policy.

Do you live at a higher elevation and have struggled to make decent sourdough? This post and recipe are the results of my experiments!

A few months ago, I wanted to get into making sourdough bread again. I hadn’t yet made it at our new home and boy was I in for a surprise.
I tried SO many different recipes and failed every time, making gummy or hard as a rock loaves. I was just about to give up when I decided to try one last time, and I landed on a perfectly soft and fluffy bread. Another month of testing out the recipe, and I finally had it figured out! I now make sourdough 2-3 times per week, and it’s all we’ve been eating this winter for our bread.
This recipe works really well for me, and we are at between 7000 and 8000 feet in elevation. I’m not sure how it would work at a lower elevation because I have not tried it. My mom has tested it at 3500 feet in elevation, and she reported success. I really feel like sourdough is a trial and error thing, based not only off your elevation but off the conditions in your home.
All that to say, here’s my recipe! If you’ve been struggling, I hope this works for you!
Ingredients in High Elevation Sourdough Bread
- Sourdough Starter. This recipe assumes you have an active sourdough starter. I store mine in the fridge and pull it out every few days when I bake, I don’t discard anything, and I don’t have to feed it daily.
- Water. I use room temp or slightly warmer water to help active my dough faster.
- Salt. I’ve used both pink salt and regular sea salt, and either works fine.
- Oil. I use either olive oil or sunflower oil. This helps the bread stay nice and soft for days.
- Sweetener. I currently use a bit of sugar, but plan on switching to honey once the baby is old enough. I would recommend using honey. I have not made this recipe without the sweetener. It’s a very small part of the dough and helps everything rise better.
- Bread Flour. Make sure you are using bread flour and not all-purpose flour, you need the extra protein in the flour for it to work right. I use some from a local miller.
Tools Needed to Make Sourdough
- Bread Pan. I use a pullman pan without the lid. I’ve been baking bread in these for years!
- Dough Whisk. This isn’t required, but I do find it nice to have.
- Bread Lame. Again, not required, but very nice to have. You can use a clean razor blade instead if you don’t have one of these.
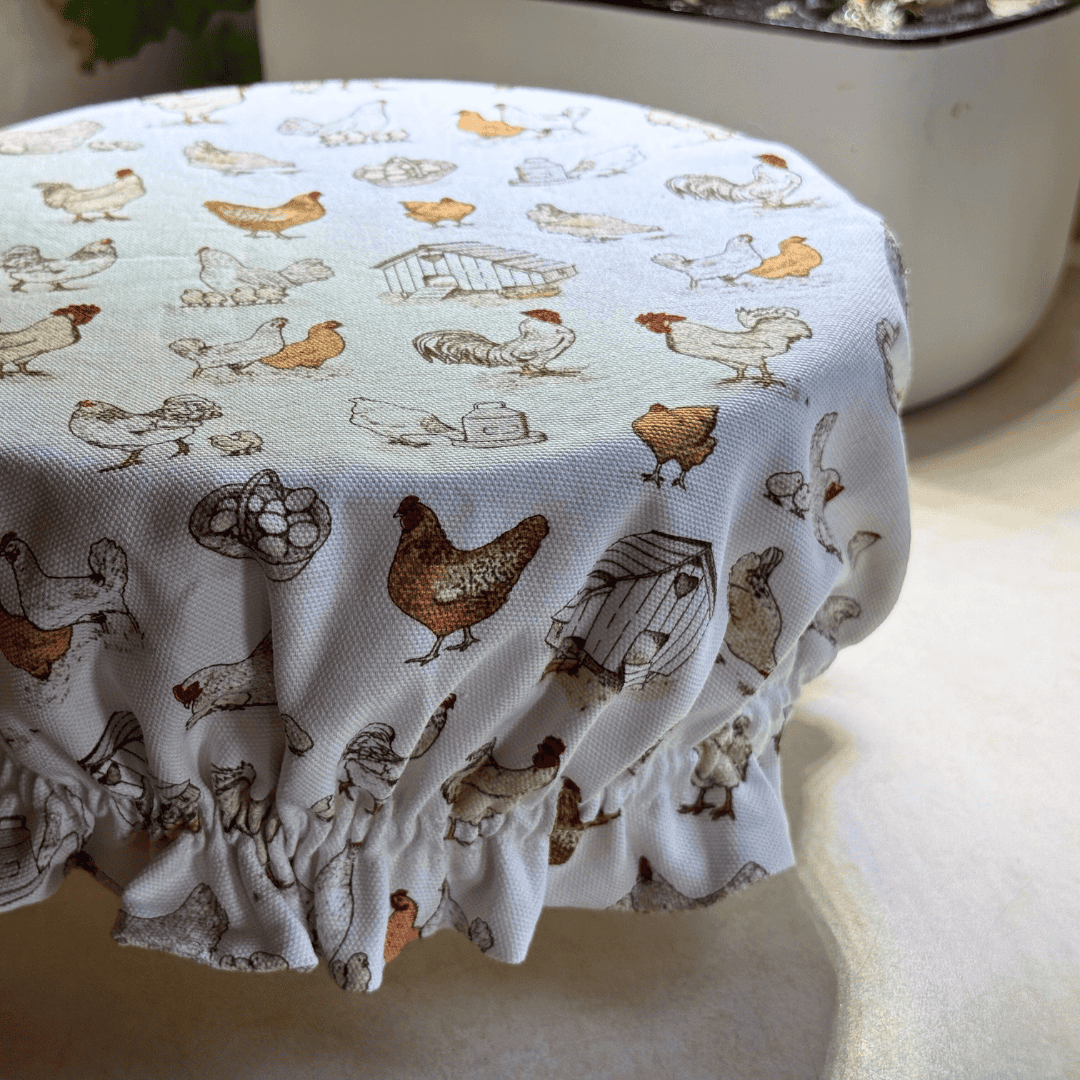
- Bowl Cover. You need something to cover the bowl while your dough is being worked.
- Kitchen Scale. You do need this! Make sure your scale measures in grams.
Step by Step Instructions for Making Sourdough Bread at High Elevation
I store my sourdough starter in the fridge and only feed it when I’m going to bake. I never discard. In the morning before baking, I remove the starter from the fridge and let it warm up for an hour or two before feeding it.
Let the starter sit for several hours after feeding it until it has doubled in size. For me, this is right after lunch. Continue with the rest of the instructions for making the dough after it has done this.
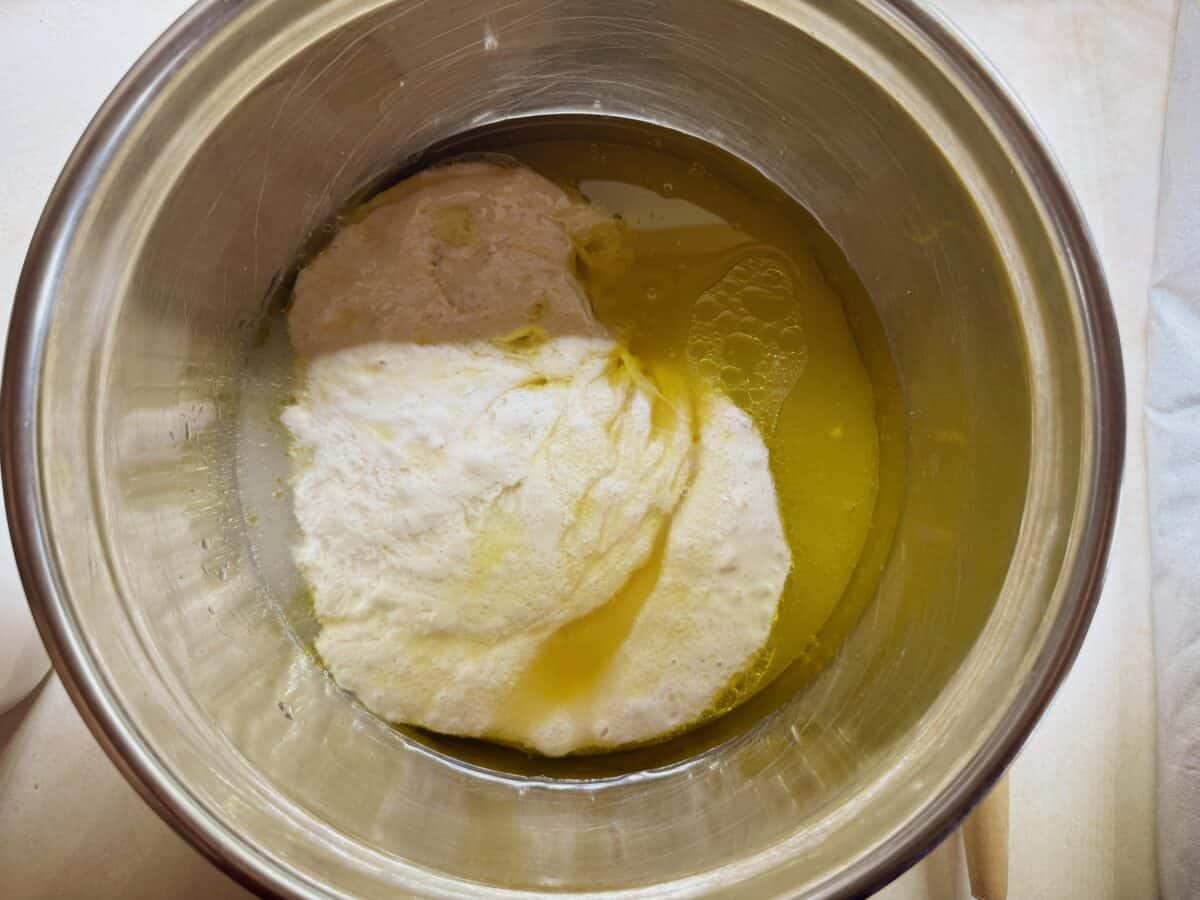
Measure out all your ingredients using a scale in grams. I’ve found that the measurements don’t have to be perfect and it will still turn out fine!
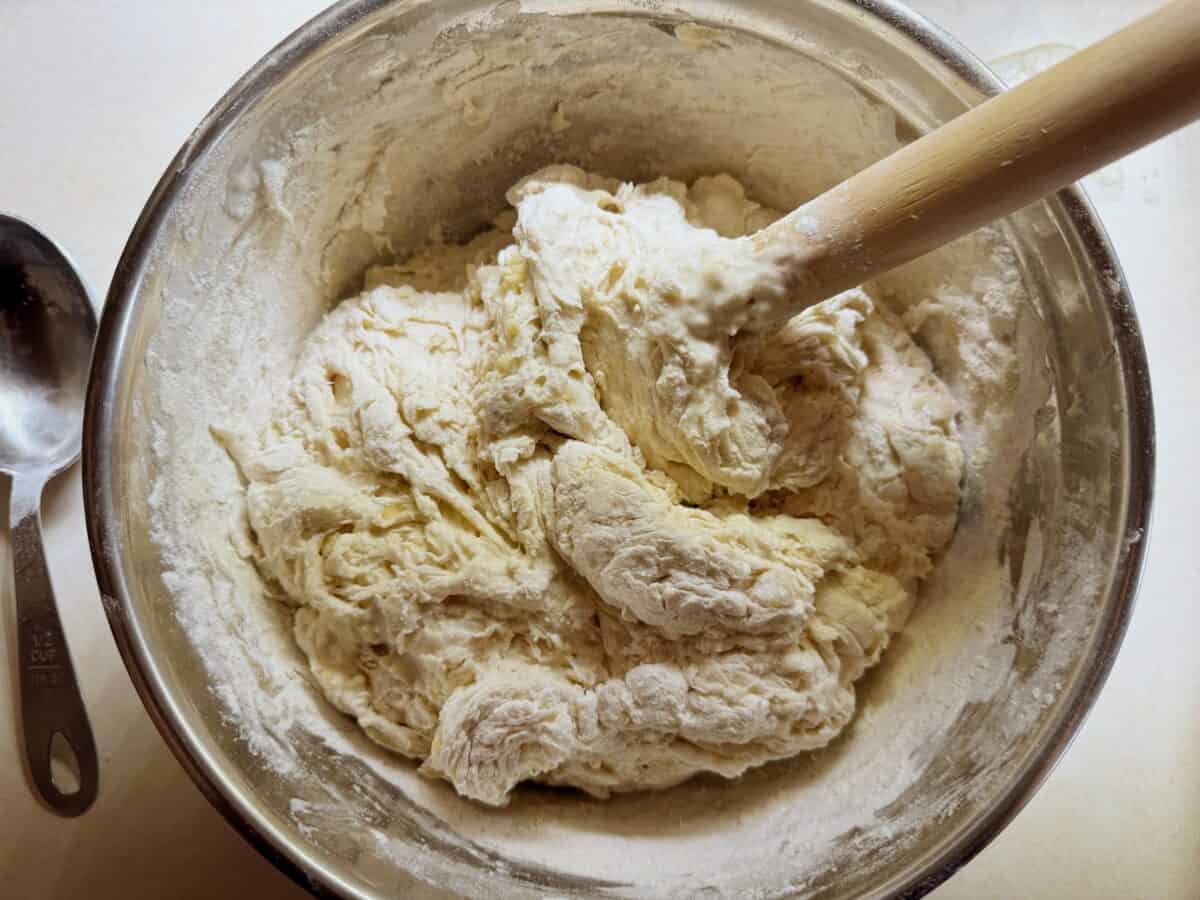
Mix everything together with your hand or a dough whisk. I mix with the dough whisk until it comes together and then finish mixing with my hand.
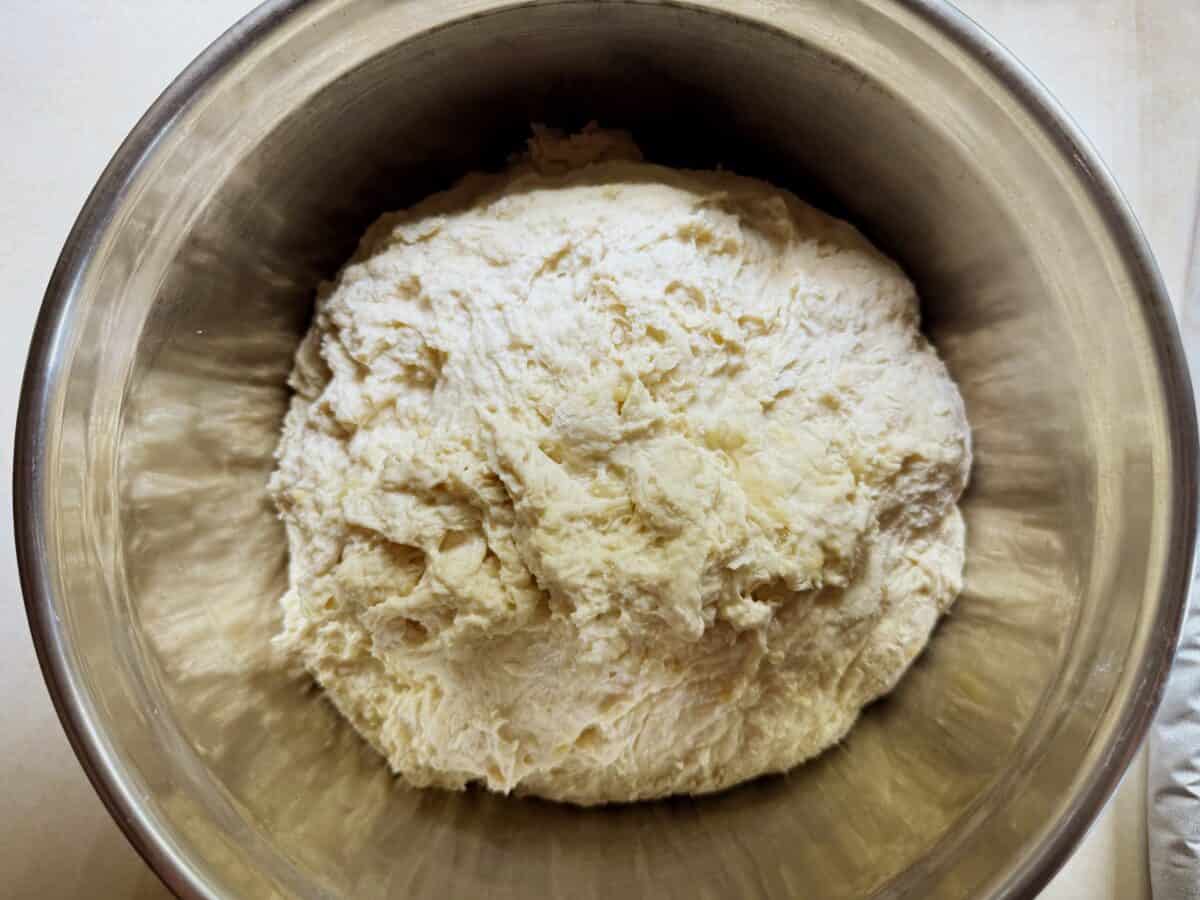
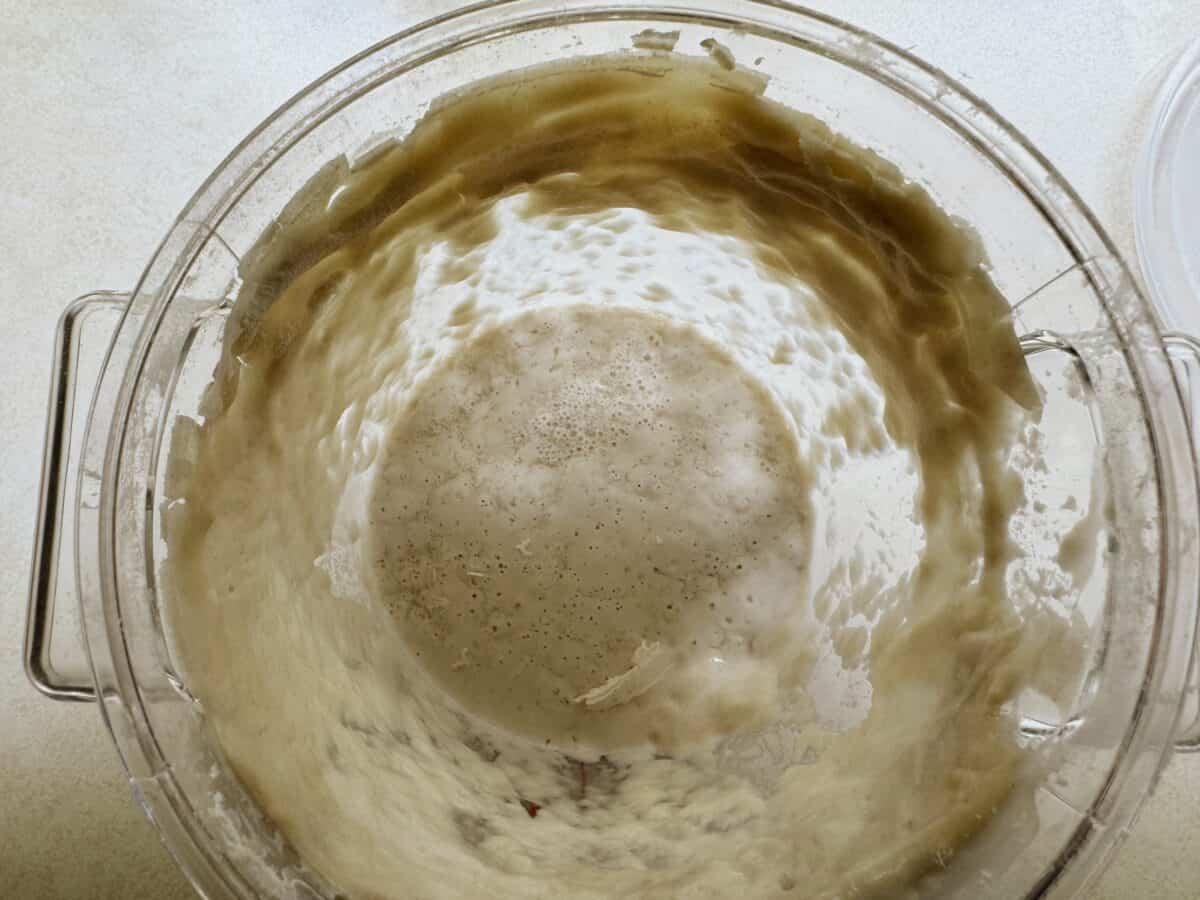
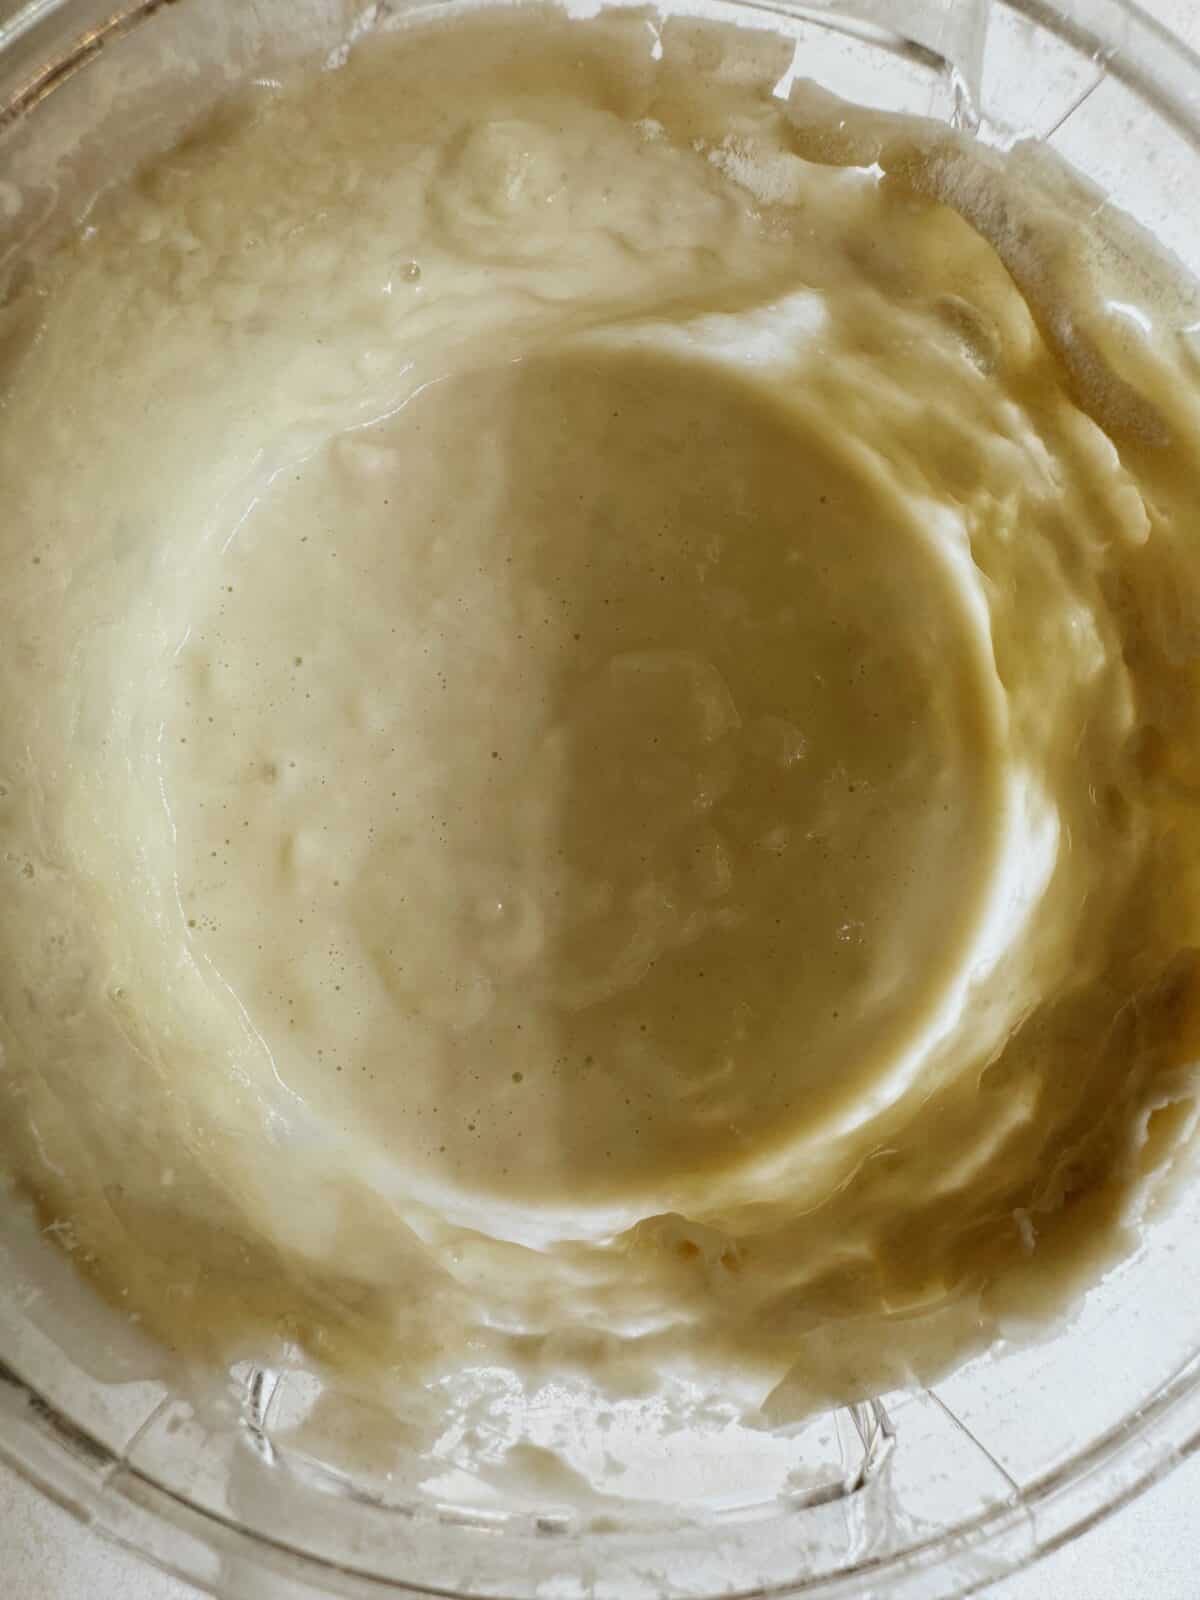
Set the dough aside in a clean bowl for 1 hour (covered) to let it rest and to make sure the flour soaks up the moisture.
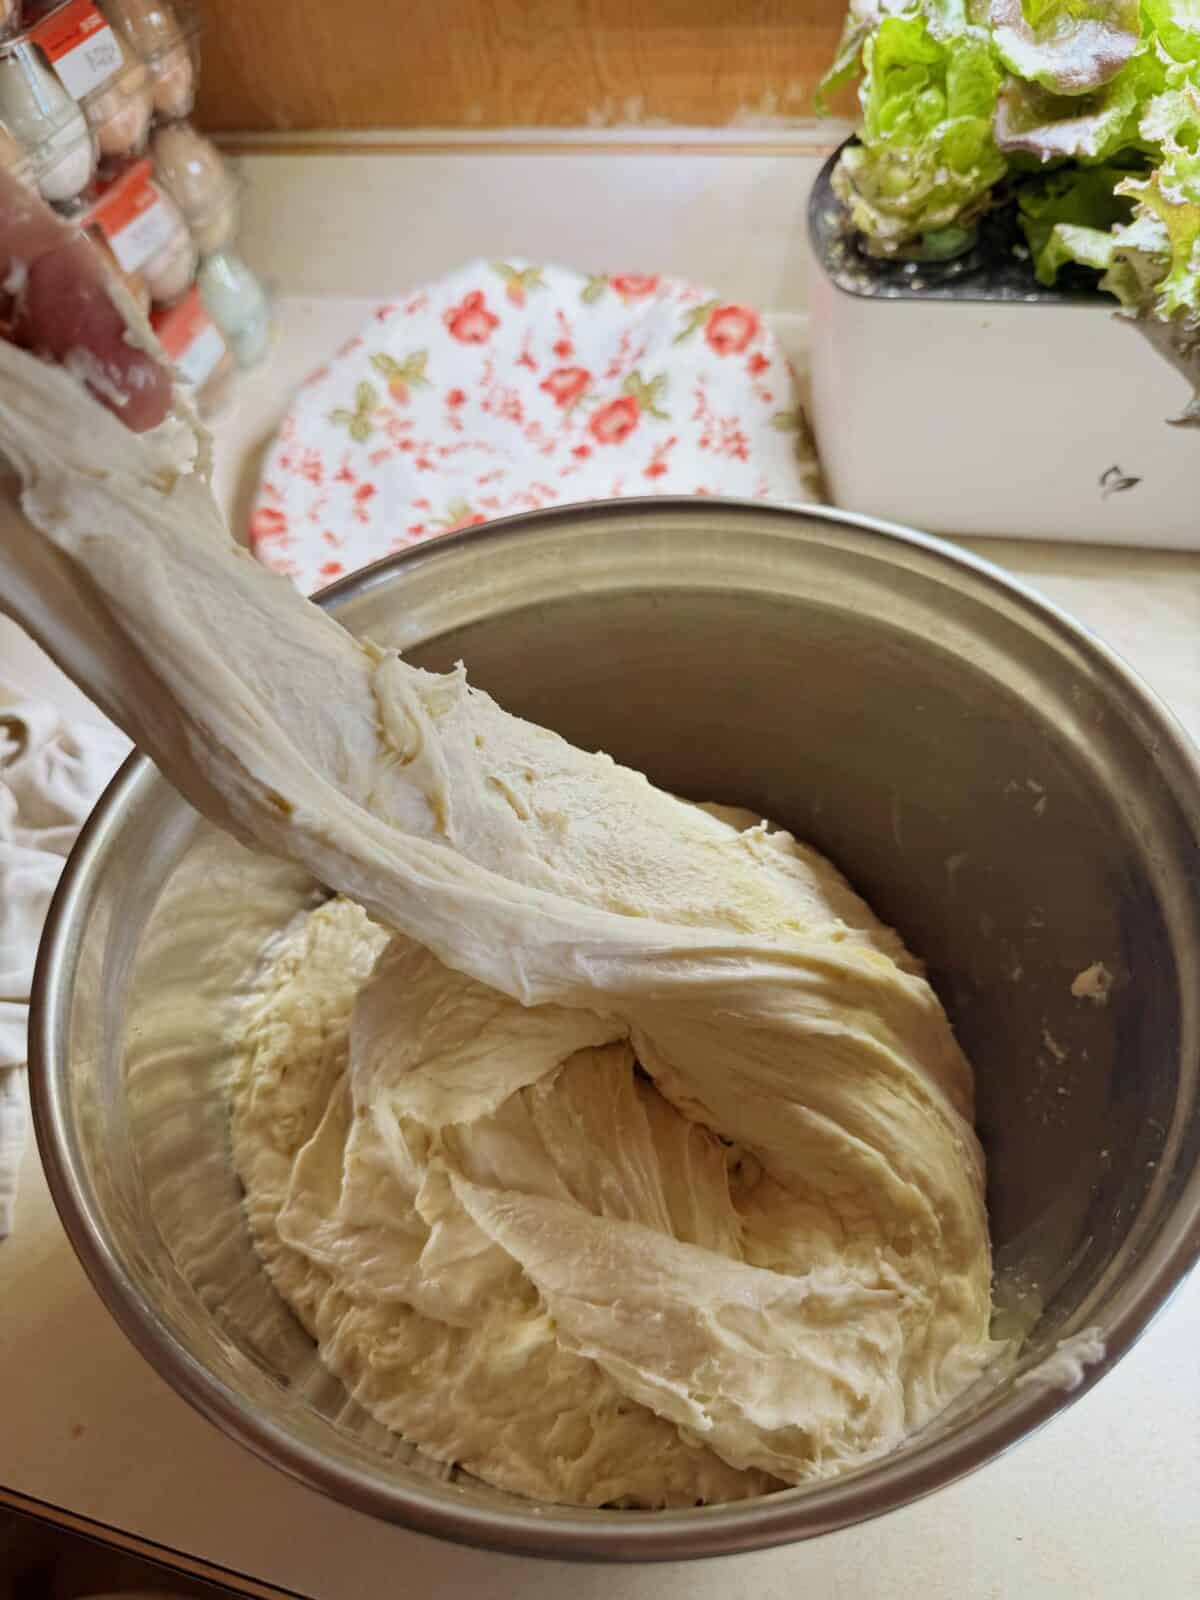
After that hour, do 1 set of stretch and folds. Repeat these 4 times, doing one every 30 minutes.
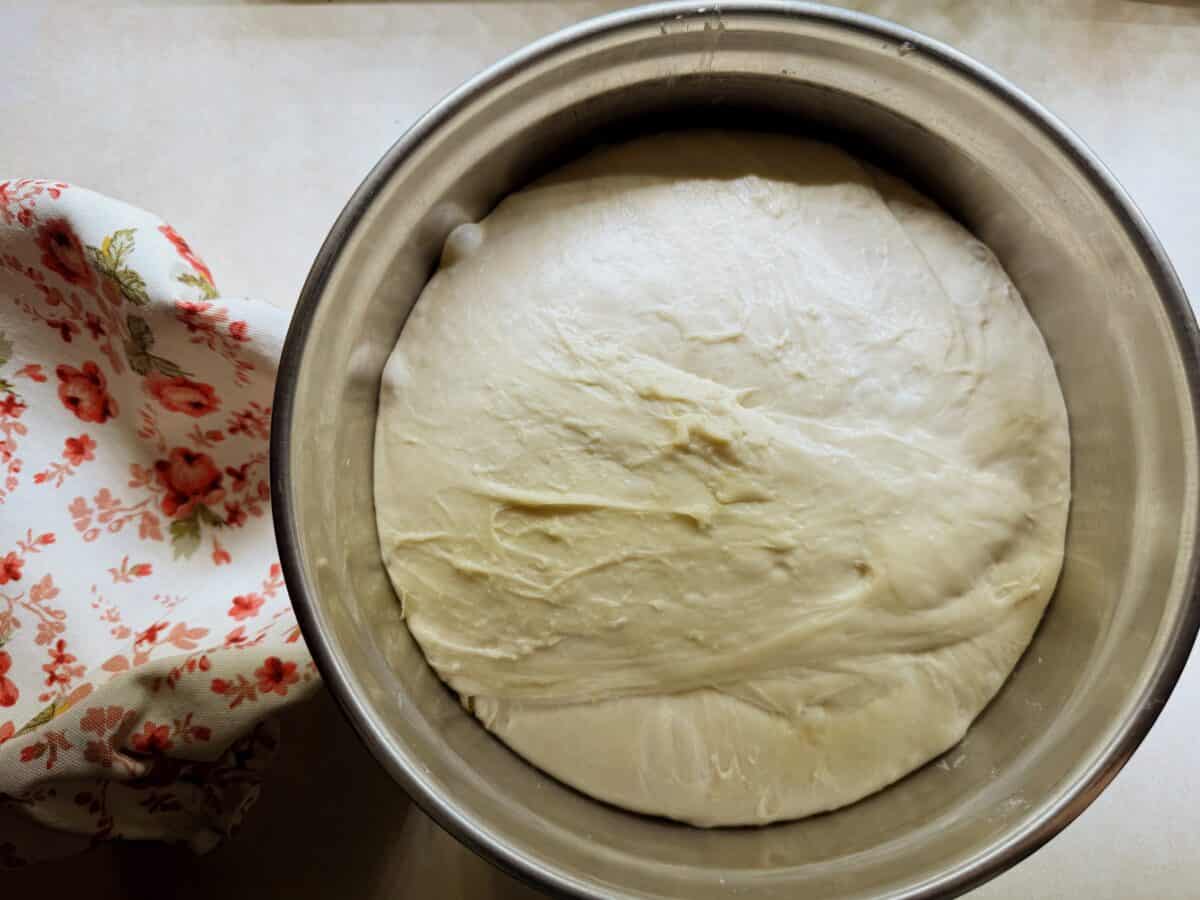
After your stretch and folds, place the cover back on your bowl and leave the dough to rise for several hours. I let mine sit for about 3 to 4 hours until bedtime.
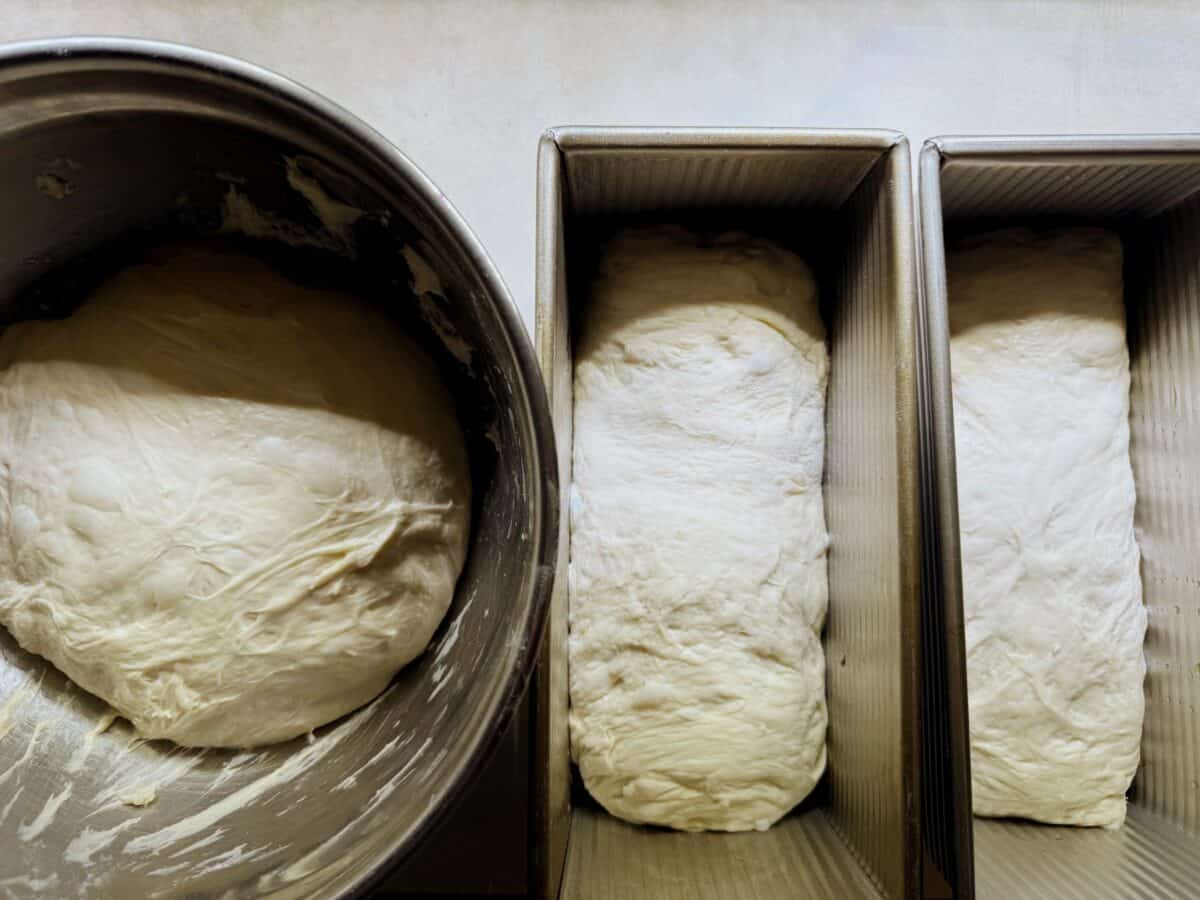
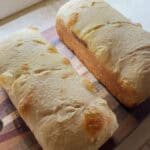
Shape the dough and place it in loaf pans. I’ve also used this dough for buns, focaccia, and pretzels!
Cover the loaf pans with plastic wrap or another cover and let it sit in the fridge overnight to cold ferment.
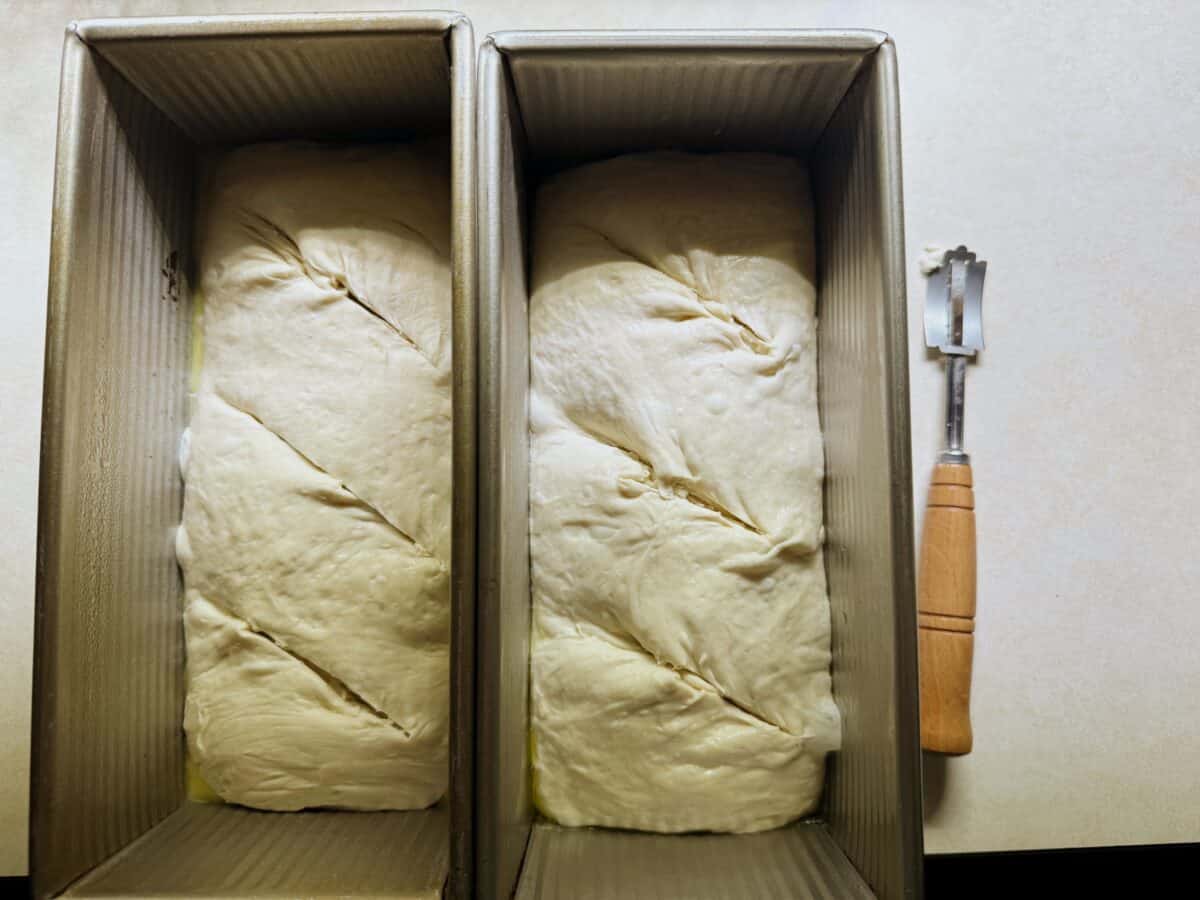
In the morning, score the dough and cover the pans with foil. Place it in the oven at 450 degrees for 20 minutes.
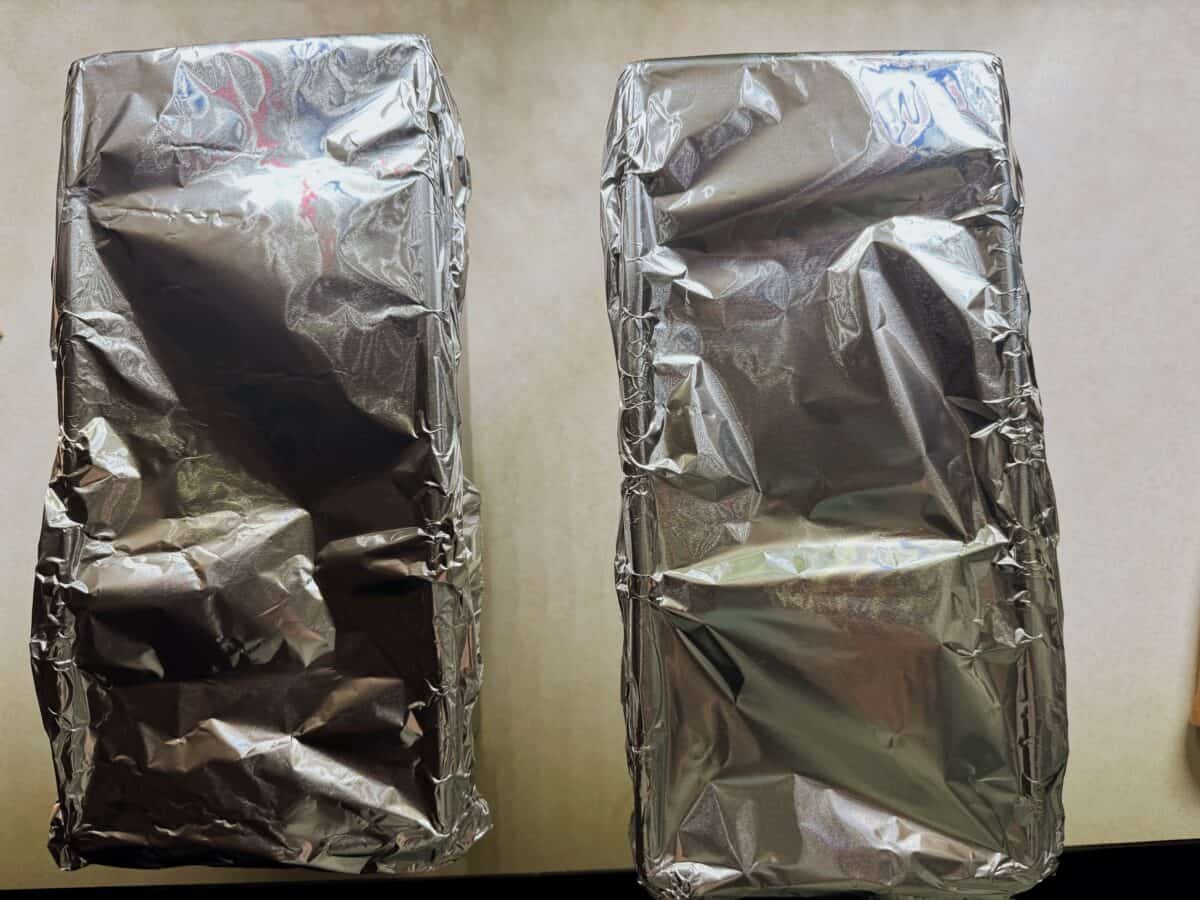
After 20 minutes, remove the foil and let the bread cook for an additional 20-25 minutes until the internal temp is 200 degrees.
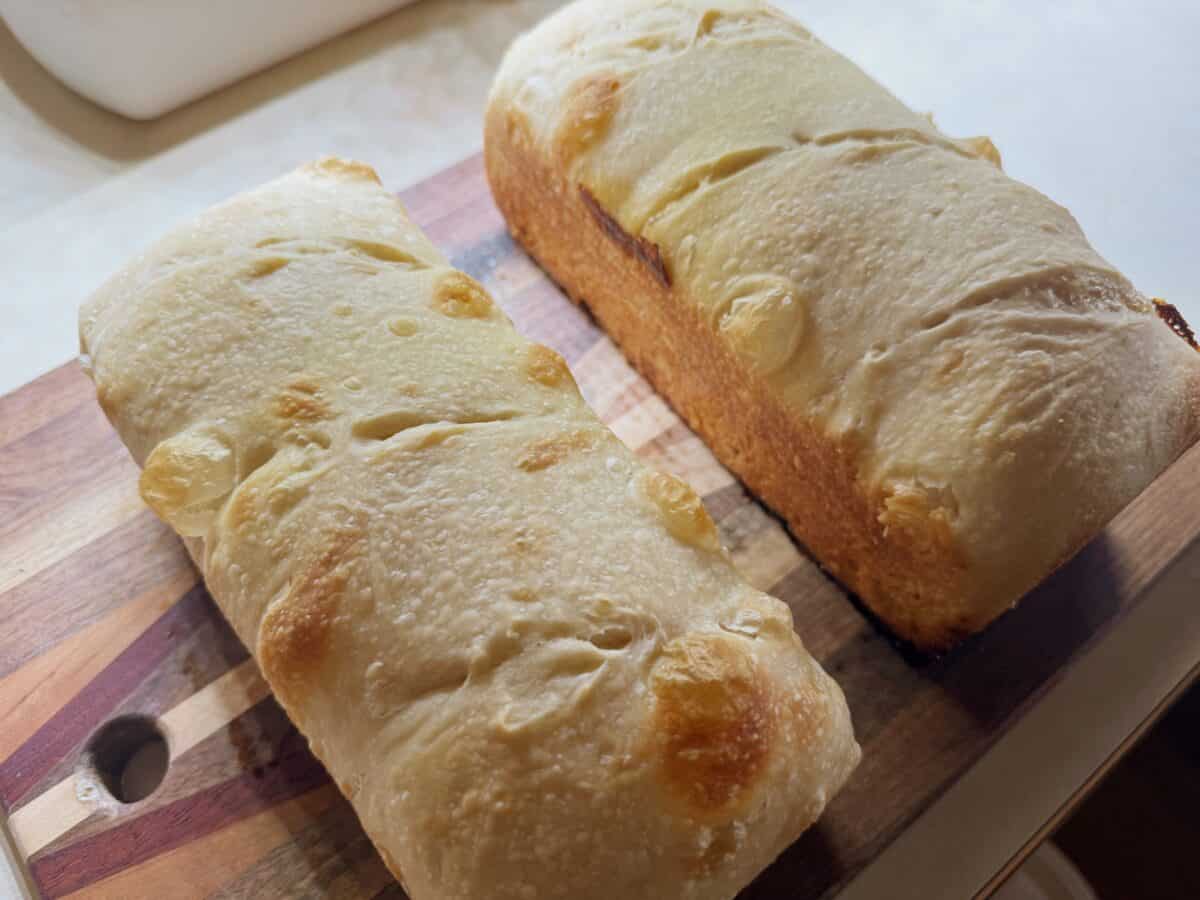
Remove from the oven, and remove from the pans when you can to let it cool. Let it cool for at least an hour or more before slicing into it.
Sourdough Notes
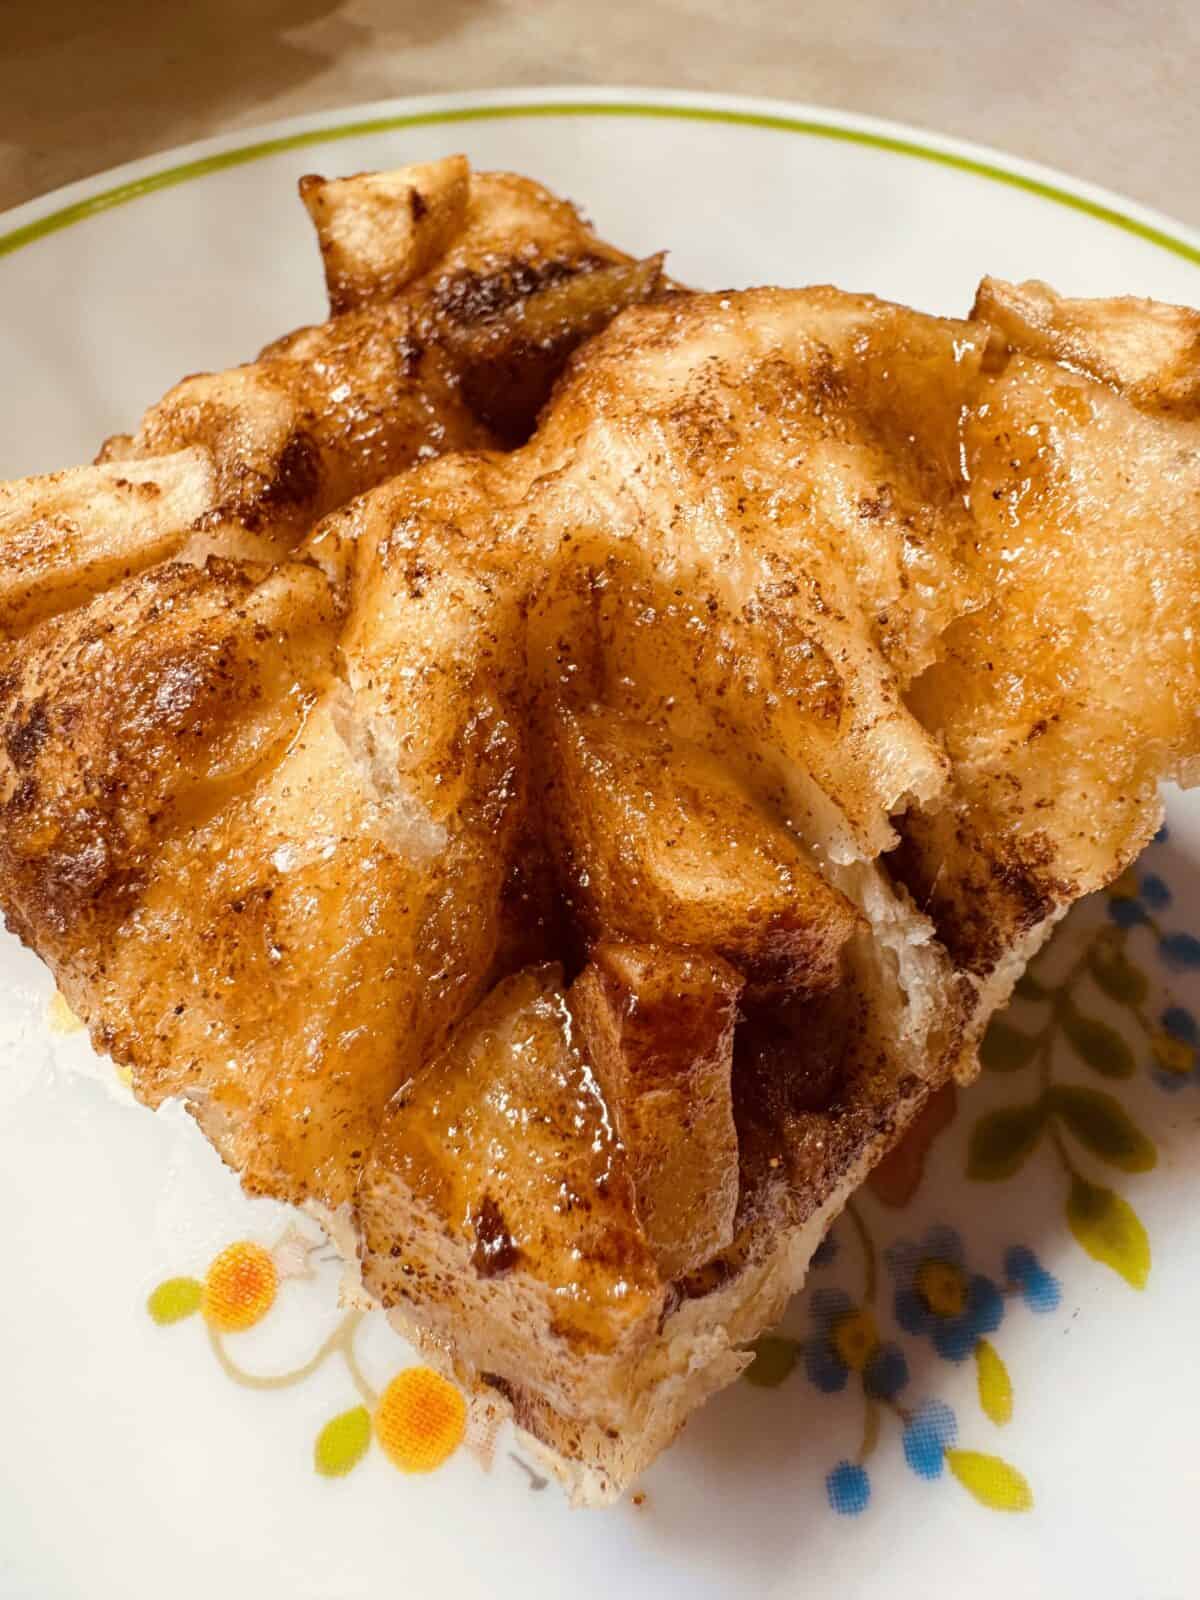
You can use this same, soft bread recipe with add-ins like cinnamon and raisins, apple pieces, cheese, etc. As I said, I’ve also used this to make buns, cinnamon rolls, and even soft pretzels. For all those items, I shape the night before and still do the cold ferment in the fridge before baking. For focaccia, I just leave the dough in the bowl in the fridge and then shape it in the morning before baking.
This recipe is really good and will give you soft bread for several days when stored in an airtight container on the counter. I always make 2-3 batches at a time so we have enough bread or buns for several days until I bake again.

High Elevation Sourdough bread
Here's how to make sourdough bread at a high elevation!
Ingredients
- 100 grams Active Sourdough Starter
- 30 grams Oil
- 10 grams Salt
- 275 grams Lukewarm Water
- 1 tablespoon Sweetener
- 475 grams Bread Flour
Instructions
-
I store my sourdough starter in the fridge and only feed it when I’m going to bake. I never discard. In the morning before baking, I remove the starter from the fridge and let it warm up for an hour or two before feeding it.
-
Let the starter sit for several hours after feeding it until it has doubled in size. For me, this is right after lunch. Continue with the rest of the instructions for making the dough after it has done this.
-
Measure out all your ingredients using a scale in grams. I’ve found that the measurements don’t have to be perfect and it will still turn out fine!
-
Mix everything together with your hand or a dough whisk. I mix with the dough whisk until it comes together and then finish mixing with my hand.
-
Set the dough aside in a clean bowl for 1 hour to let it rest and to make sure the flour soaks up the moisture.
-
After that hour, do 1 set of stretch and folds. Repeat these 4 times, doing one every 30 minutes.
-
After your stretch and folds, place the cover back on your bowl and leave the dough to rise for several hours. I let mine sit for about 3 to 4 hours until bedtime.
-
Shape the dough and place it in loaf pans. I’ve also used this dough for buns, focaccia, and pretzels!
-
Cover the loaf pans with plastic wrap or another cover and let it sit in the fridge overnight to cold ferment.
-
In the morning, score the dough and cover the pans with foil. Place it in the oven at 450 degrees for 20 minutes.
-
After 20 minutes, remove the foil and let the bread cook for an additional 20-25 minutes until the internal temp is 200 degrees.
-
Remove from the oven, and remove from the pans when you can to let it cool. Let it cool for at least an hour or more before slicing into it.

More Sourdough and Fermenting Ideas
- Sourdough Discard Recipes
- Sourdough Caramel Rolls Recipe
- How to Make Gluten-Free Sourdough Starter
- Using a Sourdough Starter Kit (What They Include and How They Work)
- Ridiculously Easy Sourdough Pizza Crust (Step by Step)
- Free Fermented Foods Calendar
- Easy Fermented Foods to Start Making Now
Made this recipe and loved it? Be sure to leave a star rating on the recipe card above, and don’t forget to share with your friends on Pinterest, Instagram, Facebook, Twitter (X), and through Email using the sharing buttons below.

Merissa Alink
Merissa has been blogging about and living the simple and frugal life on Little House Living since 2009 and has internationally published 2 books on the topic. You can read about Merissa’s journey from penniless to freedom on the About Page. You can send her a message any time from the Contact Page.
This looks so much easier and less time consuming than other recipes I’ve tried. I’ve had starters going several times over the years and I end up scraping them due to the cost of not only keeping them going, but also the daunting task of how time consuming it is to make bread. The last time I had a starter going, I only used it for discard recipes, lol! Thank you for the detailed instructions, I’m going to have to make another starter and try this!