
Homemade Sandwich Bags Sewing Tutorial
This post may contain affiliate links. Read our disclosure policy.
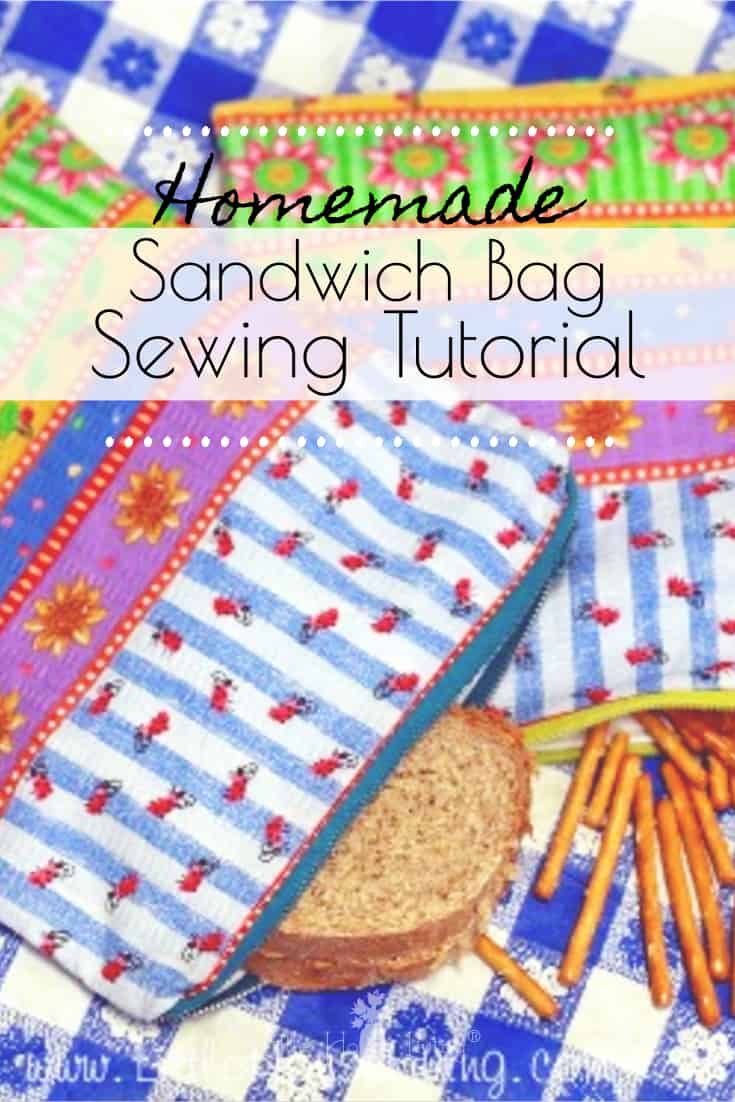
On the road to frugal living, there are many different steps people seem to go through. One major step is switching over from disposable to reusable products. Although I haven’t switched completely, I will say that making these homemade sandwich bags has taken me a step in the right direction. I LOVE them! Not only are the convenient, sturdy, and environmentally friendly, they’re adorable! Lined with PUL, they’re also waterproof and easy to wipe out and you can throw them in the wash and hang them to dry afterward.
Homemade Sandwich Bags
New to sewing? Check out my 7 Sewing Must-Haves List before you get started!
Wouldn’t you just love to make some of your own? Well, I have worked up a simple tutorial for you so you can! I am not an expert seamstress; if I can make these, anyone can. Let’s get started!
I made my baggies more the size of quart storage bags just to be sure there was plenty of room. After all, most homemade bread is thicker than store bought bread and it doesn’t fit well in plastic sandwich baggies. If you’d like smaller bags, just reduce the size of the fabric pieces.
Homemade Sandwich Bags
What You Need:
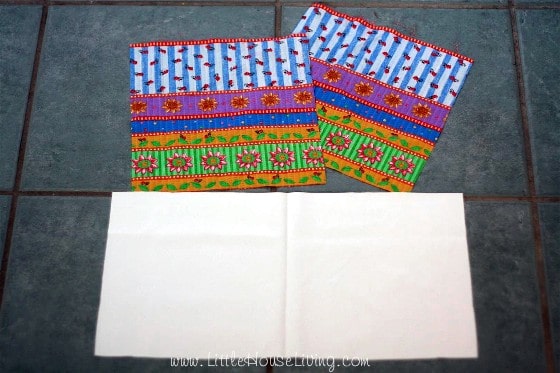
- 2 9″x9″ squares of cotton fabric
- 1 8.5″x16.5″ rectangle of PUL (Get it from Fabric.com)
- 1 9″ zipper
- Polyester thread (helps prevent wicking)
- 1 zipper
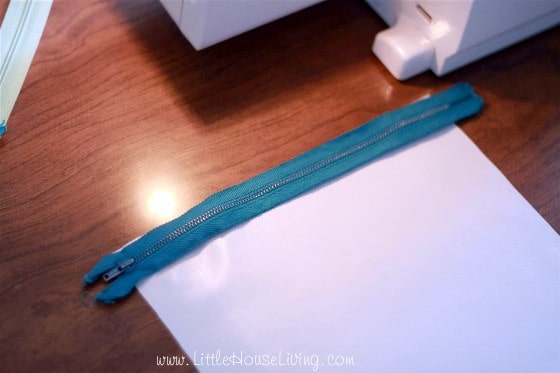
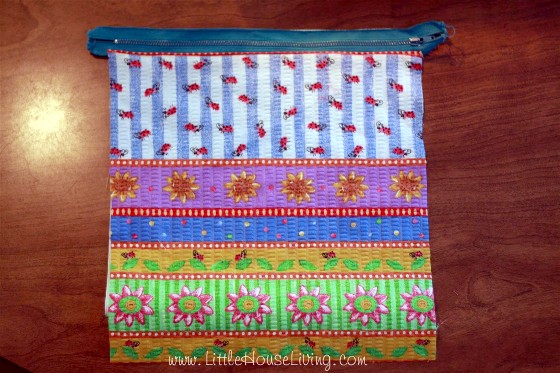
Step 1: Lay out your PUL fabric, shiny side up and lay your zipper on top of it.
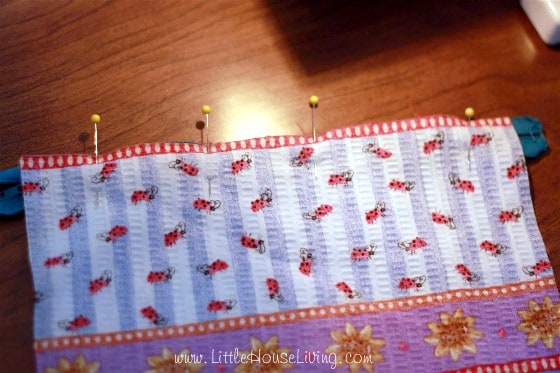
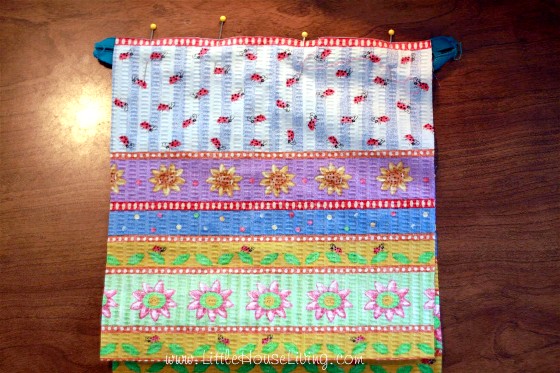
Step 2: Place your cotton fabric on top, right side down. Line up the edges and pin.
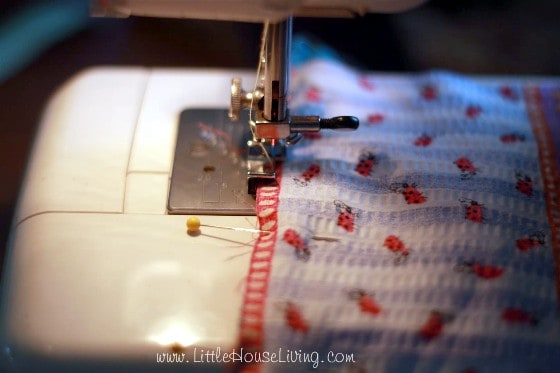
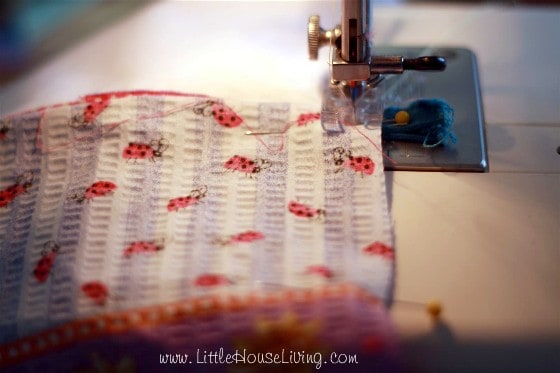
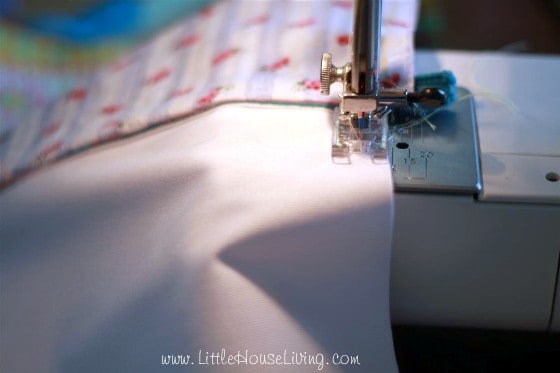
Step 3: Using your zipper foot, sew as close to the zipper as you can without catching it. I actually didn’t sew that close to the zipper which is fine, but the more the zipper is exposed, the more chance you have for the contents to leak if you have something wet inside.
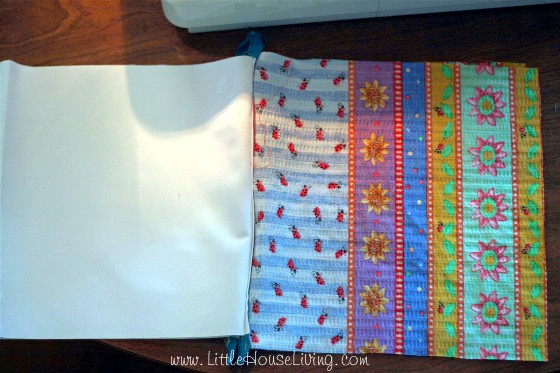
Step 4: Turn the right sides out, pull fabric snug, and top stitch.
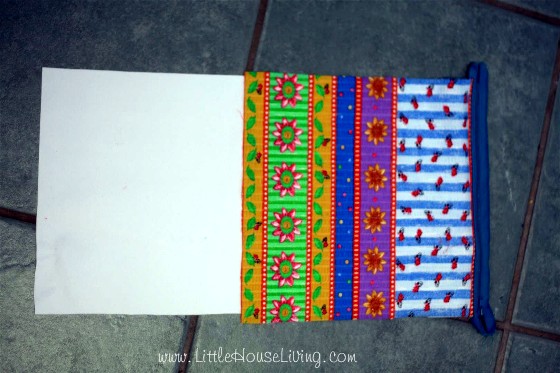
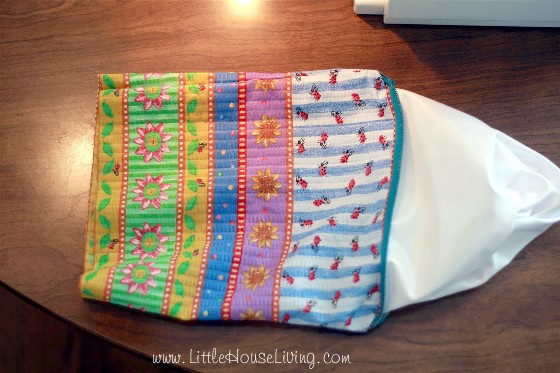
This is what your work will look like now. The longer PUL will be hanging out the bottom.
Step 5: Fold the PUL layer up in the back and lay the zipper on top, lining up the edge.
Step 6: Lay your second cotton square on top of the zipper, right side down and pin.
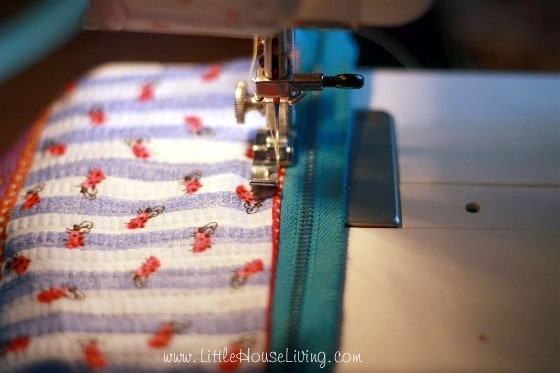
Step 7: Stitch across as close to the zipper as you can. I find it helpful to stitch this layer with the zipper unzipped.
Step 8: Turn and top stitch like you did on the other side.
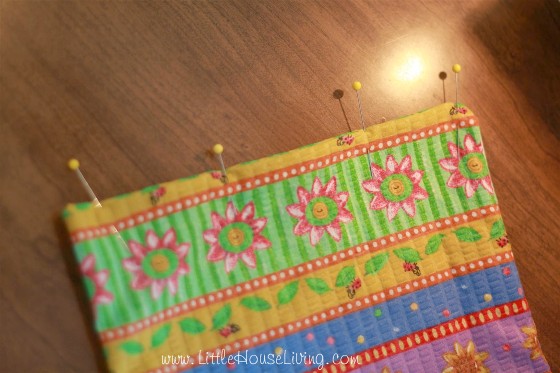
Step 9: Lay your work out flat with the PUL layers on one side and the cotton layers on the other with the zipper in the middle. Pin the edges of the cotton layer together
Step 10: Stitch up both sides of the cotton being sure to catch the zipper. Do not stitch the bottom closed.
Step 11: Stitch the edges of the PUL layer closed. I don’t pin the PUL. I find it stays pretty well lined up, but if it makes you feel more comfortable, go ahead and pin.
Step 12: Trim the zipper. Turn the work right side out, then pull the PUL layer out from the inside so it’s sticking out the mouth of your bag. This will keep it out of the way while you sew the bottom shut.
Step 13: Fold the raw edges of the cotton squares in, press, and pin together. Sew shut.
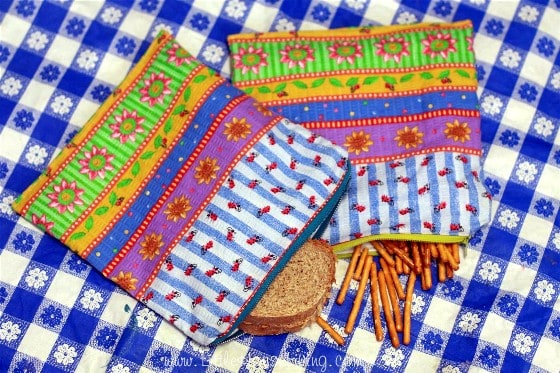
And that’s it! Aren’t they darling? I can see so many uses for these from taking them on picnics to making them in different colors for each child to keep their snacks separated. They only take about an hour for me (a slow seamstress) to whip up and they’re so useful!
Looking for more sewing projects? Check out these easy projects!
Cloth Napkins (Un Paper Towels)
Kitchen Hand Towel
Easy Sewing Projects
Simple Sewing Patterns
45 Free Simple Sewing Patterns
What’s your favorite homemade reusable household item? Leave a comment and tell me about it!

This Homemade Sandwich Bag tutorial appeared on Little House Living in August 2014. It has been updated as of August 2019.
Aww, these are too cute! I would love for you to share it at my Create & Share Link Party! Hope to see you there 🙂
So, what is PUL and where do I buy it?
You should be able to find PUL at most fabric stores, they may not have a big selection so you might have to ask but generally it’s by the cloth diaper making fabrics.
Thanks! I had never heard of it.
PUL is a waterproof material used in cloth diapering. I live in Australia and there are many online shops that sell it. If you want to skip the cotton outer most of these stores also sell PUL in cute patterns. Baby ville has some out that I think can be purchased at large brick and morter stores. I have noticed one seller of diapering materials here sells a PUL that is food grade safe. I don’t think that normal PUL is necessarily unsafe but it maybe worth a look. If you have trouble finding PUL you could sub a plastic like material such as a sower curtain or stuff used for old style diaper covers called pilchers in Australia:-)
It is unsafe when it has BPAs, Dianthins, and numerous other toxins that go into the making of plastics and polyesters. Polyester gives off fumes forever. They do not even know if the food grade is truly safe.
Pleased to hear your response.
Those are just darling! I bet you could sell those on etsy. So many people like reusable items like that for environmental and frugality purposes, and are not good at sewing. Just an idea!
Pinned! Excellent tutorial. Thank you for posting on the Blogger’s Digest!
Making my own reusable sandwich bags has never crossed my mind, but these look so cute! If I could sew, I think I would try making some! It would definitely save some money.
Stopping by from Say G’Day. These are super cute and look pretty simple to sew. I don’t know if I could get my boys to use them though – they are in middle school and high school.
Another cool trick! Thanks!
Thank you so much for sharing this idea. I have used PUL to make a diaper bag before, but I would not have thought to use it for these bags. Awesome to have reusable!
I wish I could sew. These look so cute! Thanks for sharing at Savoring Saturdays!
What a great idea and they are cute. I think I need some of these. I go through so many baggies. Thank you for linking up to Tips and Tricks. We hope to see you again this week.
I have been looking for a tutorial just like this! SO happy you linked up to Motivation Monday!
I’ve been sewing for 60 years and did not know what PUL was. A quick search of the internet and I’d ordered it and also a variety of 9″ zippers and now I’m ready to start stitching these awesome and sensible bags for sandwiches, snacks and what I assume will be a variety of sensible alternatives to disposable products. Thank you so much for sharing this. The old Hippie in me is delighted!
I’m so glad you are excited, enjoy the project! 🙂
These are so adorable!! I am interested in making some, but how do you know that PUL is safe to use for food?
Can you just use PUL without the outside covering.From what I have read about it they just use the PUL for projects. No mention of covering it.
What is PLU? I have sewn for years but don’t know what that is.
PUL stands for Polyurethane Laminate. It is a waterproof fabric.
This tutorial was really frustrating – I wanted to make reusable bags zipper bags and thought this tutorial would be easier with just the one big piece of PUL, but I was wrong. With the folding back around the zipper, especially at the end, it makes that area quite bulky, perhaps because it’s not clear when you should also include the PUL side in doing this (or not) and then the inner bag ends up being much smaller than the outer bag so there’s a lot of empty space at the bottom between the bags. I’m making the rest of my bags with separate pieces!
Love this idea!! Will be making these for the family!!
I really had been looking for a pattern to substitute plastic bags and am delighted with this.
Thanks much for sharing it. However, since I’m not used to using zippers, I may try Velcro.
Gratefully,
An ecologist…Suzanne
If you tweak the tutorial, could you show how to adjust fabrics to use velcro instead of the zipper? Thank you !