
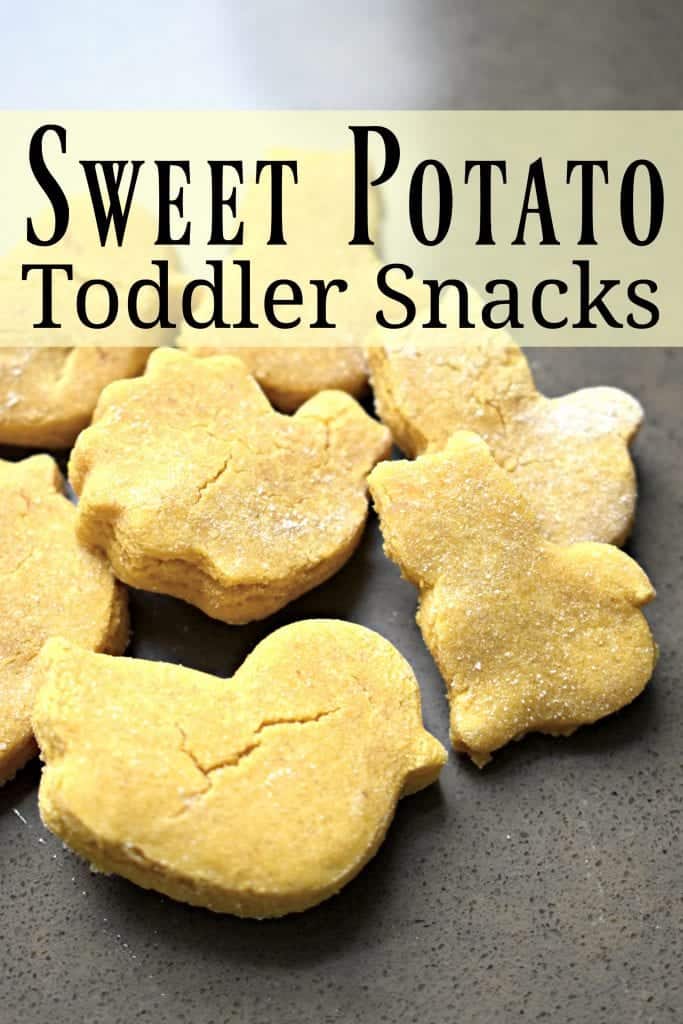
Sweet Potato Toddler Snacks
This post may contain affiliate links. Read our disclosure policy here.

If you are looking for a snack for your little one that is free of all of the major allergens and can easily be made within about 20 minutes from start to finish, this will be your new go-to snack!
Sweet Potato Toddler Snacks
We originally came up with this recipe after learning that our oldest son had issues with corn…and dairy, and soy, and wheat, and eggs, and so many other things. These snacks are simple to make and they remain soft instead of getting hard and crunchy so they are perfect for those little hands needing a soft snack.
The sweet potato can be replaced if you don’t have any on hand. Butternut squash or pumpkin work perfectly fine, you could even experiment by mixing some flavors together such as butternut – pear. Yummy!
This recipe has been on the LHL site for a while so you may have made a variation of the recipe below if you made it in the past. Over the years, I’ve made a few adjustments so I’ve now updated the recipe to reflect those changes.
Sweet Potato Snacks Recipe
- 2 cups+ gluten free all purpose flour
- 1 1/2 teaspoons baking powder (Use Hain to make these corn free)
- ½ teaspoons salt
- 1-2 Tablespoons Sugar (optional)
- 1/4 cup water (may need a little more or less)
- 3/4 cup mashed sweet potato
- 2 Tablespoons vegetable oil
If you haven’t already, cook and mash your sweet potato. One large sweet potato will make about one cup of pureed potato. You can use canned puree if you want to save time or if you don’t have any fresh on hand.
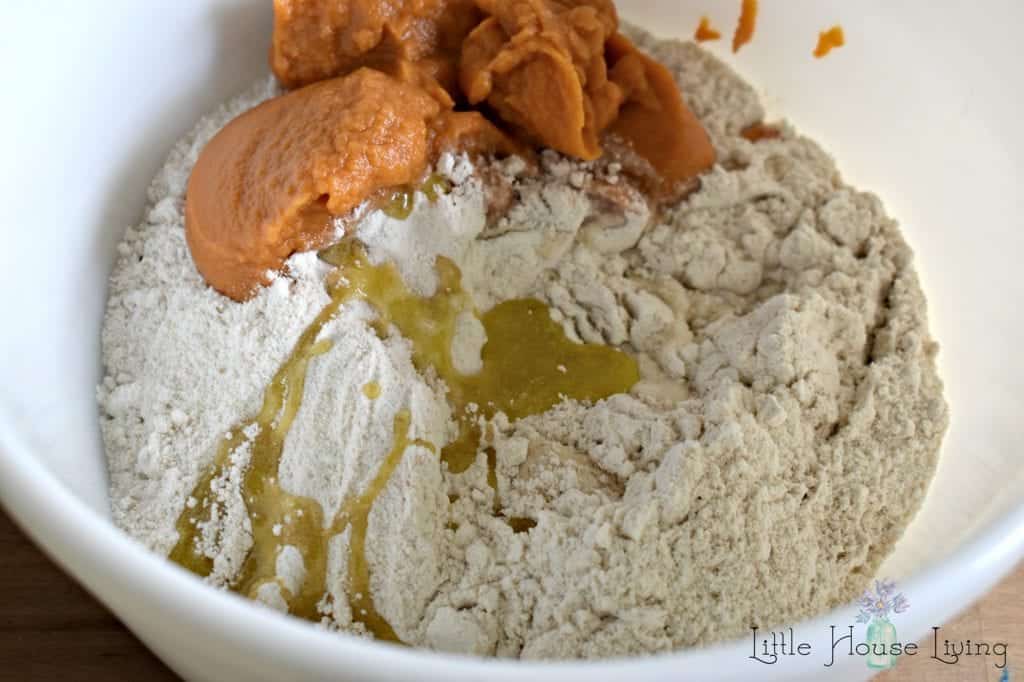
Add all of the ingredients together in a large mixing bowl. You can use regular flour in this recipe if you do not need to make it gluten-free. I like to use 1 1/2 cups of my gluten free flour plus 1/2 cup of oat flour.
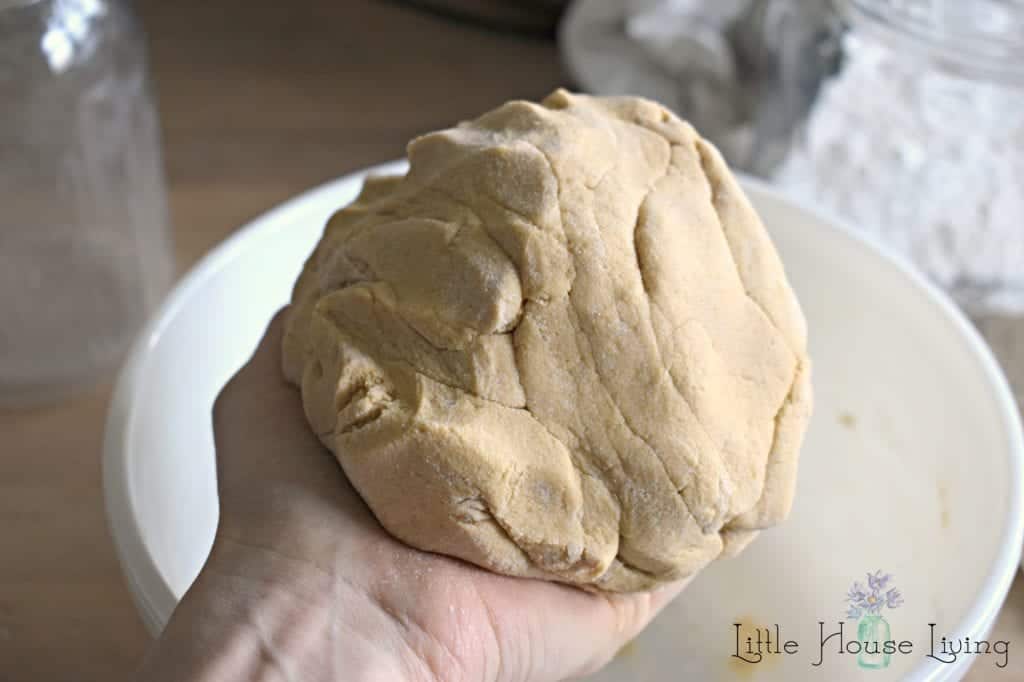
If your mixture seems dry, add a little more water to bring it to the right consistency. If it seems too moist, add a bit more flour. The dough should be close to the consistency of playdough. Dry enough to roll out but not too dry that is crumbles.
–Make your little ones some Easy Homemade Playdough so they can play while you bake!
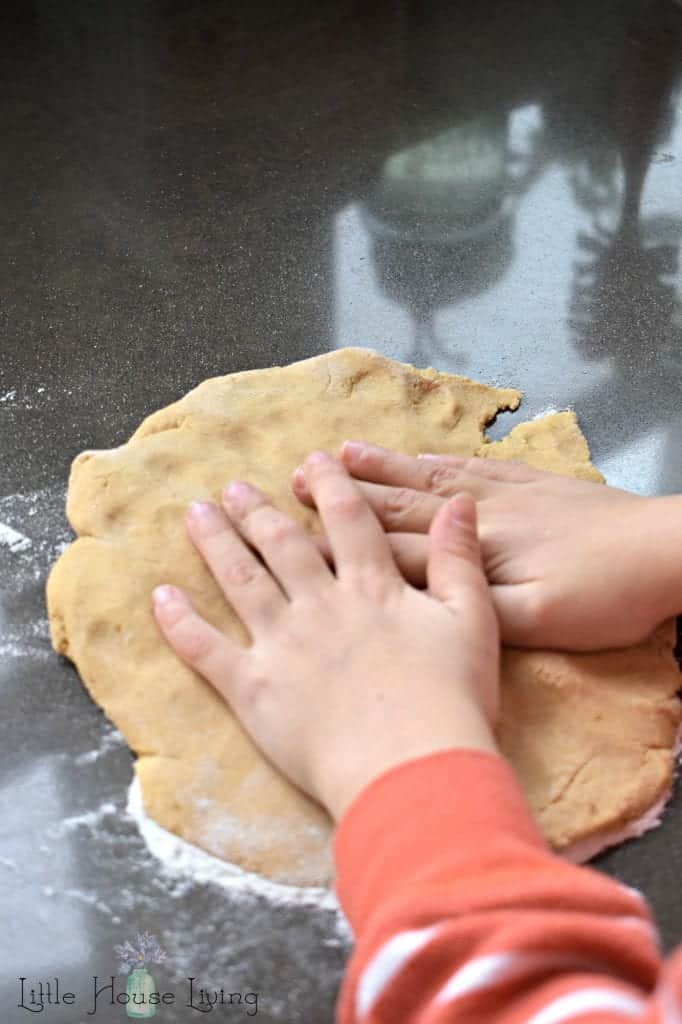
Roll out on a floured surface. This is a great job for little hands.
–Your kids will love to help you make these No Nut Oatmeal Bites (Plus Printable) too!
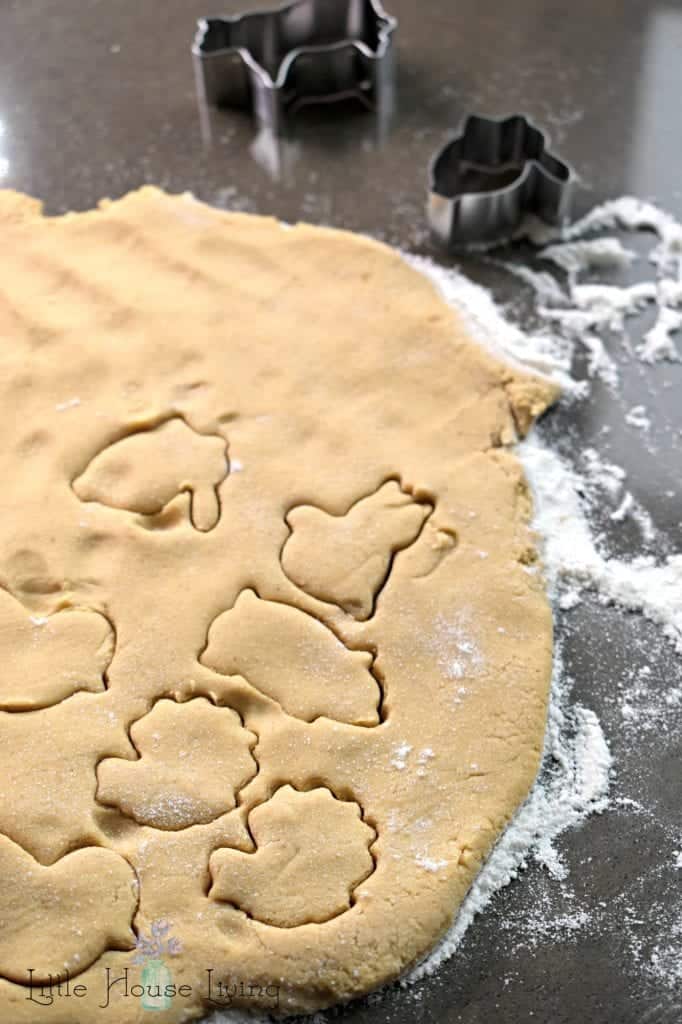
Cut into fun shapes with mini cookie cutters. We have this cute set of Mini Animal Cookie Cutters, they are so fun for snacks like this!
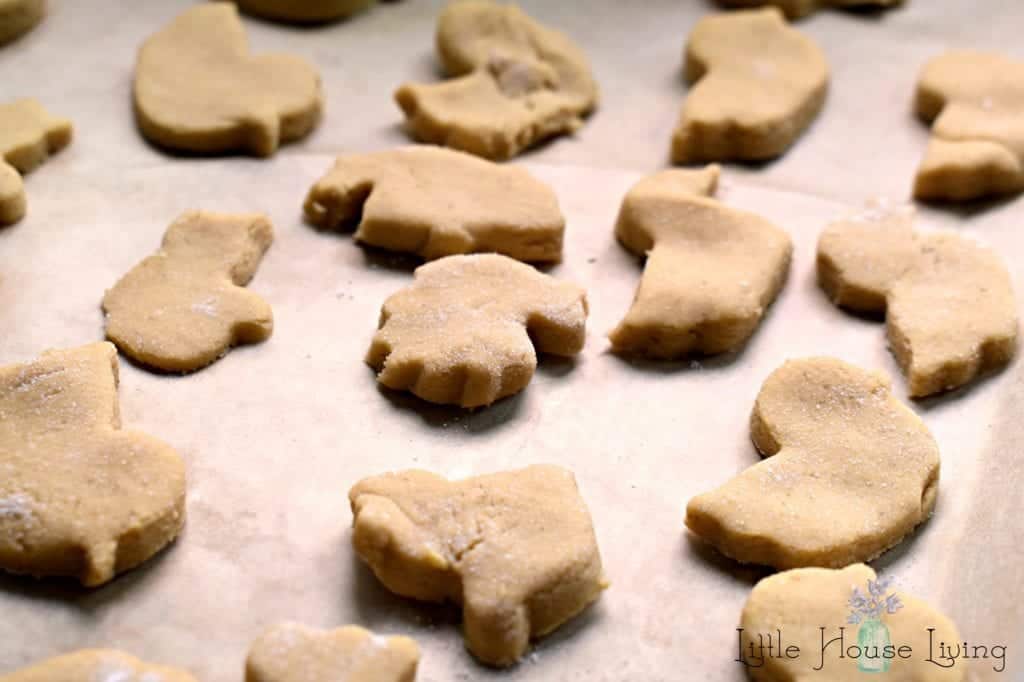
Place the crackers on a cookie sheet with a piece of parchment paper on it. Sprinkle a bit of salt over the crackers. Bake the snacks at 350 degrees for 5 minutes. Then flip and bake another 5 minutes.

Let them cool before serving, store in an airtight bag or container.

The mini shapes are perfect for little hands to grab and munch on. If you want them more crunchy for your little, just cook them a bit longer. My children love when I keep these soft.
Need to print this to add to your Recipe Binder? Get the Sweet Potato Toddler Snacks recipe below:

Sweet Potato Snacks Recipe
Ingredients
- 2 cups+ gluten free all purpose flour
- 1 1/2 teaspoons baking powder Use Hain to make these corn free
- ½ teaspoons salt
- 1-2 Tablespoons Sugar optional
- 1/4 cup water may need a little more or less
- 3/4 cup mashed sweet potato
- 2 Tablespoons vegetable oil
Instructions
-
If you haven’t already, cook and mash your sweet potato.
-
Add all of the ingredients together in a large mixing bowl. You can use regular flour in this recipe if you do not need to make it gluten-free. I like to use 1 1/2 cups of my gluten free flour plus 1/2 cup of oat flour.
-
If your mixture seems dry, add a little more water to bring it to the right consistency. If it seems too moist, add a bit more flour. The dough should be close to the consistency of playdough. Dry enough to roll out but not too dry that is crumbles.
-
Roll out on a floured surface. Cut into fun shapes with mini cookie cutters.
-
Place the crackers on a cookie sheet with a piece of parchment paper on it. Sprinkle a bit of salt over the crackers. Bake the snacks at 350 degrees for 5 minutes. Then flip and bake another 5 minutes.
-
Let them cool before serving, store in an airtight bag or container.
Need more snack ideas for your little one? Here are some great healthy Snack Ideas Under $1 that your little one and your budget will love!
Another treat that our little ones love that is also allergy free and perfect for summer are healthy popsicle recipes!


Looking for more simple gluten-free baking recipes that won’t break the bank? You have to check out my ebook, Frugal Gluten Free!
Do you have a toddler at home? Here are a few posts you might enjoy next:
$1 and Under Toddler Busy Bags Ideas
100 Frugal or Free Christmas Gifts for Toddlers
DIY Toddler Instruments
Make a Toddlers Room
How to Keep Little Ones Occupied During School
My Favorite Long-Lasting Toys For Boys and Girls
What kind of toddler snacks do you serve at your house?

This Sweet Potato Toddler Snacks Recipe was originally published on Little House Living in June 2013. It has been updated as of November 2019.

I tried making these today and the dough was terribly sticky. Any ideas? Not sure how else to roll and cut out without adding more flour. Thanks.
I would definitely add more flour. Gluten free items can be tricky and really depend on the flour blend you use. I would add more flour and then maybe chill for a bit before rolling out.
I followed the recipe measurements and used regular flour. It turned out the consistency of chewing gum, even though I tried adding lots more flour. It stuck to the parchment paper and was impossible to cut into shapes. It all went in the trash, what a waste of ingredients 🙁
I made these with whole wheat flour and the dough was sticky, but with about 2/3 c more flour added while patting it onto my baking mat I was able to make it work, and got 2 cookie sheets worth of mini hearts! Can’t wait to try them, they look adorable…and this was SO easy!
I also found these to be very sticky, no matter how much flour I added. 🙁
Did you use the same gluten free flour blend I used? Anything else could be very different measurements.
I used all purpose. I didn’t use the gluten free.
Salt has corn in it. Or at least iodinized salt does. Dextrin is corn.
We use sea salt or Real Salt.
Hello. Do you think this recipe could be modified for using coconut flour instead of AP flour? Thanks!
This recipe is made using a gluten free flour so coconut flour may work but you would just have to try it.
Love these for a little one! 🙂 I have featured your recipe here: http://3boysandadog.com/2013/10/sweet-potato-recipes/ and even pinned it to my Thanksgiving board on Pinterest here: http://www.pinterest.com/deals_3bd/thanksgiving-crafts-education-etc/ !
I used gf and mine is too sticky to roll even:(
I wish I had read the reviews before attempting… mine was also incredibly sticky no matter how much flour I added.
How do u store them? Jyst container or fridge
I keep them in the fridge but I’m not really sure if they need to be in there. I just tend to keep everything in the fridge!
I just tried baking these, they were not to sticky to roll out, but I have a good trick for gf things you want to roll out: roll them directly onto the parchment or non-stick mat you are going to bake them on, use the cutters, then remove the extra from around… repeat! I used a third coconut flour and a half teaspoon of xantham gum in my flour mix though, and both take up moisture… if you were going to use ALL coconut flour, you would definitely want to add egg- maybe a couple or more… I’m wishing I had, the texture is too pasty for me… Next time I will try with egg and coconut oil… the kids are eating them though… the older one is trying to better define them, as she feels they do not really deserve to be called cookies… she says they are heart biscuits! haha, but she is taking more, so that’s a good sign. Oh, and we added cinnamon because they are so fond of cinnamon and I think sweet potato and cinnamon were pretty much made for each other!
I made these today for my picky 1 and 3 year old kids. They loved them. These will definitely be a regular snack in our house. They would be great with some sort of nut butter or sun butter too.
We used whole wheat pastry flour, and they turned out great. The dough was a little sticky, but it was no problem at all rolling them out on a lightly floured counter. The only thing that was too hard was cutting out shapes, so I just cut random shapes with a butter knife. I think the problem was because I did not let the dough cool at all, which would probably help. After straining and mashing the sweet potato, the dough was fairly warm.
I wasn’t sure how thin to roll them out, and I think I will roll them out thinner next time. They were probably between 3/8″ to 1/2″ thick. I ended up cooking them for a total of 16 minutes.
would the meaasurements be different if i used wheat flour instead of gluten free?
You may just need to add a bit less flour but it should be about the same.
Made these today and they turned out great! We chilled the dough a bit before rolling out between two pieces of parchment paper. My picky six year old didn’t like them, but the 4 year old and 2 year old loved them. 🙂
I used Bob’s Red Mill All Purpose GF Flour and added a little bit of cinnamon on top before baking and they turned out wonderful!
When I tried to roll onto my silpat straight from mixing it was awfully sticky. I let it sit a few minutes before trying again and it was the perfect consistency. I did opt to just push it onto the silpat instead of rolling just because that is my go-to trick when using gf flours.
Tried these today. The kids like them. Dough was a bit sticky but not overly so. I did add extra flour. I also added a tiny bit of pumpkin pie spice mixed with a little sugar to sweeten the up. Overall we are happy and will probably try them again.
These were fun to make with my toddler! I actually changed the recipe up quite a bit to suit our family – we don’t have any allergies or food restrictions but I have been looking for fun ways to get more veggies in our diet. Especially for my very picky 2.5 year old! And the verdict is that both my 2.5-year-old and 1 year old have gobbled them up! Here are the changes I made:
1. First of all, I doubled the recipe so my additions reflect a double recipe. I mashed my sweet potato in a food processor and added a bit of milk to make it more creamy. I had enough sweet potato for 2 cups, from one large sweet potato.
2. Added two eggs
3. Added 1/4 cup plus two tablespoons milk
4. Added 1 (ish) tsp cinnamon
5. Added 1 (ish) tsp pumpkin pie spice
6. Cooked 1/2 cup coconut oil and 1/4 maple syrup over the stove top together, then added to the mixture.
7. I also used regular, all-purpose flour. Might experiment with whole wheat flour another time.
8. I chilled my dough for 20 minutes in the freezer before rolling, which I think helped a bit with the stickiness. And, of course, just use lots of flour to help when you are rolling.
9. I ended up needing to cook for approx 7 mins/side.
When all was said and done, I was pleased with these baked goods. Nothing to blow your socks off, but tasty and full of sweet potato – a power food I’ve been trying to get my girls to eat more of! We call them “sweet potato pancake cookies” because that is what the texture reminds us of. Next time, I might add a bit more cinnamon/pumpkin pie spice.
I really love this recipe. Great idea. We have no allergies, but I love the simplicity of this. I used a mix of whole wheat and regular all purpose flour. We had no problems with stickiness. Also, I sprinkled them with pumpkin pie spice. Great way to use up leftover thanksgiving sweet potatoes.
I just made these with my 2.5-year-old. I used whole wheat flour and added one flax egg. The dough was a little sticky, but not too sticky to flatten and cut out shapes. We’re in the process of moving and I couldn’t find my fun shapes, so I just used a cup instead.
My son loves them! He ate quite a bit of the dough, and is excited for after lunch when he gets to eat his “cookies”!
I made these today and my three year old is gobbling them up. My sweet potato was a little small so I added applesauce to make up the difference. I used 123 Gluten Free flour. They were not sticky at all and very easy to make!
Was so sticky I could not cut into shapes
Hmm, sounds like not enough flour then…did you happen to use fresh ground? Fresh ground flour needs a little more added.
I loved it. I steamed the potato and blended with 4T of water, the I add the rest of the ingredients, it was sticky and I knew I wouldn’t be able to roll, I let it sit for 5 min and noticed that it was a little less sticky, so I floured my surface and turn the dough on it, i pad my hand in flour and pad the dough down with my hands, always making sure that there was enough flour under it and every time my hand would get sticky I would pad on the flour again, it was a little time consuming, I floured my cutter and bake it for 6 min each side. My sons (5mo & 2 1/2yr) loved it and mommy was happy. Thank you so much for sharing. It takes a Baker to bake!! 😉
Oh Sorry…no food allergies here so I used 1/2 cup of whole wheat flour (that’s all I had) and 1 C of regular AP. 😉
They sound nice, but that’s a lot of salt for a toddler, more than the recommended amount for a whole day just for a snack!
All snacks should be enjoyed in moderation. If you are concerned your little one would eat this entire batch of crackers (it makes quite a bit) you could always leave the salt out.
Thank you these are amazing and easy to make. I am a childminder and the toddlers loved swishing the dough and cutting the shapes out. *squishing
Hi. I have Q. My kid is allergic to corn, peas, potato, dairy, eggs, soy, wheat,peanuts, shrimp, flax seed, quinoa, buckwheat (i might be missing something else) She also sensitive to many other foods highly. So i have to be careful and watch what i give and avoid many foods…. So i have to create my own one by one from scratch. Can i replace baking powered with baking soda and how much? I also know baking soda needs to be put at the end cause it loses its rising. Also, bobble it up just a drop or few with like lemon or vinegar something sour so it looses the smell and taste.
I’m not sure because I have not tried that substitution in this recipe. It’s worth a try though!
i also need o create my own from scratch gf flour :(. They all contain one of those allergic foods…
Just made these with AP flour. A helpful hint, don’t add more flour to the dough, flour your rolling surface and keep putting flour on the dough and the rolling pin as you roll, this helped with the sticky-ness, and they turned out great!
Thanks!
We used the flour recipe included with this recipe. The dough was not too sticky, but they were awful. They had the consistency of rubber and tasted like pure, starchy flour. I’m not sure what we did wrong, but my guess is that they just aren’t flavored enough for our liking.
since gluten wasn’t a concern, I used whole wheat flour. I also added a tbsp of flaxseed. It was a bit too sticky so I also added so I also added a little bran. Obviously it’s a bit different than the original recipe but I had no problems rolling it out. I also used a bit of cinnamon and nutmeg.
I am lucky enough to have a child with no allergies, and even more so that his skin condition (although not gone) is getting better. However, I am “that mom” that kids hate because everything in our house is no sugar, low sugar, or fruit! I found this @ http://affimity.com/#/sharedPost/6/8362 and said madness attracted me to this recipe. I am really excited to try it! I just know that my bub will love them, and I just hope they turn out as cute as the photos! Thanks!
These are great! I cut into thin strips and twisted them like bread sticks. Cooked a bit longer.
I had the same issues. I used Bob Redmill’s all purpose gf flour.
To make the recipe work, I had to add about 1/4 cup of almond milk (maybe a bit less) and 1 egg replacer. I also added a bit of liquid stevia and one tsp of cinnamon.
They cooked for 15 minutes on parchment paper, no flipping.
In terms of thickness when rolled out, they’re about 1/4 inch – 1/2 inch.
They do taste more like biscuits than cookies, but that’s fine.
I wanted a savory snack for my 1 year old, and these were pretty good for that. I used canned pumpkin instead of sweet potatoes for convenience, and we added a little bit of sage and shredded cheese. I also used whole wheat flour. Our only allergen here is peanuts 🙂 the dough was too sticky to roll out, but I pressed into a parchment lined baking sheet and sliced into squares with a pizza cutter. They were still way too sticky to flip at 5 min, so I baked for 15 min total without flipping. They are soft and chewy and don’t crumble apart. Not the most delicious things ever, but there’s lots of room for variation and my picky daughter ate them, so it’s a win 😉
Thank you for sharing this.
Made these with our little one and rolled them into balls instead of rolling them and using a cookie cutter. Not sure if it’s supposed to be like this, but they turned out to be quite bitter, even if dipped in agave?
Love the recipe! I made it the first time just as you wrote it, but did some experimenting the second time. I cut back the yam by a little bit and added some pureed mango and then used half a cup of almond flour in replace of the gluten free flour. I also threw in one TBSP of corn starch. This recipe held up well to my crazy alterations! Have you tried any other variations?
This recipe did not work AT ALL. Ended up with sticky pizza dough no matter how much flour I added, and I added a TON. Disappointing.
Thanks for the recipe, I used it to make animal cookies for my allergy prone littles. I can’t wait for them to try them tomorrow. I chilled the sweet potato mash first and my dough was very workable. They turned out great!
How did you cook the sweet potatoes? Were they steamed, baked or boiled?
I usually steam them.
A healthy recipe but missing some details. To help there out:
1. Yes add extra flour so it isn’t sticky (I used 1.5 cups of whole wheat flour and around a quarter cup of white flour)
2. GREASE the baking Sheet! Very important step missing here! I used coconut oil and it didn’t hurt the taste
3. Rolling dough out Thinner is better
4. I added pumpkin spice and it gave things some taste for toddler
Thank you so much for sharing this amazing recipe. My daughter is on a very limited diet for a medical condition and I’ve really struggled to find baked goods that fit her dietary requirements and taste good. These do both! I added about 1.5T coconut oil, 1T sugar, some powdered ginger and about 1/2t cinnamon to the dough. I also left out the water and used straight white rice flour, only about 1 cup. The dough felt a lot like playdough and tasted great right off the bat. Just to be safe we let it set in the fridge for about 2 hours. Then it rolled out and cut like a dream. My kids didn’t even want me to cook it because the dough tasted so good (and neither of them usually loves sweet potato)!
I can’t thank you enough!
I’m so glad you enjoyed it!
I made this using Bob’s Red Mill flour and they turned out great! Cookie cutters weren’t worth it sou just rolled them into nice ovals for my toddler twins, and they seem to be a hit. I had to add a little water to get the right consistency, but I also didn’t get my sweet potatoes as soft as I should have. Still, great recipe that I’ll definitely make again!
Another great idea! Thanks! Just found out I’m expecting, again…. And these look like the perfect first trimester snack! Plus, I have a freezer stocked with sweet potato, butternut squash, and pumpkin. I think I’ll make a few batches of the soft ones for the family. But, I will use the scraps and cook those till their crunchy for dog treats. Think my golden will love them just as much as we will!
These remind me of a snack I would make for my dogs, but my 5 year old (actually all my children) would probably enjoy them too.
These look so delicious! The perfect snack for the kiddos, but, truth be told, I love sweet potato recipes of any kind 🙂 Thanks for sharing this one!
This is such a great recipe! I don’t even have kids yet, but I’ll definitely save this for later! Happy weekend! 🙂
Any reason this wouldn’t work with pumpkin puree? I have some I need to use up and this seems like a good recipe for it.
It should work great! I’ve used this recipe with several different kinds of purees for variation once in a while 🙂
Great, thank you so much for responding! Tried it tonight and adjusted the recipe to have regular flour, pumpkin puree, maple syrup instead of sugar and avocado oil instead of vegetable oil. They came out more like pillows than crackers but I think it’s just because I didn’t roll it out enough lol. But it’s probably for the best considering I have a baby who just turned one and does better with soft things. Hope she likes them! Thanks for the recipe!
Well that sounds perfect, I hope she enjoys them too!
These look great! What a fun one to make with the older siblings too!
Thanks for sharing! Do they keep long?
Just made these for my 20-month old guy, and they worked out very well! It’s very hot today so it took a lot of extra flour, next time I’ll put the dough in the fridge for 5-10 minutes, to prevent the sticking when rolling out…
I would like to use whole wheat flour or all purpose wheat flour. What is the exchange?
I haven’t used whole wheat in this recipe but I would imagine that the amount needed would be the same or slightly less.
I made the Sweet Potato Snacks five days ago and they are not good. I guesstimated how thick to roll them out based on the photos (recipe doesn’t specify) and baked them for 5 minutes. They were not done – tasted doughy. I baked them for 5 more minutes a few times. They were about as done as they were going to be. The next batch I rolled thinner thinking maybe they will bake in the 5 minutes…they did not. I think I baked them for 15 minutes and again, they were as done as they were going to be. I tasted one right out of the oven and they were pastey. I figured they needed to cool and they’d crispy up. Not the case. Super disappointed. I stored ’em in an airtight glass jar crossing my fingers they might get better with time. The longer they sat the worse they became. I’ve tasted one every day to check and they are bland and moist with the pastey consistency. They are inedible.