
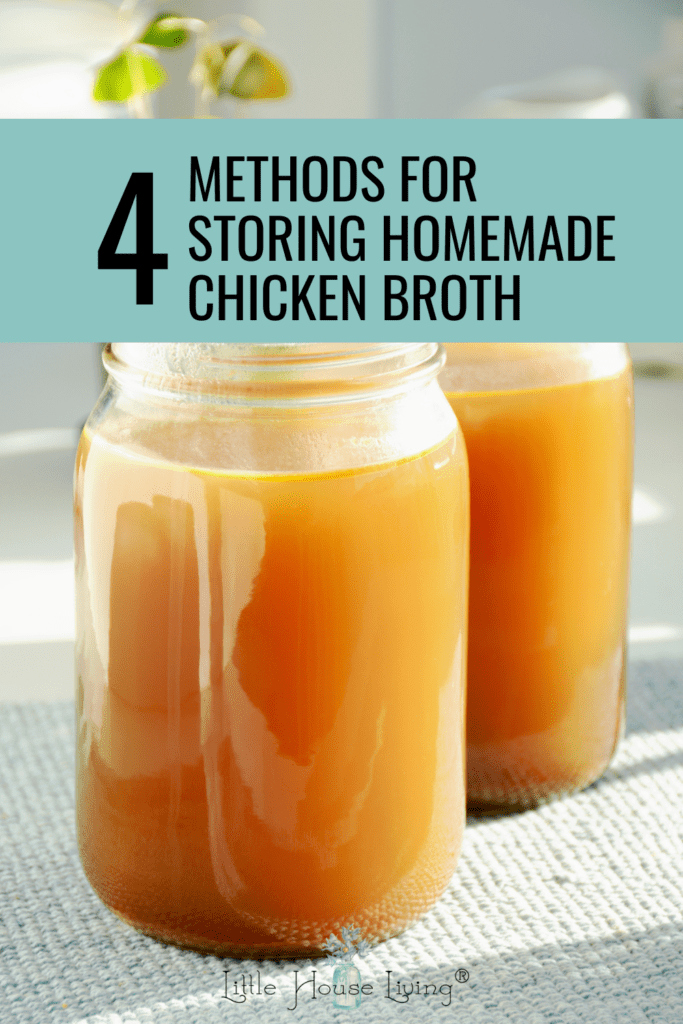
How to Store Homemade Chicken Broth (4 Methods!)
This post may contain affiliate links. Read our disclosure policy.

Do you use a lot of chicken broth at home and struggle to figure out the best ways to store it? Today I’m sharing 4 different ways how to store homemade chicken broth!
How to Store Homemade Chicken Broth
If you’re a fan of homemade chicken broth, you know how delicious and nutritious it can be. It’s liquid gold! Whether you use it as a base for soups, stews, or gravies or simply enjoy a cup, homemade chicken bone broth is a versatile and tasty ingredient. But once you’ve made your homemade chicken stock, how do you store it?
In this post, we’ll cover four different methods how to store homemade chicken broth: freezing, drying, refrigerating, and canning.
How to Make Homemade Chicken Broth
Before we dive into storage methods, let’s quickly cover how to make homemade chicken broth. It’s quite simple! All you need is a whole chicken (bones and all), some vegetables (like carrots, celery, and onion), and some herbs and spices (like bay leaves, thyme, and peppercorns). Put everything in a large pot, cover it with water, and simmer for a few hours. Strain out the solids, and voila! You have homemade chicken broth.
What you’ll need:
- 1 whole chicken
- 3-4 carrots, chopped
- 3-4 celery stalks, chopped
- 1 onion, chopped
- 3-4 garlic cloves, smashed
- 2 bay leaves
- 1 tsp. whole peppercorns
- Water
Instructions:
- Begin by removing any giblets that may be inside the cavity of the raw chicken.
- Place the chicken in a large stock pot, and cover it with enough water to submerge it completely. (You can also make it in the Instant Pot or Slow Cooker.)
- Add the chopped carrots, celery, onion, garlic, bay leaves, and peppercorns to the pot.
- Place the pot on the stove and bring the water to a boil. Once it boils, reduce the heat to low and let it simmer for 2-3 hours. (Or cook on high pressure for 90 minutes or 10 hours in the slow cooker.)
- While the broth is simmering, skim off any foam or fat that rises to the surface with a spoon.
- After 2-3 hours on the stovetop, remove the chicken from the pot and let it cool.
- Strain the broth through a fine-mesh strainer into a large bowl or container. Discard the solids (vegetables and seasonings). You can remove all the meat from the bones (thighs breasts, etc) and use for another meal like Chicken Salad or Chicken Soup.
- If you have time, let the broth cool to room temperature and refrigerate it overnight. This will allow any remaining fat to solidify on the surface, making it easy to remove.
- Once the fat has been removed, your chicken broth is ready to use or store. If you plan to store it, transfer it to airtight containers and keep it in the refrigerator for up to a week or in the freezer for up to six months.
Tips for Making Homemade Stock
For a richer homemade broth, roast the chicken before making the broth. Simply season it with salt and pepper, then roast it in the oven at 400°F for about an hour before making the broth. You can also add the veggie scraps to roast with the chicken carcass.
You can also use a slow cooker to make homemade chicken broth to save time. Simply add all the ingredients to the slow cooker, cover with water, and cook on low for 8-10 hours. I use my Instant Pot and cook it on High Pressure for 90 minutes.
Adding a little bit of cider vinegar to your broth while it’s cooking will help bring out even more nutrients and minerals and help you achieve the gelatin like consistency.
Don’t be afraid to experiment with different seasonings and vegetables to customize your homemade broth to your liking. Thyme, rosemary, and parsley are all great additions.
Now, let’s get into how to store it!
Freezing Homemade Chicken Broth
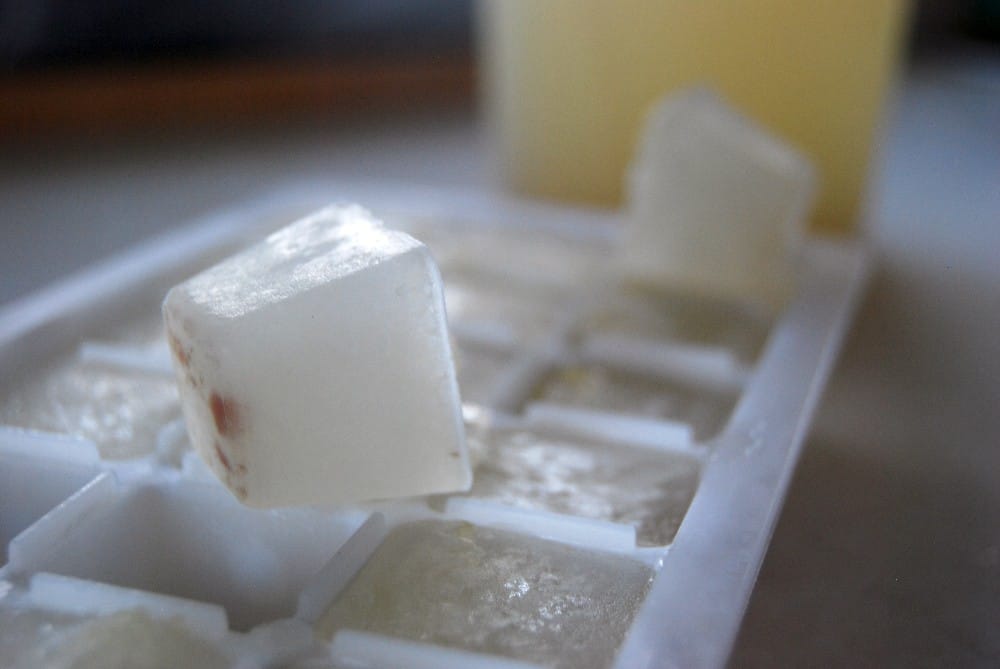
When it comes to freezing homemade chicken broth, there are several ways to make the process even more convenient. One popular method is using ice cube trays or muffin trays to portion the broth before freezing. This way, you can easily thaw and use the broth you need for a recipe without defrosting the whole container.
Simply pour the cooled broth into the muffin tray and freeze until solid. Once frozen, pop out the individual portions and store them in an airtight container or plastic bag in the freezer. This method is particularly useful for recipes with small amounts of homemade chicken broth, like risotto or chicken broth gravy.
Another convenient method for freezing homemade chicken broth is silicone freezer trays. These trays come in different sizes and shapes and are designed to make freezing and thawing easy. Pour the cooled broth into the tray, place the lid on top, and pop it into the freezer. Once frozen, you can easily remove the individual portions by popping them out of the tray. This method is excellent for making homemade chicken broth cubes that can be added to soups, stews, and sauces.
Consider freezing your chicken broth in freezer bags with limited freezer space. Lay the bags flat in the freezer, and once they’re frozen, they can be stacked on top of each other to save space. When it’s time to thaw the broth, place the bag in a bowl of cold water or let it defrost in the fridge (in a bowl) overnight.
For a full tutorial check out my post on Freezing Chicken Broth.

Drying Homemade Chicken Broth
Drying homemade chicken broth is a great option if you want to save space and extend the shelf life of your broth. One of the biggest benefits of drying broth is that it eliminates the need for refrigeration or freezer storage. Dried homemade broth is also lightweight and easy to transport, making it perfect for camping trips or travel. Additionally, drying the broth can concentrate its flavor, resulting in a more intense and rich taste in recipes.
To dry your homemade chicken broth, you will need a dehydrator. I have a L’Equip Dehydrator that I’ve loved for many years. Most dehydrators come with trays that you can use to spread the broth evenly. First, ensure that your broth is completely cool before you pour it onto the trays covered in parchment paper. Pour enough broth onto each tray to form a thin layer. Be careful not to make it too thick, as this will increase the drying time.
Next, place the trays in the dehydrator and turn it on according to the manufacturer’s instructions. Depending on the temperature and humidity, it can take several hours for the broth to dry completely. It’s essential to check the broth periodically to ensure it’s drying evenly and not sticking to the trays.
Once the broth is dehydrated, remove the trays from the dehydrator and let them cool. Once cooled, transfer the dried broth to a spice grinder or food processor and grind it into a fine powder. Store the powder in an airtight container in a cool, dry place away from direct sunlight.
When it’s time to use the dried homemade chicken broth, add it to hot water to reconstitute it into broth. Use a 1:4 ratio of broth powder to water, and adjust to your taste. Dried chicken broth can be used in various recipes, from soups and stews to sauces and marinades.
Check out my full picture tutorial on Drying Homemade Chicken Broth.
How to Store Homemade Chicken Broth in the Fridge
Storing homemade chicken broth in the fridge is an excellent option for use within a few days. The cooler temperature of the fridge can slow down bacterial growth, keeping the broth fresh for a more extended period. However, storing the broth properly is important to ensure its safety and quality.
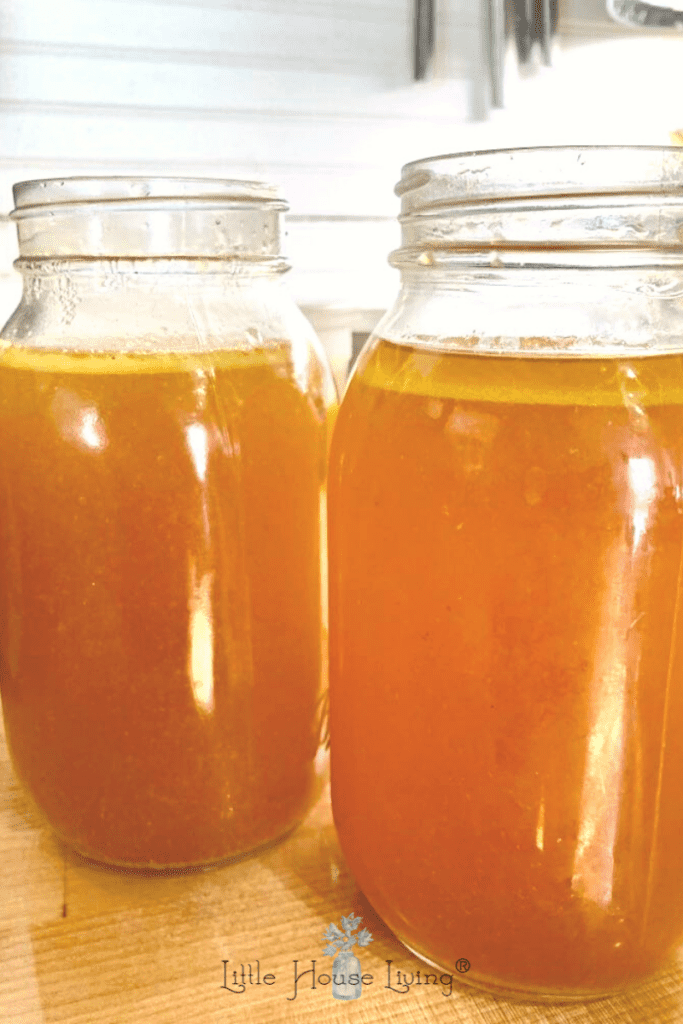
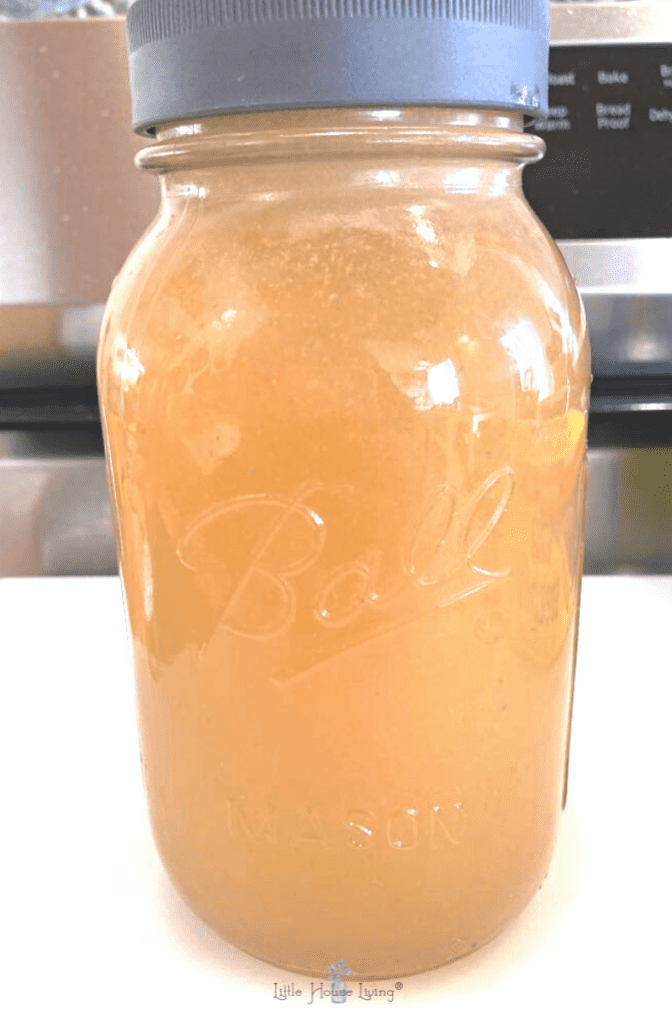
To store chicken broth in the fridge, let it cool to room temperature. Once cooled, transfer the broth to airtight containers. Glass or BPA-free plastic containers are the best options, as they are safe for food storage and won’t react with the broth. I like to use quart mason jars.
When filling the containers, leave some headspace to allow for expansion as the broth cools. A good rule of thumb is to leave at least an inch of space at the top of the container. Label the containers with the date and contents, and place them in the fridge.
It’s important to note that homemade chicken broth can last up to a week in the fridge, but its shelf life can vary depending on the ingredients used and how it was prepared. Discard the broth immediately if you notice any spoilage, such as a sour smell, mold, or an off-taste.

Canning Homemade Chicken Broth
Canning is another great option for storing homemade chicken broth. The canning process involves preserving the broth in airtight jars and sterilizing them to kill any bacteria that may cause spoilage. Canned homemade chicken broth is shelf-stable and can last up to a year or more if stored properly.
To start the homemade chicken broth canning process, you’ll need some specialized equipment, including a pressure canner, canning jars, lids, and rings. It’s essential to use only jars and lids designed for canning, as regular jars and lids may not be safe.
Before canning your homemade chicken broth, following a trusted recipe is important to ensure safety and avoid the risk of botulism. Botulism is a rare but serious illness caused by a toxin produced by a bacteria called Clostridium botulinum. This bacteria can grow in low-acid foods like chicken broth, so it’s crucial to follow a safe canning recipe to prevent the growth of harmful bacteria. The recipe I’m linking to here follows USDA safe canning guidelines.
Once you’ve prepared the chicken broth and sterilized the jars and lids, fill each jar with the broth, leaving about an inch of headspace at the top. Wipe the rims of the jars with a clean, damp cloth to remove any residue, then place the lids and rings on top.
Next, place the jars in a pressure canner filled with water, following the manufacturer’s instructions for canning chicken broth. The canner will heat the jars to a high temperature, killing bacteria and creating a vacuum seal that will keep the broth fresh for a long time.
After the canning process is complete, remove the jars from the canner and let them cool to room temperature. You should hear a “pop” sound as the lids seal, indicating a successful canning process. Check the seals by pressing the center of each lid; if it doesn’t pop back, the jar is sealed properly.
For a full tutorial, check out my post on Canning Homemade Chicken Broth.

So there you have it – an array of ways to store your homemade chicken broth to keep it fresh and delicious for as long as possible. With just a few simple steps, you can ensure that your hard work and dedication to making homemade broth don’t go to waste.
Whether you prefer to freeze it for later use, dry it for space efficiency, refrigerate it for immediate use, or can it for long-term storage, the choice is yours.
The versatility of homemade chicken broth makes it a staple ingredient in many recipes, so having a stash on hand is always a good idea. So, get creative and start experimenting with your homemade broth today!
Recipes Using Chicken Broth
- Chicken Broth Gravy
- Cream of Soup
- Amish Chicken Casserole
- 4 Ingredient Crock Pot Chicken
- My Famous Stuffing Recipe
- Poor Man’s Garlic Sauce
- Sour Cream Enchiladas
- Homemade Rice A Roni
- Roasted Vegetable Soup
What is your favorite method of storing chicken broth?
Did you find this post helpful? Be sure and share with your friends on Facebook, Twitter, Instagram, Pinterest, and through Email using the sharing buttons below!

Merissa Alink
Merissa has been blogging about and living the simple and frugal life on Little House Living since 2009 and has internationally published 2 books on the topic. You can read about Merissa’s journey from penniless to freedom on the About Page. You can send her a message any time from the Contact Page.
This blog post on How to Store Homemade Chicken Broth was originally published on Little House Living in March 2023. It has been updated as of January 2026.
Be sure to add chicken feet if your bird doesn’t have them. It adds SO MUCH FLAVOR!
Thanks for the drying tip. I had no idea this was an option!
How does the canning and dehydrating effect the flavor as opposed to refrigeration or freezing?
2nd question..
Why do all broth recipes say to remove the fat before storing, since this also removes flavor?
Depending on the storage method, fat can go rancid or make the broth taste off much faster than just storing the broth itself. Canning gives the same flavor as freezing. Dehydration just makes for a more concentrated flavor.
Thats wild, I did not know you could dehydrate broth..I’m going to use my silicon muffin pan for freezing the broth so it pops out perfectly. Thanks so much for the tips!